

If you have recently built or upgraded your computer, you might have noticed your high-speed RAM is running slower than advertised. Most motherboards default to a standard, conservative speed to ensure stability, leaving significant performance on the table. Learning how to enable XMP on ASUS motherboard configurations is the quickest way to ensure your memory sticks operate at their intended frequency and timings.
By adjusting a few settings in the UEFI firmware, you can squeeze every bit of power out of your hardware without needing to be an expert in manual overclocking. This guide will walk you through the process, ensuring your system runs at peak efficiency.
Understanding the Role of XMP and DOCP
When you install new RAM, the system reads the default JEDEC speed to ensure it boots without errors. High-performance memory kits, however, contain an extra set of instructions known as the Extreme Memory Profile (XMP). This profile tells your motherboard exactly what voltage, frequency, and latency settings are required to hit the marketed speeds.
On ASUS boards, you might see this feature labeled as XMP for Intel systems or DOCP (Direct Over Clock Profile) for AMD-based builds. Recently, newer platforms have introduced EXPO (Extended Profiles for Overclocking), which functions similarly to XMP but is specifically optimized for newer DDR5 memory modules. Regardless of the label, the goal remains the same: overriding the “Auto” default to apply the manufacturer’s high-performance memory settings.
Accessing the ASUS UEFI BIOS
To change your memory settings, you must enter the BIOS interface before the operating system loads. Power on or restart your computer and immediately begin tapping the Delete or F2 key on your keyboard. Most ASUS boards will register these inputs and drop you into the UEFI menu.
If your motherboard boots directly into Windows, you might be moving too slowly. Try restarting again and pressing the key repeatedly as soon as the screen turns on.
Once you are inside, you will likely land on the “EZ Mode” screen, which provides a simplified overview of your hardware. If you see a button labeled “Advanced Mode” or a prompt to press F7, go ahead and select that to access the granular control required to modify your memory profiles.
Locating the Memory Settings
Once you are in Advanced Mode, look for the “Ai Tweaker” or “Extreme Tweaker” tab at the top of the screen. This is the heart of your system’s performance tuning.
Within this menu, you will find a setting labeled “Ai Overclock Tuner.” By default, this is usually set to “Auto” or “Manual.”
Selecting this option will open a dropdown menu. You should see “XMP,” “DOCP,” or “EXPO” as available choices.
Selecting one of these will automatically trigger the motherboard to read the memory’s internal profile. You will notice that the system automatically populates the DRAM frequency, voltage, and primary timings based on the profile stored on your RAM sticks.
Applying and Saving Your Changes
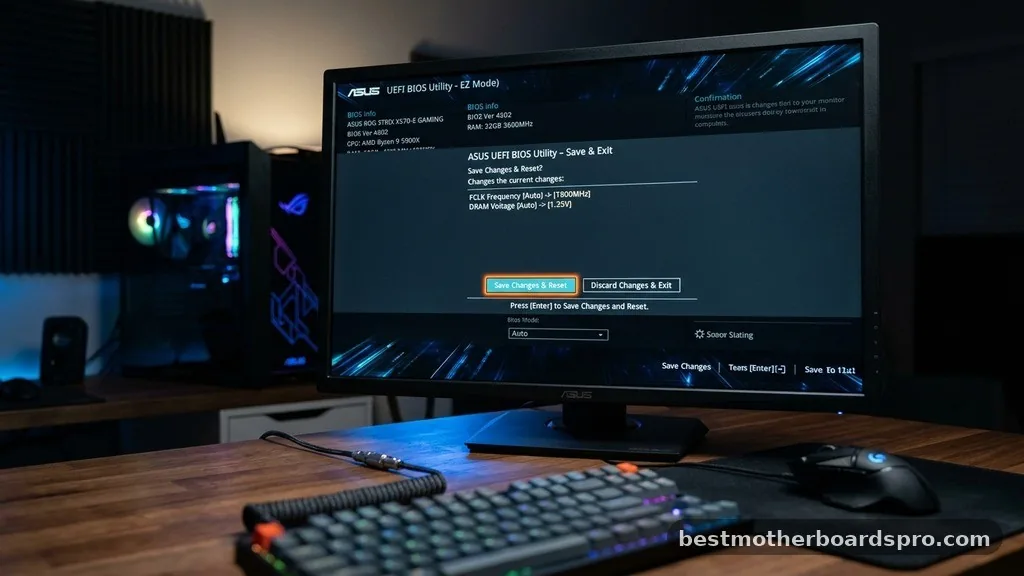
After selecting the appropriate profile, verify that the DRAM frequency reflects the speed advertised on your memory packaging. For example, if you bought 3600MHz RAM, the BIOS should now show 3600MHz instead of the standard 2133MHz or 2666MHz. It is essential to ensure these values are correct before proceeding to save.
Once you have verified the settings, press F10 on your keyboard to “Save and Exit.” A dialog box will appear, showing a summary of the changes you have made. Confirm the prompt, and your computer will reboot.
If the system fails to boot or cycles power multiple times, the BIOS may be attempting to “train” the memory or failing to apply the profile due to instability. If this happens, you can return to the BIOS to disable the profile or manually adjust the frequency to a slightly lower, more stable value.
Comparing Memory Profile Technologies
Understanding the subtle differences between these standards helps when you are troubleshooting or upgrading. While they all serve the same purpose, the underlying architecture differs based on the CPU manufacturer and generation.
| Profile Type | Primary Platform | RAM Generation |
|---|---|---|
| XMP | Intel | DDR4 / DDR5 |
| DOCP | AMD | DDR4 |
| EXPO | AMD | DDR5 |
Addressing Common Stability Concerns
Sometimes, enabling a high-performance profile leads to a system that refuses to post or crashes under load. This usually happens when the motherboard’s memory controller cannot handle the specific frequency or voltage requested by the profile.
- Update your BIOS: Newer firmware versions often include improved memory compatibility and stability patches.
- Check slot configuration: Ensure your RAM is installed in the correct slots, typically the second and fourth slots from the CPU, for optimal signal integrity.
- Manual voltage adjustments: If a profile is slightly unstable, a minor increase in DRAM voltage (e.g., from 1.35V to 1.36V) can sometimes bridge the gap.
- Test for stability: Use software like MemTest86 or Prime95 within Windows to ensure the system is completely stable after applying the change.
Identifying Potential Performance Bottlenecks
Even after you successfully enable XMP on ASUS motherboard settings, you might find that your system performance isn’t where you expected. Several factors beyond RAM speed contribute to your computer’s overall responsiveness and frame rates.
If you have a high-end graphics card but a budget-tier processor, your RAM speed might be overshadowed by CPU limitations. Furthermore, ensure that your operating system is installed on a fast NVMe or SATA SSD rather than a mechanical hard drive, as slow storage will create a noticeable bottleneck regardless of how fast your memory is running. Finally, check your Windows power plan settings to ensure your machine is set to “High Performance,” which prevents the CPU from down-clocking during intensive tasks.
Frequently Asked Questions
Is it safe to enable XMP or DOCP profiles?
Yes, it is generally safe. These profiles are factory-tested by memory manufacturers to work within the specific voltage and timing limits of your RAM. While it is technically a form of overclocking, it is considered a supported feature that is well within the operational tolerances of modern hardware.
Do I need to enable XMP for every RAM kit?
You should enable it if your RAM is rated for speeds higher than the base JEDEC standard, which is usually 2133MHz to 4800MHz depending on the generation. If you do not enable the profile, your expensive, high-speed memory will continue to run at those slow, default speeds.
What happens if the system won’t boot after changing settings?
If your system enters a boot loop or fails to display a signal, the motherboard will usually revert to default settings after a few failed attempts. If it doesn’t, you can manually clear the CMOS by removing the small circular battery on the motherboard for thirty seconds.
Can I use XMP on a laptop?
Most laptops use locked BIOS versions that do not allow for manual memory profile adjustments. However, some high-end gaming laptops may automatically apply these profiles or offer a simplified interface for memory tuning. Always check your specific laptop model’s documentation before attempting to modify internal hardware settings.
Conclusion
Optimizing your system memory is one of the most effective ways to ensure your hardware performs exactly as advertised. By entering the BIOS and selecting the appropriate profile, you move your RAM from a constrained default state to its full, intended potential. Whether you are using an Intel platform with XMP or an AMD build with DOCP or EXPO, the process is designed to be accessible and straightforward.
Once you have verified that your settings are stable, you will likely notice improved system responsiveness and more consistent performance in demanding applications. Should you encounter any issues, don’t hesitate to revisit the BIOS to refine your settings or update your firmware.
Taking the time to properly configure your memory is a rewarding step in maintaining a high-performance PC. If you have further questions about your specific hardware configuration, feel free to consult your motherboard manual or reach out to community forums for targeted support.
