

Learning how to remove a CPU from a motherboard is a fundamental skill for anyone looking to upgrade their system or troubleshoot performance issues. Whether you are swapping an aging processor for a faster model or simply cleaning your rig, handling the central processing unit requires precision and a steady hand. Because the pins on modern processors are incredibly delicate, rushing through the process can lead to costly hardware damage.
By following a structured approach, you can disconnect your components without risking the integrity of your delicate internal hardware. This guide covers the essential techniques to ensure you can safely extract your processor while keeping your system in perfect working order.
Preparing Your Workspace and System
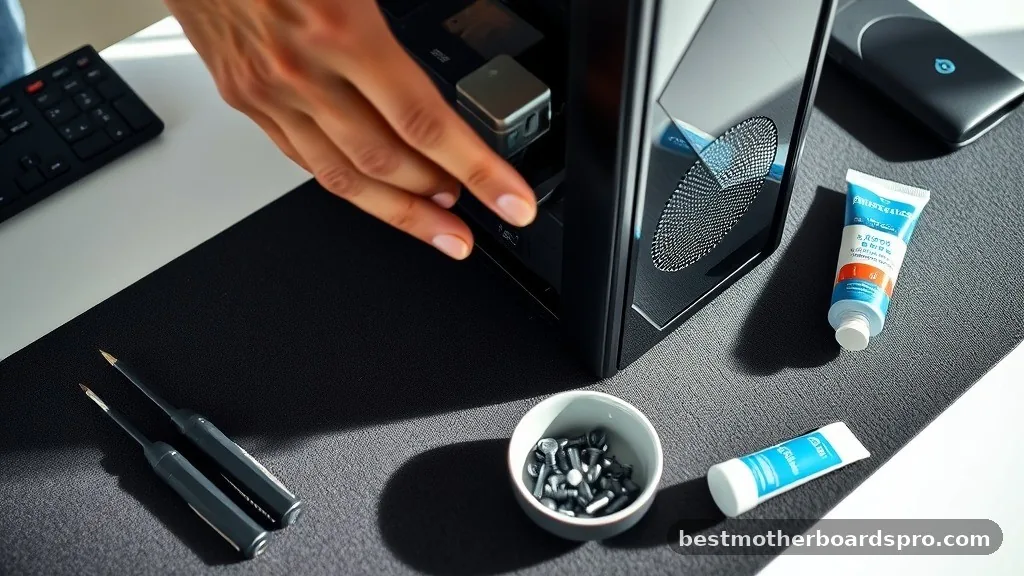
Before you even think about touching the internal components, you must ensure your environment is safe. Static electricity is the silent killer of sensitive electronics, so working on a non-conductive surface is a must.
First, unplug your computer’s power cord from the wall outlet to ensure no electrical current runs through the system. Once the power is cut, hold the power button on your case for ten seconds to drain any residual charge lingering in the capacitors.
Clear your desk of any clutter, and make sure you have adequate lighting. You’ll need a workspace where you can comfortably lay the motherboard flat if you aren’t working inside the case. Having a small container for your screws is also helpful, as losing a tiny mounting screw during a hardware swap is a common frustration.
Removing the Cooling Solution
The cpu cooler is the first barrier between you and the processor. Before you can reach the chip, you must detach this component.
If you are using an air cooler, it will likely be attached via spring-loaded screws or plastic clips. For liquid coolers, you will need to unscrew the block that sits directly atop the processor.
It is vital to twist the cooler slightly before pulling it upward. If the thermal paste has hardened, it can act like glue. Pulling straight up can accidentally rip the processor right out of the socket, potentially bending the delicate pins.
If the cooler feels stuck, don’t force it. Instead, run the computer for a few minutes before starting to warm up the thermal paste, which makes the removal process much smoother.
Handling Different Cooler Types
Different manufacturers use unique mounting systems. Below is a comparison of common attachment methods to help you identify what you are dealing with.
| Cooler Type | Mounting Mechanism | Difficulty Level |
|---|---|---|
| Stock Intel Cooler | Push-pin plastic clips | Easy |
| Stock AMD Cooler | Retention lever or screws | Moderate |
| AIO Liquid Cooler | Thumb screws or backplate | Moderate |
| High-End Air Cooler | Proprietary brackets | Hard |
Unlocking the Socket Mechanism
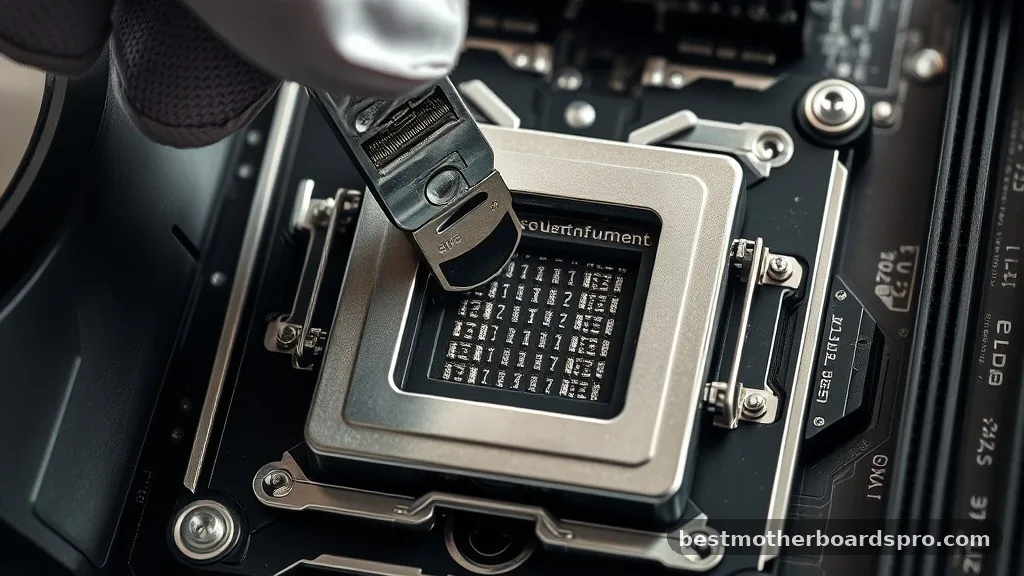
Once the heatsink is gone, you will see the metal frame that holds the processor in place. This is where most beginners feel the most pressure. You need to release the retention arm or lever to free the chip.
For Intel processors, there is usually a small metal lever on the side of the socket. Push it down slightly and move it outward to unhook it from the tab. Once unhooked, you can lift the lever, which in turn lifts the metal bracket covering the CPU.
With AMD processors, especially older AM4 styles, the lever simply lifts up to release the pins. Be extremely careful not to touch the pins inside the socket, as they are easily bent or broken.
Removing the CPU Safely
Now that the mechanism is unlocked, you are ready to remove cpu hardware from the board. Never use tools like screwdrivers or pliers to pry the chip out.
Use your fingers to grip the edges of the processor. Do not touch the gold contacts on the bottom or the top surface, as oils from your skin can interfere with thermal conductivity.
Lift the chip straight up and away from the motherboard. If you feel any resistance, stop immediately and check if the lever is fully retracted.
Once removed, place the processor directly into an anti-static bag or the plastic clamshell case that came with your new product. Never leave a processor lying unprotected on a desk where it could be knocked over or damaged.
Addressing Potential Issues
Sometimes, things don’t go as planned. If you find your CPU is stuck to the cooler, do not panic. This is often caused by old thermal paste.
You can use a hair dryer on a low setting to gently warm the cooler, which softens the paste and allows you to slide the processor off safely. If you notice bent pins in the socket or on the CPU, you may be able to carefully straighten them with a needle, though this is a last-resort effort.
- Always work on an anti-static mat or wooden surface.
- Keep your fingers away from the gold pins at all times.
- Ensure the system is completely powered down and the power cord is removed.
- Clean the old thermal paste off the cooler before reinstalling it.
- Check the orientation notch on the CPU before attempting to place it back in.
Frequently Asked Questions
Can I remove a CPU while the computer is turned on?
No, you should never attempt to remove a processor while the system is powered. Doing so will cause an immediate short circuit, likely destroying both the motherboard and the CPU. Always disconnect the power cord and ensure the system is completely cold before starting any hardware maintenance.
What should I do if the CPU is stuck to the heatsink?
If the processor is stuck to the bottom of the cooler, do not pull hard. Use a hairdryer to gently heat the thermal paste, which will soften the compound. Once warm, gently twist the cooler in a circular motion until the suction breaks and the processor slides off.
Do I need special tools to remove the processor?
Generally, you only need a standard screwdriver to remove the CPU cooler. Once the cooler is off, you should use your hands to open the socket lever and lift the chip. Avoid using metal tools like pliers or tweezers to touch the chip, as they can cause permanent damage.
How do I clean old thermal paste off the CPU?
To clean the old paste, use a high-percentage isopropyl alcohol (90% or higher) and a lint-free cloth or coffee filter. Gently wipe the surface of the processor until all residue is gone. Ensure the surface is completely dry before applying a fresh layer of thermal compound during reinstallation.
Conclusion
Removing your processor is a manageable task if you take your time and follow the correct sequence. By ensuring the power is disconnected, managing the thermal interface carefully, and respecting the delicate nature of the socket, you can safely swap your hardware without incident. Remember that patience is your best tool when handling these components.
Taking the extra minute to verify that the socket lever is fully released or that the thermal paste is sufficiently loose will save you from potential damage. Once you have successfully managed the process of removing a CPU from a motherboard, you will have the confidence to perform future upgrades or routine maintenance on your own. If you encounter any unexpected resistance, simply pause and re-evaluate your steps rather than forcing the hardware into place.
