


Cleaning the microwave is one of those household chores that often gets pushed to the bottom of the list until a fresh splatter makes it impossible to ignore. Dried-on food and stubborn grease buildup don’t just look unappealing; they can also affect how efficiently your appliance runs and even impact the taste of your next meal. Fortunately, you don’t need harsh chemicals or hours of scrubbing to restore your kitchen workhorse to its former glory.
By using simple household staples, you can soften hardened debris and sanitize the interior with minimal effort. This process transforms a daunting task into a quick, manageable routine that keeps your kitchen hygienic and smelling fresh.
The Science of Steam Cleaning
The most effective way to address caked-on grime is to use the power of steam to loosen the mess. When you heat a liquid inside the appliance, the resulting vapor condenses on the walls and ceiling, rehydrating dried food particles. This process turns stubborn, stuck-on crust into soft, manageable residue that you can simply wipe away.
You don’t need expensive specialty cleaners when the combination of heat and moisture does the heavy lifting for you. This method is safe for almost all microwave interiors, including stainless steel and enamel coatings, provided you don’t use abrasive scrubbing pads that might cause scratches.
Essential Ingredients for Success
You likely already have everything you need to clean the microwave in your pantry or under the sink. Using natural acids or mild detergents helps break down grease and neutralizes odors that often linger after cooking strong-smelling foods.
- White Vinegar: An excellent acidic cleaner that cuts through mineral deposits and grease.
- Lemon Juice: Acts as a natural deodorizer while leaving behind a crisp, clean scent.
- Baking Soda: Perfect for creating a mild abrasive paste if you encounter particularly stubborn spots.
- Dish Soap: Necessary for cutting through heavy oil splatters that haven’t responded to steam alone.
Step-by-Step Steam Cleaning Process
To achieve the best results, consistency is key. Set aside five to ten minutes to let the appliance run and then cool slightly before you begin the wiping process.
Prepare Your Solution
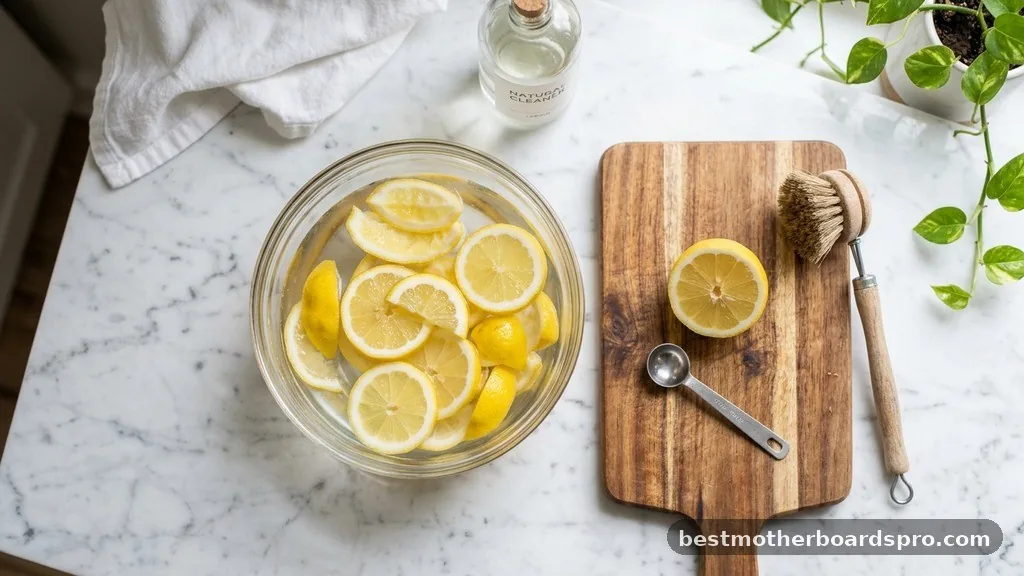
Fill a microwave-safe bowl with about one cup of water. If you are using vinegar, add two tablespoons to the water. If you prefer a lemon scent, slice a fresh lemon in half, squeeze the juice into the water, and drop the rinds into the bowl as well.
The Heating Cycle
Place the bowl inside the appliance and heat it on high for three to five minutes. You want to see the window fogging up, which confirms that the steam is doing its job. Do not open the door immediately when the timer dings. Let the appliance sit undisturbed for another five minutes; this allows the steam to continue penetrating the grime.
Wipe and Sanitize
Carefully remove the hot bowl using an oven mitt. Remove the glass turntable tray and wash it in your sink with warm soapy water. Use a microfiber cloth or a damp paper towel to wipe down the interior surfaces. The grime should come off with almost no pressure. If you find any remaining splatters, dip your cloth into the warm vinegar or lemon water and give it a quick scrub.
Comparing Cleaning Methods
Different situations call for different approaches. While steam is the gold standard for routine maintenance, some messes require a targeted strategy.
| Cleaning Method | Best For | Effort Level |
|---|---|---|
| Steam (Vinegar/Lemon) | Routine maintenance and light splatters | Low |
| Baking Soda Paste | Hardened, stuck-on food residue | Medium |
| Dish Soap and Water | Grease buildup on the door and handle | Low |
Addressing Stubborn Grease and Topical Gaps
Sometimes, grease accumulates in corners or around the door seal where steam might not reach effectively. If you notice a tacky layer of oil, the steam method might need a follow-up.
Use a concentrated degreasing agent or a mixture of dish soap and hot water on a cloth. For the door seal, use a cotton swab dipped in soapy water to ensure you get into the crevices where crumbs hide.
Many people wonder if they can use harsh chemicals like bleach inside a microwave. The answer is generally no. Bleach can damage the metal interior and leave behind toxic residues that might vaporize into your food during future use.
Always stick to food-safe ingredients or mild dish soap. If you are worried about odors, leaving a small bowl of baking soda inside the unit overnight with the door closed is a safe way to absorb lingering smells without scrubbing.
Maintaining a Clean Microwave
The best way to keep your appliance in top shape is to prevent messes from hardening in the first place. A few simple habits will save you significant time in the long run.
Use Covers
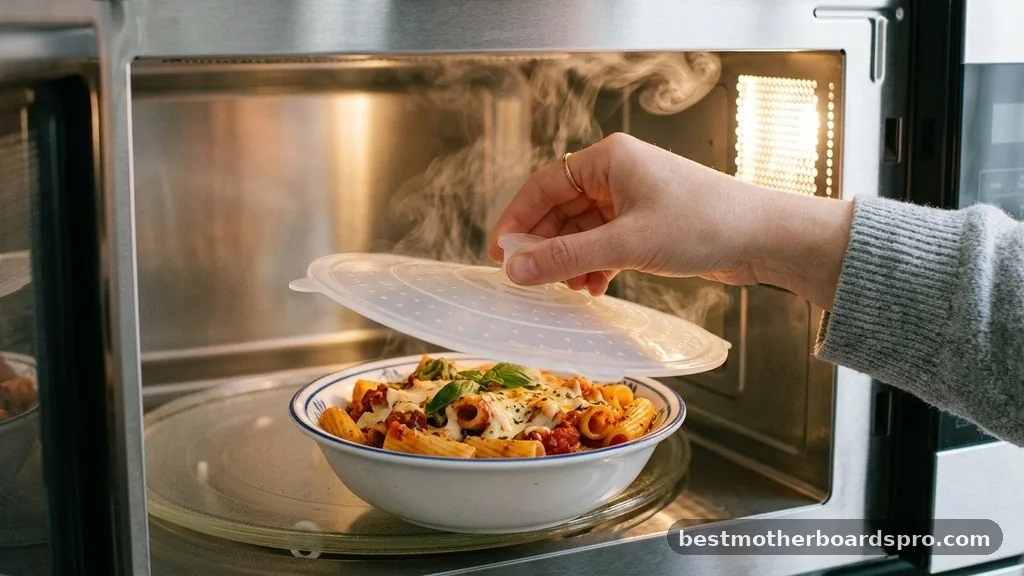
Always cover your food with a microwave-safe lid, a paper towel, or a dedicated splatter guard. This simple step catches the majority of sauce and oil droplets before they hit the walls.
Wipe Down Frequently
After heating something particularly messy, give the interior a quick wipe while it’s still warm. If you catch the splatter before it dries, you won’t need to perform a full steam clean as often.
Check the Vent
If your microwave is mounted over the stove, check the grease filters periodically. These filters trap steam and oil from your stovetop cooking, which can eventually drip back down into the microwave or clog the ventilation system. Clean these filters once a month in the dishwasher or by soaking them in hot, soapy water.
Frequently Asked Questions
Is it better to clean the microwave with lemon or vinegar?
Both are highly effective. Vinegar is slightly better at breaking down heavy grease and mineral deposits, while lemon provides a superior, fresh scent. You can even combine them by adding a splash of vinegar and a few lemon slices to your water bowl for the ultimate cleaning solution.
What should you not use to clean a microwave?
Avoid using steel wool, abrasive scouring pads, or harsh chemical cleaners like bleach and ammonia. These can scratch the interior finish or leave behind toxic fumes. Always ensure the cleaning products you choose are safe for food-contact surfaces to protect your health during future cooking sessions.
How do you remove stubborn, burnt-on food?
If steam isn’t enough, create a paste using two parts baking soda and one part water. Apply this to the burnt areas and let it sit for ten minutes. The baking soda acts as a gentle abrasive that lifts the debris without damaging the surface of the appliance.
How often should I clean the microwave?
For optimal hygiene, perform a quick wipe-down once a week. A deep steam clean should be done monthly, or whenever you notice visible splatters. Regular maintenance prevents the buildup of bacteria and ensures that your appliance remains efficient and odor-free for years of daily use.
Conclusion
Maintaining a hygienic kitchen environment is much easier when you have a reliable plan for cleaning the microwave. By utilizing the natural power of steam combined with simple household ingredients like vinegar or lemon, you can handle even the toughest messes without resorting to harsh chemicals. Remember that preventative measures, such as using covers for your food and wiping away spills as they occur, are your best defense against long-term buildup.
By incorporating these straightforward steps into your regular kitchen routine, you keep your appliance running efficiently and ensure every meal you heat is prepared in a clean, safe space. Happy cleaning, and don’t hesitate to reach out if you have more questions about keeping your home appliances in peak condition.



