

Swapping out a broken or outdated kitchen appliance can feel like a daunting task, but replacing an over the range microwave is well within the reach of a determined homeowner. Because these units are heavy and suspended above your workspace, the primary challenges involve safety and proper weight distribution rather than complex mechanical skills.
Whether you are upgrading to a high-tech convection model or simply switching to a standard unit, understanding the mounting process is essential. By preparing your workspace and verifying your dimensions ahead of time, you can complete this home improvement project efficiently while ensuring your kitchen remains both functional and safe for years to come.
Assessing Your Kitchen Setup and Measurements
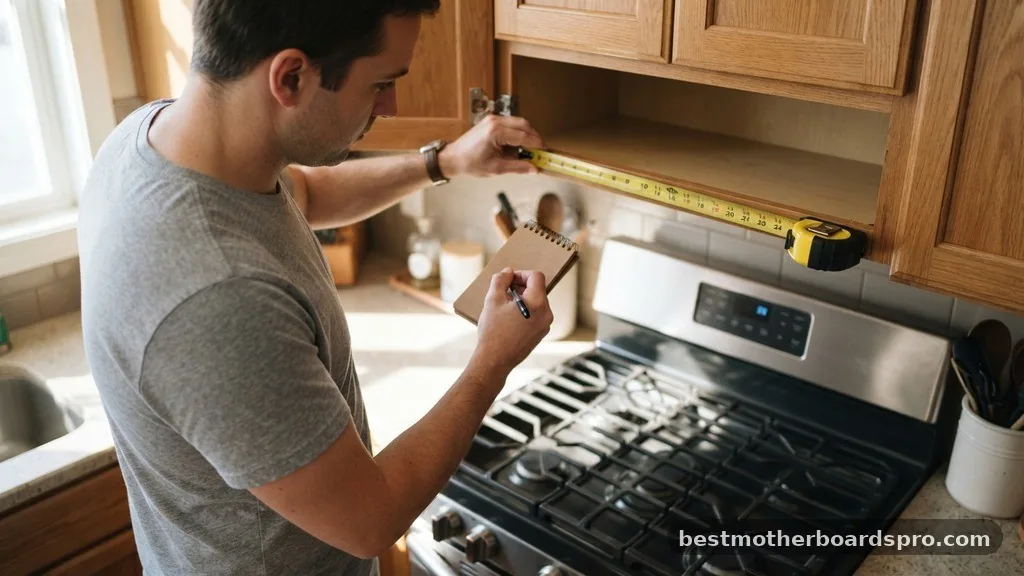
Before you rush to purchase a shiny new appliance, you need to verify the compatibility of your current space. Microwave dimensions vary significantly, and while many over-the-range units follow a standard width of 30 inches, the depth and height can differ. If your new unit is taller than the old one, it might block your access to the cooktop, making it difficult to use large pots or pans.
Measure the width of the space between your existing cabinets to confirm you have the required clearance. Most over-the-range models are designed for 30-inch wide openings, but it is better to be certain. Check the distance from the bottom of the microwave to the range surface; building codes usually recommend at least 30 inches of space between the cooktop and the bottom of the cabinet or appliance.
Gathering Necessary Tools and Safety Gear
Taking on this project requires more than just a screwdriver. Because you will be working overhead, safety must be your top priority. Always wear safety goggles to protect your eyes from falling debris, especially when you are drilling into the cabinet underside or the wall.
You will likely need the following items to get the job done right:
- A sturdy stud finder to locate secure mounting points in the wall.
- A reliable level to ensure the unit sits perfectly straight.
- A power drill with an assortment of bits for the installation hardware.
- A socket wrench for tightening the heavy-duty lag bolts.
- A second person to act as an appliance lift or support while you secure the unit.
Removing the Old Unit
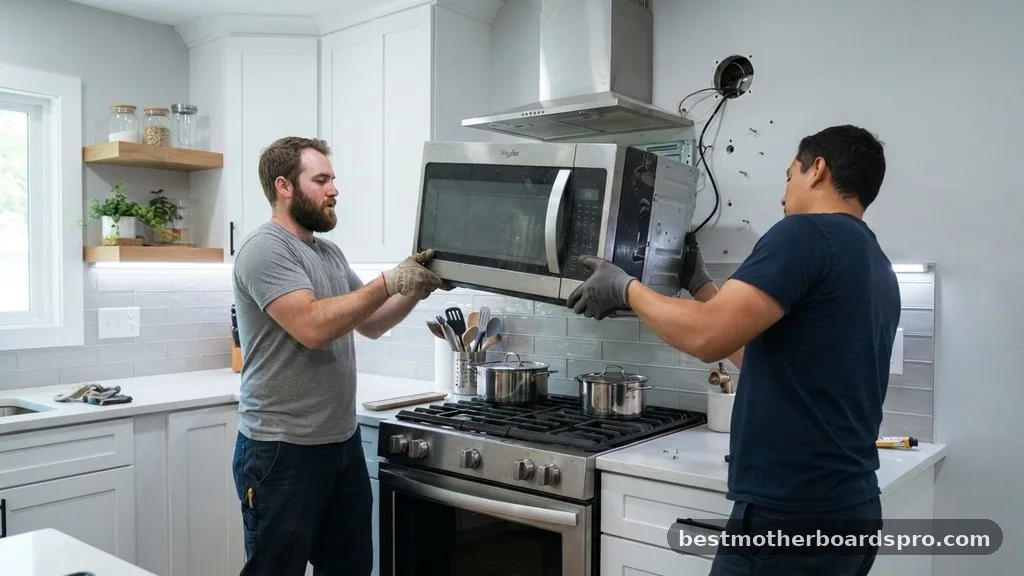
Removing an existing microwave is essentially the reverse of installing a new one, but it is often the most physically demanding part of the process. Start by unplugging the power cord from the GFCI outlet, which is usually located inside the cabinet above the microwave. If the unit is hardwired, turn off the circuit breaker at your main electrical panel before proceeding.
Once the power is disconnected, remove the screws that secure the microwave to the upper cabinet. These are typically located on the underside of the cabinet or inside the cabinet frame.
With a partner supporting the weight, tilt the unit forward to release it from the mounting bracket on the wall. Carefully lower it to the counter or floor, being mindful of the vent connection if your unit uses exterior venting.
Understanding Venting Configurations
One of the most important decisions when replacing an over the range microwave is how you will handle the airflow. Most units can be set to either recirculating mode or exterior venting. If your kitchen has a duct that leads outside, you must ensure the discharge damper on your new microwave aligns with that duct.
If you do not have an exterior vent, the microwave will blow air back into the kitchen through a vent at the top or front. In this case, you must install a charcoal filter to help scrub odors from the air. Regardless of the setup, ensure the grease filter is easily accessible for regular cleaning, as this keeps your kitchen air quality high and prevents fire hazards.
Mounting the New Microwave
Installation begins with the wall template provided by the manufacturer. Tape this to the wall and the underside of your cabinets to mark exactly where your holes need to be drilled.
Using a stud finder is non-negotiable here; the unit is too heavy to be supported by drywall alone. If you cannot hit a stud, you must use high-quality toggle bolts rated for the weight of the appliance.
Install the mounting bracket firmly against the wall, ensuring it is perfectly horizontal using your level. Once the bracket is secure, you are ready to hang the microwave.
Hook the back of the unit onto the bracket and tilt it up toward the cabinet. Have your partner hold the unit in place while you secure it from above using the provided bolts through the cabinet underside.
Comparing Microwave Mounting Methods
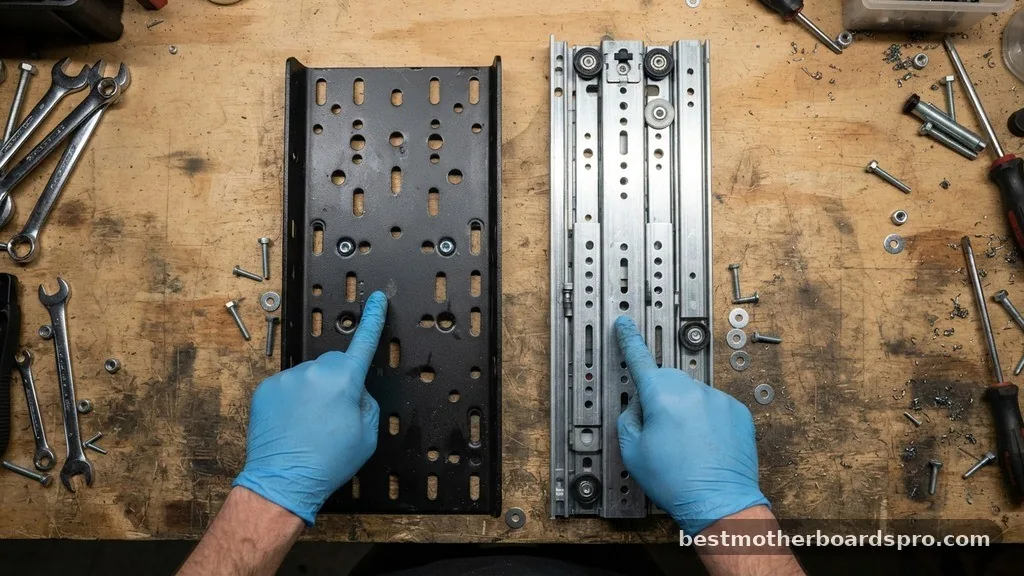
Understanding the structural differences in mounting can help you decide if you need extra support.
| Mounting Type | Best Used For | Installation Difficulty |
|---|---|---|
| Wall Bracket + Cabinet Bolts | Standard kitchen cabinets | Moderate |
| Toggle Bolt Anchors | Drywall with no studs | High |
| Direct Stud Mounting | Heavy-duty professional units | Low |
Troubleshooting Common Installation Issues
Even with careful planning, things can go sideways. If the unit doesn’t sit flush against the wall, check for obstructions like decorative trim or uneven backsplash tiles. You may need to add spacers behind the mounting bracket to compensate for the gap.
Another common issue is a power cord that is too short or a plug that won’t fit into a crowded cabinet. If the GFCI outlet is poorly positioned, you might need to relocate it, which is a task best left to a licensed electrician. Always ensure the power cord is routed through a hole in the cabinet that has been protected with a plastic grommet to prevent chafing.
Addressing Topical Gaps in Microwave Installation
Many DIYers struggle with the transition from an old, non-standard unit to a modern model. If your old microwave was a unique size or style, you might find that the previous installation hardware is incompatible.
Don’t try to force old screws or brackets to work. Modern manufacturers include specific templates and bolts designed for the weight and heat output of their specific units.
Additionally, consider the clearance required for the door swing. Some microwaves have doors that extend beyond the width of the unit when opened.
If you are installing your appliance next to a wall or a corner, verify that the door can open at least 90 degrees. If it cannot, you will be unable to remove the glass turntable for cleaning or fit larger dishes inside.
Frequently Asked Questions
Can I replace my over-the-range microwave myself?
Yes, you can replace it yourself if you are comfortable using power tools and have a partner to assist with lifting. The process is largely about following the manufacturer’s template, securing the mounting bracket to studs, and ensuring the electrical connection is safe and properly routed.
Do all over-the-range microwaves fit the same?
While many models are designed for a 30-inch opening, they are not universal. Variations in height, depth, and the location of the exhaust vent mean you must measure your specific cabinet opening and duct alignment before purchasing a replacement to ensure a proper fit.
What is the average lifespan of an over-the-range microwave?
Most over-the-range microwaves last between 7 and 10 years with regular use. Factors like how often you use the microwave, keeping the grease filters clean, and ensuring the unit is properly vented can significantly impact its longevity and overall performance over time.
What can I replace my over-the-range microwave with?
You can replace it with another over-the-range microwave, a dedicated range hood, or a convection microwave oven. If you choose a range hood, ensure it is the correct size for your cooktop to maintain proper ventilation and comply with local fire safety codes.
Final Thoughts on Appliance Upgrades
Successfully replacing an over the range microwave comes down to preparation and careful execution. By verifying your dimensions, securing your mounting hardware into studs, and ensuring your venting is configured correctly, you can achieve a professional-looking result without needing to hire a contractor. Remember that the weight of these appliances is significant, so never attempt the final lift without a helper to steady the unit.
Taking the time to clean your exhaust vent and check the charcoal filter during the installation will also improve your kitchen’s air quality immediately. Once the new unit is bolted in, run a test cycle with a cup of water to confirm the heating element is working and the microwave is securely mounted. If you run into any electrical issues or structural doubts, don’t hesitate to consult a professional to ensure your kitchen remains a safe and efficient space for your daily cooking needs.



