

Knowing how to check your PC motherboard is an essential skill for anyone looking to upgrade components, troubleshoot hardware failures, or simply keep their system drivers up to date. Whether you are adding more RAM, swapping out a graphics card, or checking compatibility for a new CPU, identifying your exact board is the first step toward success.
Many users find themselves stuck when they need to find specific technical details, yet the process is often much simpler than digging through manuals or opening the computer case. By leveraging built-in system tools or inspecting the physical hardware, you can easily determine exactly what is powering your rig.
Using Windows System Information for Quick Identification
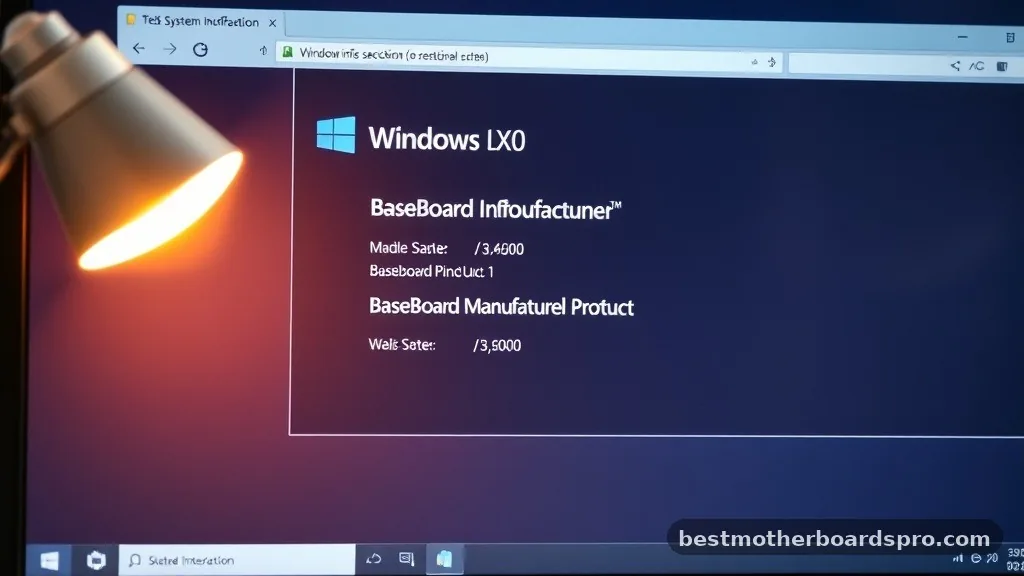
The easiest way to find your motherboard model without installing third-party software is through the built-in Windows System Information tool. This utility aggregates data directly from your hardware, providing a clear summary of your system’s foundation.
To access this, simply press the Windows key on your keyboard, type “msinfo32,” and hit Enter. Once the System Information window pops up, look at the System Summary section. You will see labels for “BaseBoard Manufacturer” and “BaseBoard Product.”
These fields correspond to your motherboard’s brand and its specific model number. This is often the fastest method to get the information you need for driver updates or compatibility checks.
Retrieving Details via Command Prompt
If you prefer a more direct approach or if the graphical interface feels sluggish, the Command Prompt is your best friend. This method is highly efficient and provides the exact string of data stored in your system’s firmware.
Open the Command Prompt by searching for “cmd” in your start menu. Once the terminal window is active, type the following command and press Enter:
wmic baseboard get product,Manufacturer,version,serialnumber
The system will instantly display the manufacturer, the exact board model, the version, and the serial number. This is particularly useful if you are documenting your hardware for support tickets or insurance purposes. The data returned by this command is raw and unfiltered, ensuring you get the precise technical specifications of your board.
Checking the Motherboard via UEFI BIOS
Sometimes Windows might not load, or you might need to confirm hardware details before an operating system is even installed. Entering the UEFI BIOS or the legacy BIOS interface is the most reliable way to check your PC motherboard specs directly from the hardware level.
To access this, restart your computer and repeatedly press the key designated by your manufacturer to enter the setup menu—commonly Del, F2, F10, or F12. Once inside the BIOS, the motherboard model is usually displayed prominently on the main landing page or under a tab labeled “System Information” or “Main.” This environment is independent of your operating system, making it the perfect place to verify if your board is being correctly detected during a boot failure.
Physical Inspection of the Hardware
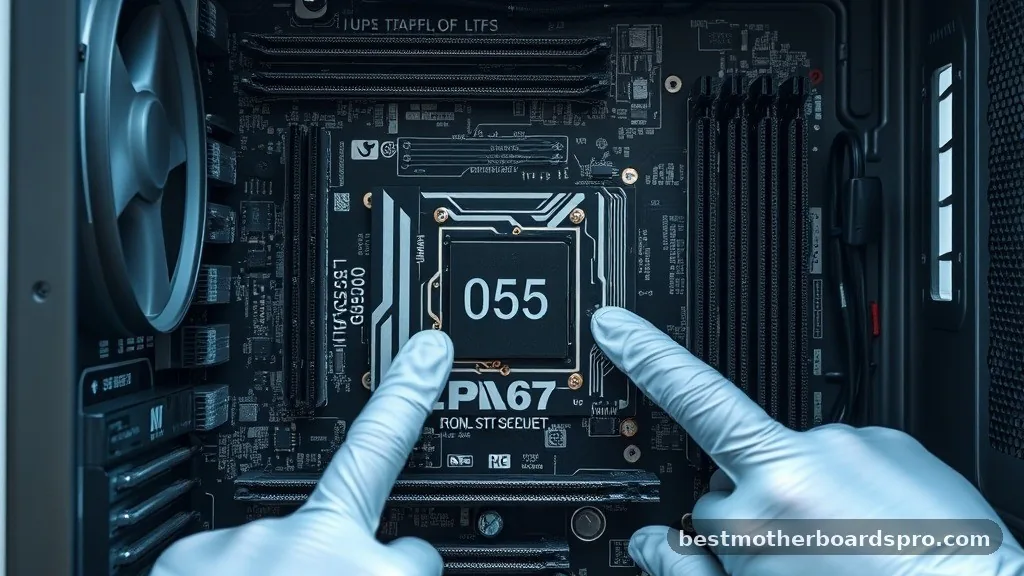
When software methods fail, or if the system is completely dead, a physical inspection is the only way to identify the board. This involves opening the side panel of your computer case to look at the PCB itself.
Manufacturers almost always silkscreen the model name and number directly onto the surface of the motherboard. You will typically find this printed in large, bold text near the CPU socket, the RAM slots, or the PCIe expansion slots. If you cannot see it clearly, use a flashlight to catch the light on the surface of the board.
- Ensure the computer is completely powered down and unplugged from the wall.
- Ground yourself by touching a metal part of the case to discharge static electricity.
- Remove the side panel by unscrewing the thumbscrews or sliding the latch.
- Look for the model name printed in white text on the dark board surface.
- Check the area between the CPU cooler and the RAM slots for identifying marks.
Comparing Methods for Motherboard Identification
Different situations call for different diagnostic techniques. Use the table below to decide which method is most appropriate for your specific needs.
| Method | Ease of Use | Requires OS | Best For |
|---|---|---|---|
| System Information | Very Easy | Yes | Quick checks in Windows |
| Command Prompt | Moderate | Yes | Technical documentation |
| UEFI BIOS | Harder | No | Troubleshooting boot issues |
| Physical Inspection | Hardest | No | Dead or unbootable systems |
Addressing Common Identification Gaps
A common frustration occurs when Windows lists the motherboard as “To Be Filled By O.E.M.” or “Not Available.” This usually happens with pre-built systems from companies like Dell, HP, or Lenovo, who use proprietary board designs that don’t always report standard identification strings to Windows.
If you encounter this, don’t panic. The serial number on the back of your computer or the original order invoice will often lead you to the specific support page for your unit.
Furthermore, downloading manufacturer-specific diagnostic tools—like HP Support Assistant or Dell Command Update—can pull data from the onboard controller that standard Windows tools simply cannot see. Always prioritize the manufacturer’s own software if you are dealing with a pre-built machine.
Understanding Motherboard Symptoms and Failure
Knowing how to check your PC motherboard is also vital when diagnosing potential hardware failures. If your computer refuses to boot, gets stuck in a restart loop, or fails to recognize peripherals like USB devices or audio jacks, the board might be failing.
Common signs of a dying board include:
- Random, unexplained system crashes or blue screens.
- USB ports or network adapters suddenly stopping work.
- The BIOS resetting its date and time settings every time the computer loses power, which indicates a dead CMOS battery.
- Visible signs of damage, such as swollen or leaking capacitors.
- Failure to POST (Power-On Self-Test), which is often signaled by beeps or LED codes on the board itself.
If you see these symptoms, try clearing the CMOS or updating the BIOS firmware to the latest version. Sometimes, the issue isn’t the hardware itself but a corrupt software configuration within the board’s firmware.
FAQ
How do I know if my motherboard is failing?
Common symptoms include frequent system freezes, hardware components like USB ports failing intermittently, or the computer failing to POST. If you notice the system date resetting constantly, the CMOS battery may be dead, which is a simple fix, but persistent crashes often point to deeper electrical issues.
Can I see my motherboard model in the BIOS?
Yes, the BIOS or UEFI interface is the most reliable place to find your motherboard model. Upon entering the BIOS during startup, look for a “System Information” or “Main” tab. It will list the manufacturer, model number, and the current firmware version installed on your board.
Does Windows 10 or 11 change how I find my motherboard?
No, the core methods remain the same across modern versions of Windows. Whether you use the msinfo32 tool or the Command Prompt, the underlying system architecture reports the same information. These tools are universal to the Windows environment and work consistently regardless of which specific version you use.
What if the Command Prompt returns no information?
If your system returns blank or “Not Available” results, you are likely using a proprietary board from a pre-built manufacturer. In this case, use the serial number found on the physical case sticker to look up your specific system configuration on the manufacturer’s official support website.
Conclusion
Identifying the hardware inside your computer is a fundamental skill that empowers you to manage your system effectively. Whether you are performing a simple check of your PC motherboard to plan an upgrade or digging into BIOS settings to troubleshoot a persistent error, the steps outlined here provide a clear path forward. You now have the knowledge to retrieve this information using both software utilities and physical inspection.
Remember to take your time when inspecting the interior of your machine, and always prioritize safety by disconnecting power first. If you encounter proprietary hardware that hides its identity, rely on the manufacturer’s support documentation rather than generic tools.
By mastering these identification techniques, you ensure that your hardware maintenance remains accurate and stress-free. Feel free to revisit these methods whenever you need to verify your system’s foundation.
