

Knowing how to steam green beans in the microwave is a game-changer for busy weeknights when you need a healthy side dish without the hassle of boiling a large pot of water. This method preserves the vibrant color and crisp-tender texture of the vegetable while saving you precious time in the kitchen.
Whether you are working with fresh produce from the farmers’ market or a bag from the freezer, the process is straightforward and yields consistent results. By mastering this quick technique, you can easily incorporate more nutrient-dense greens into your daily meals without spending hours standing over a hot stove.
Why Microwaving Is an Excellent Choice
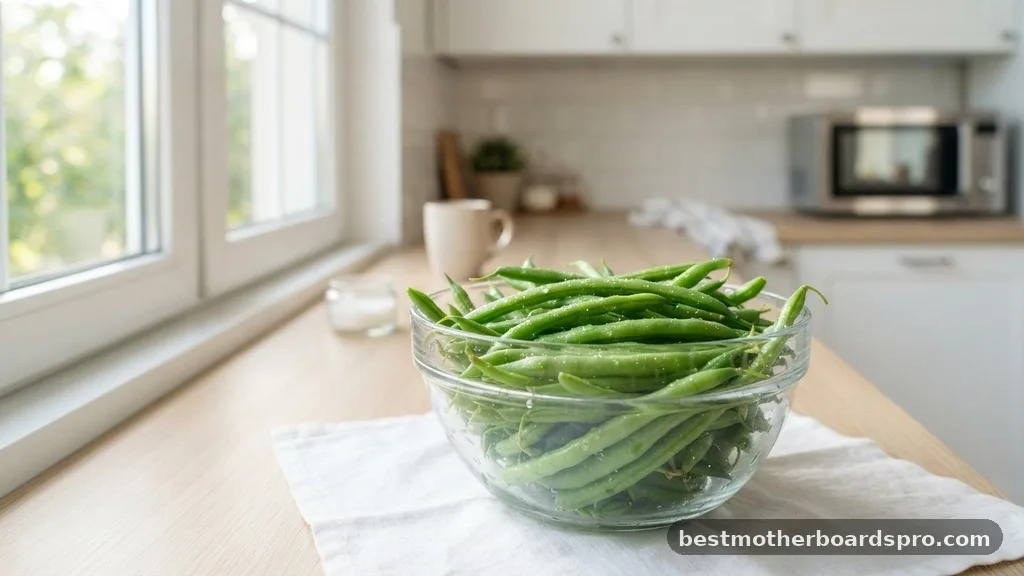
Microwaving is often misunderstood, but for vegetables, it is essentially a high-speed steaming process. Because the waves excite the water molecules inside the green beans, they cook from the inside out, which helps retain essential vitamins that can otherwise leach into boiling water.
You aren’t just heating them up; you are using the moisture naturally present in the beans to create a perfect steam environment. This technique is remarkably efficient, usually taking less than five minutes to achieve that desirable “snap” that indicates they are perfectly cooked.
Selecting and Preparing Your Beans
Before you start, the quality of your ingredients matters. Fresh green beans should be firm, smooth, and vibrant green.
If you bend one, it should snap cleanly rather than just folding. If you are using frozen green beans, you are already ahead of the game since they are typically blanched and flash-frozen at their peak.
- Wash fresh beans thoroughly under cool running water.
- Trim the woody stem ends using a sharp knife or kitchen shears.
- Leave the beans whole for a classic look, or cut them into two-inch pieces for easier eating.
- Pat them dry if they are excessively wet, but keep a tiny bit of moisture on them to help the steaming process.
The Step-by-Step Steaming Process
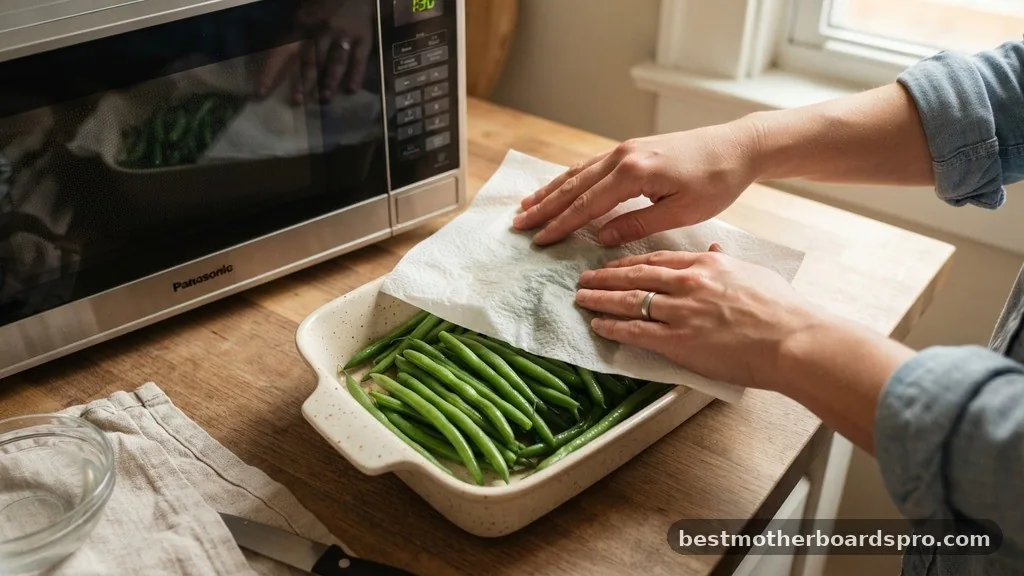
The secret to success is creating a contained environment where the steam can circulate effectively. You don’t need fancy equipment to get a great result. A simple microwave-safe bowl and a way to cover it will suffice.
Setting Up the Steam Chamber
Place your prepared beans into a microwave-safe dish. Add about two tablespoons of water to the bottom of the bowl—this is the fuel for your steam. Cover the dish tightly with a lid or a piece of microwave-safe plastic wrap. If you use plastic wrap, leave one corner slightly open to allow a small amount of excess steam to escape. This prevents the beans from becoming waterlogged or mushy.
Cooking Time Guidelines
Cooking times depend heavily on the quantity of beans and the wattage of your microwave. Most standard microwaves (around 1000 watts) will cook a pound of beans in four to six minutes. Start with three minutes, check the texture, and add time in 30-second bursts if needed.
| Amount of Beans | Estimated Time | Target Texture |
|---|---|---|
| 8 ounces | 2 – 3 minutes | Crisp-tender |
| 16 ounces | 4 – 6 minutes | Tender-crisp |
| Frozen (12 ounces) | 5 – 7 minutes | Softened |
Addressing Common Cooking Gaps
Many home cooks struggle with unevenly cooked beans or a lack of flavor. One common issue is the “soggy” factor.
If your beans turn out mushy, you likely used too much water or cooked them for too long. Always aim for a slightly firm texture, as the residual heat will continue to cook them for a minute or two after you take them out of the microwave.
If you find that your beans taste bland, it is because they were steamed in plain water without any aromatics. To fix this, add a pinch of kosher salt to the water before cooking.
You can also toss in a clove of minced garlic or a slice of ginger to infuse the steam with flavor. The goal is to season the beans while they cook, rather than just after the fact.
Finishing Touches for Better Flavor
Once your beans are steamed to perfection, treat them like a professional chef would. Drain any remaining water immediately so they don’t continue to soak. While they are still hot, toss them with a small knob of butter or a drizzle of high-quality extra virgin olive oil.
A squeeze of fresh lemon juice brightens the earthy flavor of the beans significantly. If you want a bit of texture, sprinkle some toasted almonds over the top. The combination of the soft beans, the richness of the fat, and the crunch of the nuts creates a sophisticated side dish that pairs perfectly with roasted chicken, grilled fish, or a hearty steak.
Frequently Asked Questions
How long should I microwave green beans for steaming?
For a standard pound of fresh green beans, start with four minutes on high power. Check the beans by piercing one with a fork; if they aren’t quite tender enough, add thirty-second intervals until they reach your preferred level of doneness. Always let them sit covered for a minute.
Is it necessary to use water when cooking beans in the microwave?
Yes, adding a small amount of water is crucial. The water creates the steam environment necessary to cook the beans evenly. Without it, the beans may dry out, become shriveled, or develop tough, leathery spots instead of achieving that desired crisp-tender texture everyone loves.
Can I cook frozen green beans using this method?
Absolutely. Frozen green beans are excellent for microwave steaming because they contain their own moisture. You can skip the extra water or add just a single tablespoon. They may take an extra minute or two to cook through compared to fresh beans, but the results are just as delicious.
How do I keep the beans from getting soggy?
The key to avoiding soggy beans is to avoid overcooking and to drain them immediately. Use only enough water to create steam, and monitor the time closely. Once the beans are tender, remove the cover to stop the steaming process and toss them with your seasonings right away.
Final Thoughts on Microwave Steaming
Mastering the art of steaming green beans in the microwave provides a reliable shortcut for busy cooks. By focusing on the right amount of water, proper covering techniques, and quick seasoning, you can turn a simple vegetable into a restaurant-quality side dish. The beauty of this method lies in its simplicity and the ability to customize flavors with butter, lemon, or toasted nuts.
Next time you are pressed for time, remember that you don’t need a steamer basket or a large pot to get perfect results. Give this quick technique a try tonight, and you will likely find it becomes a staple in your regular cooking routine for quick, healthy meals.



