

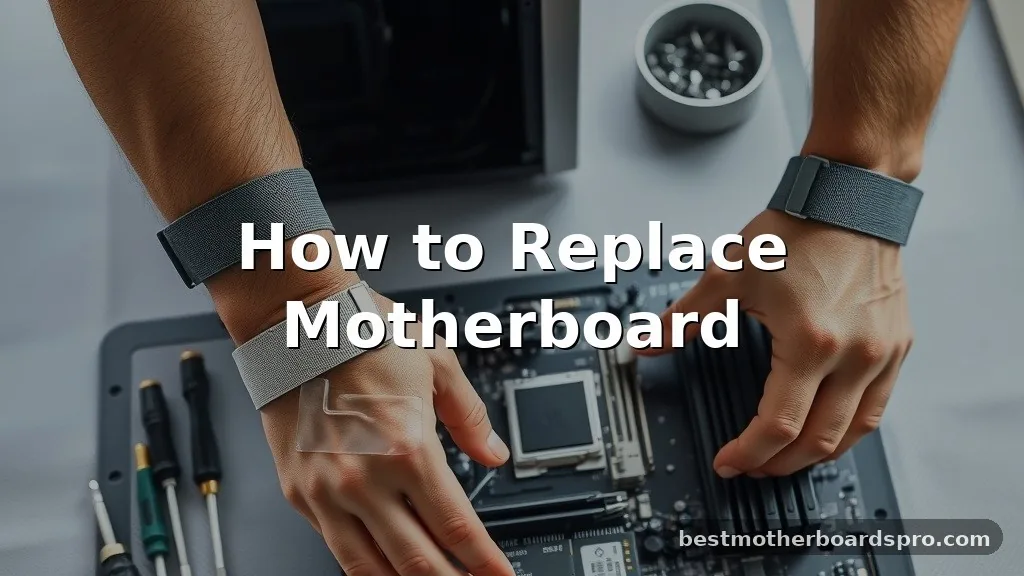
Replacing a motherboard is often seen as the final boss of PC building, but it is entirely manageable if you stay organized. Whether you are dealing with a dead board or performing a major CPU upgrade, knowing how to replace a motherboard correctly prevents damage to your sensitive components. You will need a steady hand, a bit of patience, and a magnetic screwdriver to handle the tiny screws effectively.
By following a methodical approach, you can swap your system board without risking your data or your sanity. This process requires attention to detail, but once you finish, you’ll have a deeper understanding of how your machine functions under the hood.
Preparation and Safety Measures
Before you touch any hardware, you must ensure your workspace is ready. Always unplug the power cable from the wall and hold the power button for ten seconds to drain residual electricity. Static electricity is a silent killer for modern electronics, so try to work on a non-carpeted surface and touch a metal part of the computer case frequently to ground yourself.
Gathering the right tools is the next step. You really only need a Phillips head screwdriver, but having a small container for screws is essential. Nothing ruins a build faster than losing a tiny standoff screw inside the chassis.
- Magnetic Phillips head screwdriver
- Small bowl or tray for screws
- Thermal paste (if you are reseating the CPU)
- Zip ties for cable management
- Anti-static wrist strap (optional but recommended)
Removing the Old Component
To remove the old board, you first need to clear the way. Start by disconnecting every single cable connected to the motherboard.
This includes the 24-pin ATX power cable, the 8-pin CPU power cable, and all front panel connectors. Don’t forget the SATA cables or M.2 drives if they are mounted directly to the board.
Once the board is bare, you can start unscrewing it from the case. Most cases use standard mounting points, but some proprietary systems might have extra screws hidden behind brackets.
Keep the pressure light as you unscrew to avoid stripping the threads. If the board doesn’t lift out easily, double-check that you haven’t missed a screw near the I/O shield.
Understanding Standoffs and Compatibility
One common mistake when you replace a motherboard involves the standoffs. These are the small brass or metal spacers that keep the board from touching the metal chassis. If you install the board without them, you will likely cause a short circuit, which can permanently fry your components.
Make sure the hole pattern on your new board matches the layout of the standoffs in your case. If you are switching from an ATX to a Micro-ATX board, you might need to move some standoffs to new positions.
| Motherboard Form Factor | Typical Width | Typical Height |
|---|---|---|
| ATX | 12.0 inches | 9.6 inches |
| Micro-ATX | 9.6 inches | 9.6 inches |
| Mini-ITX | 6.7 inches | 6.7 inches |
Installing the New Motherboard
Now that your case is prepared, it is time to install the new unit. If your board has a pre-installed I/O shield, you are in luck; otherwise, snap that metal plate into the back of the case first. Gently lower the board into the case, aligning the screw holes with the standoffs.
Once it is seated, start by tightening the center screw first. This keeps the board in place while you secure the corners.
Don’t overtighten the screws, as this can crack the PCB or damage the mounting holes. Just get them snug enough so the board doesn’t wiggle.
Connecting Power and Data Cables

After the board is secured, you need to connect the power and data cables. This is where most people get stuck, but the connectors are usually keyed so they only fit one way.
The 24-pin power connector is the largest and goes on the right side of the board. The CPU power connector is usually found at the very top left.
When you connect the small front panel headers, consult your manual. These tiny pins control the power button, reset switch, and LED lights.
If they are plugged in incorrectly, your computer simply won’t start when you press the button. Take your time here; it is the most tedious part of the process.
Addressing Software and Driver Issues
Many users ask if they need to reinstall Windows when they change their hardware. In many cases, Windows 10 and 11 are smart enough to detect new hardware and pull the necessary drivers automatically. However, you might find that your Windows license is tied to the old hardware ID.
If you have a digital license linked to your Microsoft account, you can usually reactivate it by signing in after the build is complete. If you encounter crashes or instability, a clean install of the operating system is the safest way to ensure that old, conflicting drivers don’t cause issues with your new setup.
Common Troubleshooting Steps
If the system won’t boot after you replace a motherboard, don’t panic. Start by checking the power cables. Did you fully insert the 24-pin connector until it clicked?
Is the RAM seated firmly in the slots? A loose stick of memory is the most frequent cause of a “no post” scenario.
Check the debug LEDs if your board has them. Modern boards often feature small lights labeled CPU, DRAM, VGA, or BOOT. If the light stays stuck on “DRAM,” you know exactly where to focus your troubleshooting efforts.
Frequently Asked Questions
Can I just swap out a motherboard without a fresh Windows install?
Technically, yes. Windows 10 and 11 are very good at handling hardware swaps.
However, you may experience driver conflicts or stability issues. A clean install is always recommended to ensure optimal performance, but you can often boot into your existing system and update drivers manually if needed.
Is replacing a motherboard considered an easy task?
It is moderately difficult. It requires patience and a basic understanding of computer components.
While the physical act of screwing the board into the case is simple, managing the cables and ensuring proper connections can be challenging for beginners. Take your time and follow your motherboard manual.
Will I lose my data if I change my motherboard?
No, your data is stored on your hard drives or SSDs, not the motherboard. As long as you don’t format your drives during the process, your files will remain intact. Just ensure you connect your drives correctly once the new board is installed and configured in the BIOS.
How much does it cost to replace a motherboard?
Prices vary wildly based on the socket type and features. You can find budget-friendly boards for entry-level CPUs starting around $80, while high-end enthusiast boards can exceed $400. Factor in the cost of potential thermal paste or extra cables if you are upgrading your entire system architecture.
Final Considerations
Taking the time to replace a motherboard is a rewarding project that extends the life of your computer. By keeping your workspace clean and handling the components with care, you minimize the risk of hardware failure. Always verify your cable connections before plugging the system back into the wall, and have your manual handy to identify the specific pin configurations for your front panel headers.
Once everything is secured, you can enjoy the benefits of a fresh start, whether that means better overclocking support, faster storage speeds, or simply a stable foundation for your daily tasks. If you encounter any issues during the process, double-check your connections and consult the manufacturer’s documentation to get your system back up and running smoothly.



