

Staring at a black screen while a tiny LED glows on your motherboard is one of the most frustrating experiences for any PC builder. When you see that persistent white or red light, it indicates that your system has encountered a VGA error during the POST (Power-On Self-Test) sequence. Essentially, the motherboard is signaling that it cannot detect your graphics card or that the card isn’t communicating properly with the system.
While this often points to a hardware failure, it is frequently caused by simple connection issues, outdated firmware, or minor configuration errors that you can resolve at home without needing expensive repairs.
Understanding the VGA Debug LED 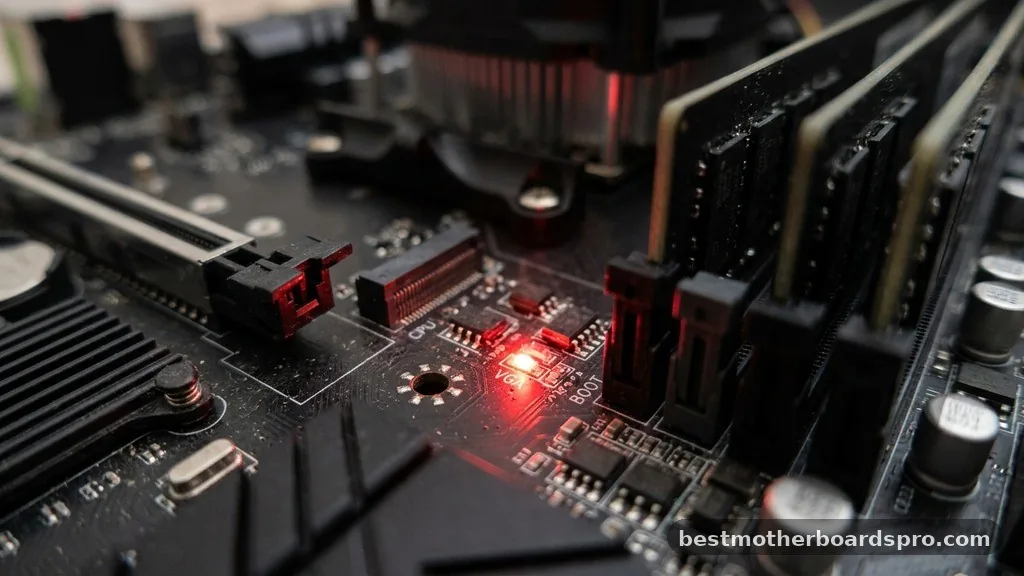
The motherboard debug LED is a diagnostic tool designed to help you pinpoint exactly where a boot process fails. When the VGA light stays illuminated, the system is telling you that the video output initialization has failed. The motherboard performs a series of checks on your CPU, memory, and storage before it attempts to initialize the GPU.
If it reaches the VGA stage and cannot verify the presence of a functional display adapter, it halts the boot process. This prevents the system from proceeding to load the operating system, which is why you end up with a blank monitor.
Initial Checks for Connection Issues
Before you start pulling components out, check the obvious culprits that often lead to a monitor signal failure. Sometimes the issue isn’t the hardware itself, but the way it’s physically connected to your display or the power supply.
* Ensure your HDMI cable or DisplayPort cable is plugged directly into the graphics card output, not the motherboard’s I/O panel.
* Verify that your monitor is set to the correct input source, such as HDMI 1 or DP.
* Inspect the GPU power cables to ensure they are snapped firmly into the card.
* If you are using a riser cable for a vertical GPU mount, remove it and plug the card directly into the PCIe slot to rule out a faulty cable.
Reseating the Graphics Card
The most common cause of a VGA light is a poor physical connection in the PCIe slot. Over time, or due to the weight of modern, heavy GPUs, the card may sag or shift just enough to lose contact with a few pins.
To fix this, power down your PC and flip the switch on your power supply unit. Touch a grounded metal surface to prevent static discharge before touching any internal components. Unscrew the GPU from the case bracket, release the PCIe retention clip, and gently pull the card straight out.
Once it’s removed, inspect the gold contacts on the card and the pins inside the slot for any dust or debris. Reinsert the card firmly until you hear the retention clip click back into place, then secure it with the screws to prevent future sagging.
Power Supply and Cable Integrity
Your graphics card requires significant power to initialize.
If the PCIe power connector isn’t providing a stable current, the motherboard will flag a VGA error. Check that you are using individual cables from the power supply for each power port on the GPU, rather than a single “daisy-chained” cable.
Comparison of Power Delivery Methods
| Connection Type | Reliability | Best For |
| :— | :— | :— |
| Single Rail Cable | High | Mid-range GPUs (1-2 ports) |
| Daisy-chained Cable | Low | High-power cards (3+ ports) |
| Dedicated PSU Cables | Highest | High-end/Overclocked GPUs |
If you have a modular power supply, ensure the cables are pushed all the way into the PSU itself. Sometimes, a cable can look connected but be slightly loose at the source, causing intermittent power delivery that triggers the warning light.
Clearing the CMOS and Updating BIOS
Sometimes the motherboard’s firmware holds onto old configuration data that conflicts with your current GPU.
Performing a CMOS reset clears these settings and forces the board to re-detect all hardware from scratch. You can do this by removing the small coin-shaped battery on the motherboard for about 30 seconds or by using the “Clear CMOS” jumper pins if your board has them.
If the problem persists, you might need a BIOS update. Newer graphics cards sometimes require updated motherboard firmware to work correctly, especially on older chipsets. Check your motherboard manual or the manufacturer’s website to see if there is a stable BIOS version that improves VGA compatibility or system stability.
You can usually flash this using a USB drive and a dedicated BIOS flashback button, even if you cannot see a display output.
Ruling Out RAM and Other Components
It is a common misconception that the VGA light only relates to the graphics card. In some cases, faulty RAM seating can cause the system to fail at the memory detection stage, which the board might misidentify or simply halt before it ever reaches the VGA check.
Try removing all but one stick
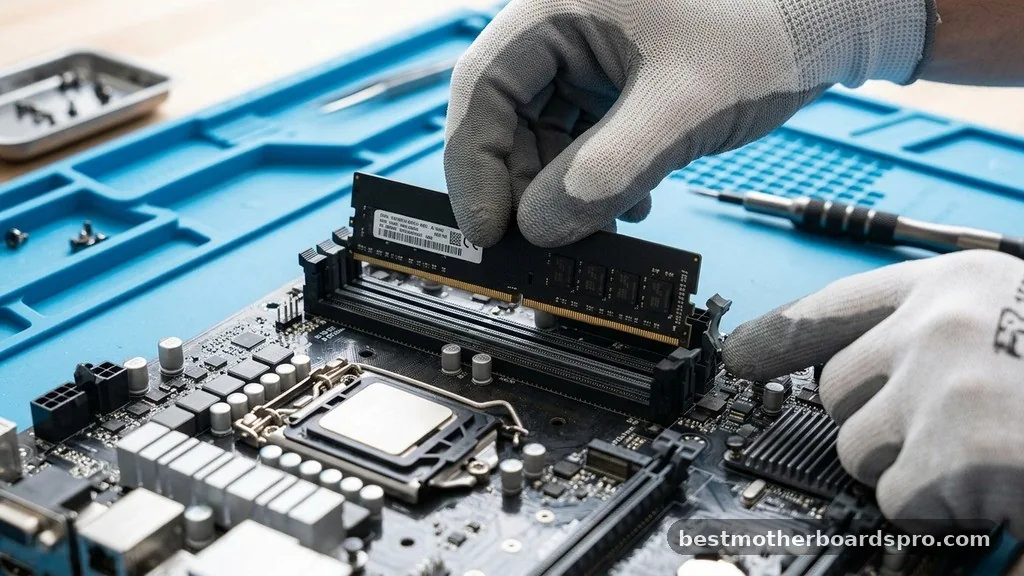
If you have tried everything else, try removing all but one stick of RAM. Test it in different slots. If the system boots, you know one of your memory sticks or a specific slot is the culprit.
While it sounds strange that RAM would trigger a VGA light, the boot process is a delicate chain; if one link fails early, the entire diagnostic sequence can throw a misleading error.
Addressing Topical Gaps and Advanced Troubleshooting
Many users wonder why the VGA light stays on even when the PC seems to boot into Windows. This usually indicates a communication handshake issue between the GPU and the monitor. If you are using a high-refresh-rate monitor, try swapping to a different cable or lowering the refresh rate in your display settings.
Another often overlooked issue is “Fast Boot” settings in the BIOS. Sometimes, the computer boots so quickly that it initializes the display driver before the monitor has finished waking up, causing the motherboard to think there is no display output. Disabling “Fast Boot” or “Ultra Fast Boot” in the BIOS can give the monitor enough time to handshake with the GPU during the startup sequence.
FAQ Section
Why is my VGA light always on even though my PC works?
This often happens because of a handshake delay between your monitor and the GPU.
If your PC boots into Windows despite the light, try disabling “Fast Boot” in your BIOS. This ensures the monitor has enough time to initialize before the system completes its startup process.
Can faulty RAM trigger a VGA light?
While the VGA light specifically points to the graphics card, a memory failure can prevent the system from reaching the GPU initialization phase. If you have tried everything else, reseating your RAM or testing with a single stick can sometimes resolve unexpected diagnostic errors.
What should I do if my GPU works in another PC but not mine?
If your graphics card is confirmed working elsewhere, the issue likely lies with your motherboard’s PCIe slot or your power supply. Check for BIOS updates, inspect the PCIe slot for physical damage, and ensure your power supply unit provides enough wattage for your specific hardware configuration.
Is it safe to use a riser cable with my GPU?
Riser cables are convenient for vertical mounts, but they are a common point of failure. A low-quality or damaged cable can cause communication errors that trigger the VGA light. Always test your GPU by plugging it directly into the motherboard to rule out the riser cable as the cause.
Final Thoughts on Resolving VGA Issues
Fixing a VGA light on your motherboard is usually a process of elimination. By methodically checking your physical connections, reseating your hardware, and verifying your firmware settings, you can almost always identify why the system is failing to initialize the display. Start with the simplest solutions, like checking your cables and the GPU seating, before moving into more complex BIOS troubleshooting. Most of the time, the fix is much simpler than replacing expensive hardware. If you have followed these steps and the light persists, ensure you have checked your power delivery and considered that a component might genuinely be failing. Stay patient during the process, and you will likely have your display back up and running in no time.



