

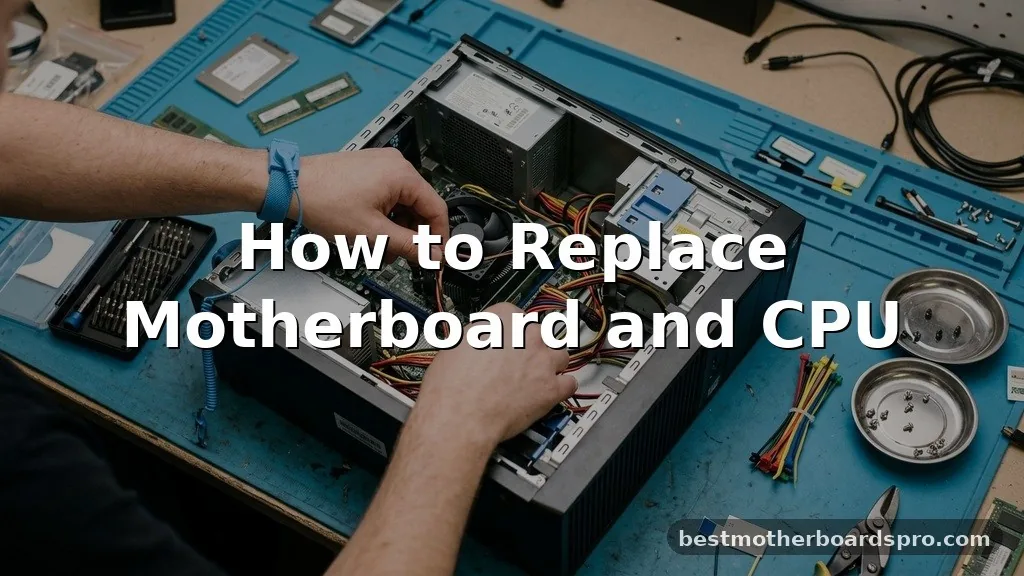
When your computer starts feeling sluggish or you simply need a performance boost, upgrading your core components is often the most effective solution. Learning how to replace motherboard and CPU hardware can feel intimidating at first, but with a methodical approach, it is a manageable task for most PC users. This process involves more than just swapping silicon; it requires careful attention to compatibility, data integrity, and precise physical installation.
By following the right sequence, you can breathe new life into your machine while avoiding the common pitfalls that often trip up beginners. Prepare your workspace, gather your tools, and let’s get your system running at its peak potential.
Preparing Your System for Hardware Changes
Before you open your PC case, you need to address the software side of the equation. Replacing your primary board and processor often triggers a reaction from your operating system, especially regarding hardware identification. If you are planning on replacing motherboard and CPU hardware, back up your critical data to an external drive or cloud storage immediately.
Check your Windows license status before you begin. If you are using an OEM version of Windows tied to your old hardware, you might need to purchase a new license key, as the operating system often treats a motherboard swap as a “new” PC. Ensure you have your BitLocker recovery key written down if you use drive encryption, as the system will likely lock you out once it detects a change in the TPM (Trusted Platform Module) or core hardware environment.
Essential Tools and Safety Protocols
You do not need a specialized laboratory, but having the right tools makes the job significantly easier. A magnetic-tip Phillips head screwdriver is your primary tool, along with a clean, well-lit workspace.
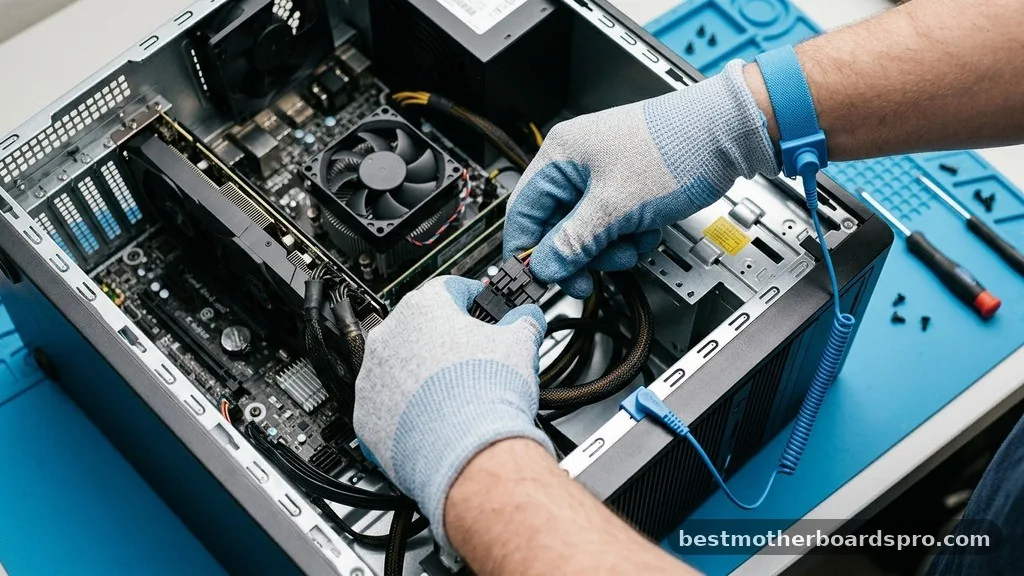
Static electricity is the silent killer of modern electronics. To prevent damage from electrostatic discharge, touch a grounded metal object before handling your components or use an anti-static wrist strap.
Never work on a carpeted floor, and keep your new motherboard inside its anti-static bag until you are ready to install it. Organization is key; keep your screws separated by component type so you don’t end up with mystery parts at the end of the build.
Removing Old Components
Once you have powered down and unplugged your PC, it is time to strip the internals. Start by removing the side panel and disconnecting all power cables from the board, including the 24-pin ATX and the 8-pin EPS connectors.
Disconnect your storage drives, including SATA cables and any M.2 NVMe SSDs. Remove your GPU to clear space, then unscrew the motherboard from its motherboard standoffs.
Be careful when pulling the board out; ensure no cables are snagged underneath. Once the board is out, you can remove the RAM and CPU cooling solution to reclaim those parts for your new setup if they are compatible.
Installing the New Processor and RAM
The CPU socket is the most delicate part of your motherboard. Whether you are dealing with LGA pins on the board or AM4 or AM5 pins on the processor, handle the chip by its edges only.
- Align the triangle on the corner of the CPU with the corresponding mark on the socket.
- Gently lower the processor into place; it should drop in without any force.
- Secure the retention arm or latch firmly.
- Apply a pea-sized amount of thermal paste to the center of the CPU heat spreader.
- Attach your cooling solution, ensuring even pressure across the surface.
- Insert your RAM sticks into the appropriate slots, pressing down until you hear a satisfying click.
Mounting the Motherboard and Reconnecting Cables
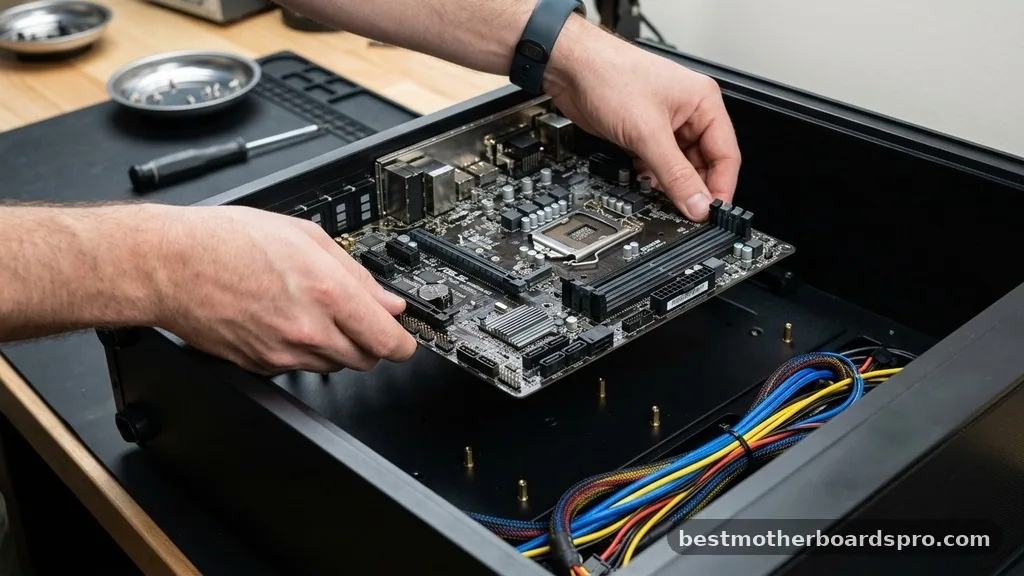
Before you screw the new board into the case, double-check that your I/O shield is snapped into the rear of the case. If your board has an integrated I/O shield, you can skip this step.
Place the board onto the motherboard standoffs, ensuring the holes align perfectly. Secure it with screws, but do not overtighten them, as this can crack the PCB.
Once the board is mounted, reconnect your power cables, front panel headers, and storage drives. Remember that RAM compatibility is paramount; verify you have installed the sticks in the slots recommended by the manufacturer for dual-channel operation.
Configuring BIOS and Storage Settings
After everything is connected, power on the system and immediately enter the BIOS/UEFI menu. This is your command center for hardware verification.
Check that your processor and RAM are detected correctly. You may need to enable XMP or EXPO profiles to ensure your memory runs at its advertised speed.
If you are moving an old boot drive to a new system, you might need to adjust your SATA mode to AHCI to ensure proper compatibility. If the system fails to boot into your existing OS, check the boot order and ensure the drive containing your Windows installation is selected as the primary boot device.
Data Comparison of CPU Platforms
When selecting new hardware, understanding the differences between common platforms helps in making an informed decision for your specific use case.
| Feature | AM4 Platform | AM5 Platform | LGA 1700/1851 |
|---|---|---|---|
| Memory Type | DDR4 | DDR5 | DDR4/DDR5 |
| Socket Type | PGA | LGA | LGA |
| PCIe Support | Gen 3/4 | Gen 5 | Gen 4/5 |
| Longevity | Legacy | Current/Future | Current |
Software Considerations and Driver Updates
After you successfully boot into your operating system, the hardware environment will likely be unstable due to missing motherboard drivers and chipset conflicts. Windows might perform a basic update, but you should visit the manufacturer’s website to download the latest chipset drivers and network software.
A clean install of Windows is highly recommended when replacing motherboard and CPU hardware. While modern versions of Windows are resilient, carrying over old drivers can lead to “ghost” issues, system crashes, or reduced performance. If you choose to keep your old installation, use a tool like DDU (Display Driver Uninstaller) to strip out old GPU and chipset drivers before installing the new ones to ensure a stable foundation.
Addressing Topical Gaps
Many users worry about the “reset” nature of this upgrade. One common question is whether the CMOS battery needs to be replaced. Usually, no, but if you are using an older board, a fresh battery can prevent time and BIOS setting resets.
Another gap involves the “Windows activation” process. If you have your license linked to a Microsoft Account, you can often use the Activation Troubleshooter to migrate your digital license to the new hardware after signing in.
Frequently Asked Questions
Do I need to reinstall Windows when changing my motherboard?
While Windows 10 and 11 are excellent at detecting new hardware, a clean install is strongly recommended. Carrying over an old OS installation often leaves behind legacy drivers that can cause system instability, performance bottlenecks, or unexpected crashes during intensive tasks or gaming sessions.
Will I lose my files if I swap my motherboard?
No, your files are stored on your hard drive or SSD, not the motherboard. As long as you do not format your drive during the process, your data remains intact. However, always back up your important files to an external source before starting any hardware modifications.
How do I handle Windows activation after a hardware swap?
If your license is a digital retail key linked to your Microsoft Account, you can re-activate it by running the Activation Troubleshooter in Settings. If you have an OEM license, it is technically tied to the original motherboard and may require a new license key purchase.
What happens if the PC does not boot after the upgrade?
First, check the debug LEDs or error codes on your motherboard. Verify that all power cables are seated firmly and that your RAM is clicked into the correct slots. If you see no display, ensure your monitor is plugged into the GPU, not the motherboard’s rear I/O.
Final Thoughts on Your Hardware Upgrade
Successfully replacing motherboard and CPU hardware is a rewarding milestone for any PC enthusiast. It transforms your daily computing experience, providing the speed and stability you need for modern software and games. By meticulously following the installation steps, grounding yourself to prevent damage, and ensuring your software environment is optimized, you minimize the risk of errors and maximize your system’s lifespan.
Remember that patience is your greatest tool; if a component doesn’t fit, don’t force it. Take a breath, check your alignment, and proceed with care.
Once you have everything up and running, you’ll have a machine that feels entirely brand new, ready to handle whatever tasks you throw its way. Enjoy your upgraded rig and the performance gains that come with it.



