Staring at a black screen while a tiny yellow or red light glows on your motherboard is enough to ruin anyone’s day. When you are fixing a DRAM light on motherboard issues, you are essentially telling the system to pause its startup sequence because it cannot communicate with your memory. This debug LED is a diagnostic tool designed to pinpoint exactly where the POST process is failing.
By methodically isolating the hardware, you can often bring your rig back to life without replacing a single component. Understanding how to interpret this signal is the first step toward getting your PC running smoothly again.
Understanding the Debug LED Diagnostic System
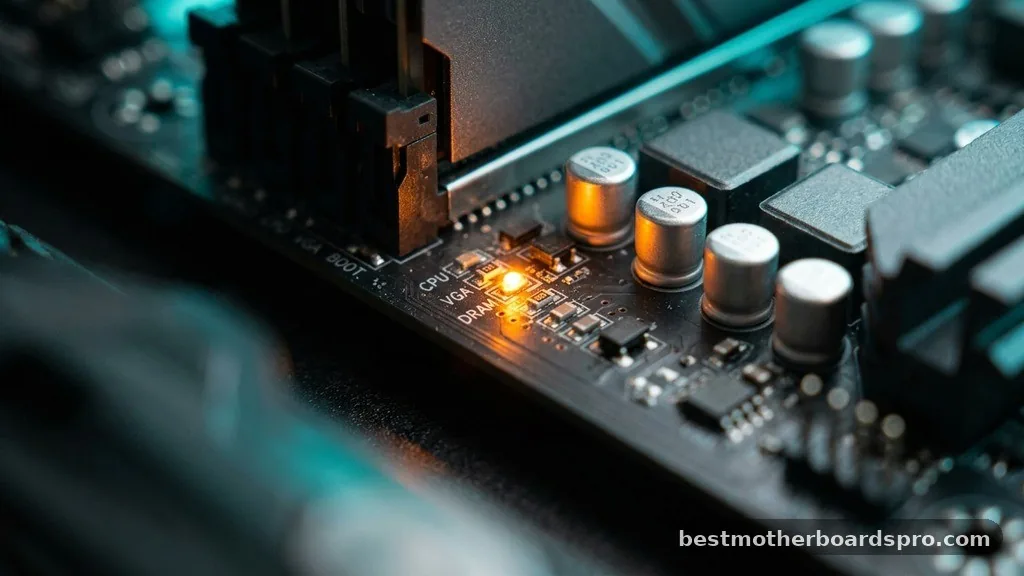
Modern motherboards come equipped with a series of small lights designed to simplify the troubleshooting process. These lights typically correspond to the four main stages of the boot sequence: CPU, DRAM, VGA, and BOOT. When the DRAM light remains illuminated, the motherboard is signaling that the memory controller cannot successfully initialize the installed sticks.
It is vital to realize that this light does not always mean your RAM is dead. It simply indicates that the motherboard cannot “see” or verify the memory sticks during the initial handshake.
This could be due to a loose connection, a software glitch, or even a subtle issue with the socket itself. Before you start buying new parts, you must approach the problem with a clear, logical plan.
Initial Power Cycle and Static Discharge
Sometimes, the simplest solution works best. A power cycle forces the motherboard to dump stored electrical charges that might be interfering with the boot process.
Turn off your power supply unit (PSU) and unplug the power cable from the wall. Hold the power button on your case for about 30 seconds to drain any remaining electricity.
After you have drained the power, plug everything back in and try to boot. If the light persists, you need to address potential static discharge issues. Ensure you are grounded before touching any internal components to prevent accidental damage to the sensitive gold contacts on your memory modules.
Reseat and Test Individual Modules
If the power cycle fails, the next logical step is to reseat and test individual modules. Memory sticks can shift over time due to thermal expansion or vibrations. Take the RAM sticks out of the DIMM slot and inspect the contacts for any debris.
Follow these steps to isolate the faulty component:
- Power down your system completely and unplug the PSU.
- Remove all RAM sticks from their slots.
- Insert a single stick of RAM into the primary slot recommended by your motherboard manual.
- Attempt to boot the PC to see if the DRAM light clears.
- If it fails, try the same stick in a different slot.
- Repeat this process with each individual stick to identify if one specific module is causing the error.
Addressing CMOS Corruption and BIOS Settings
CMOS corruption is a surprisingly common culprit for memory-related boot failures. When the BIOS stores conflicting or unstable memory timings, the system will refuse to POST. Resetting the CMOS clears these settings to their factory defaults, which often resolves the issue instantly.
To perform a reset, locate the small circular CMOS battery on your motherboard. Carefully remove it for one minute, then place it back into its housing.
Alternatively, check your manual for a “Clear CMOS” jumper or button. Once the BIOS is reset, the system will attempt to re-train the memory, which might take a few extra seconds during the first boot.
When to Update or Flash BIOS
If you are using a newer CPU with an older motherboard, a BIOS version mismatch could be the source of your trouble. If the motherboard does not recognize the memory speeds or the architecture of your processor, it will hang at the DRAM light.
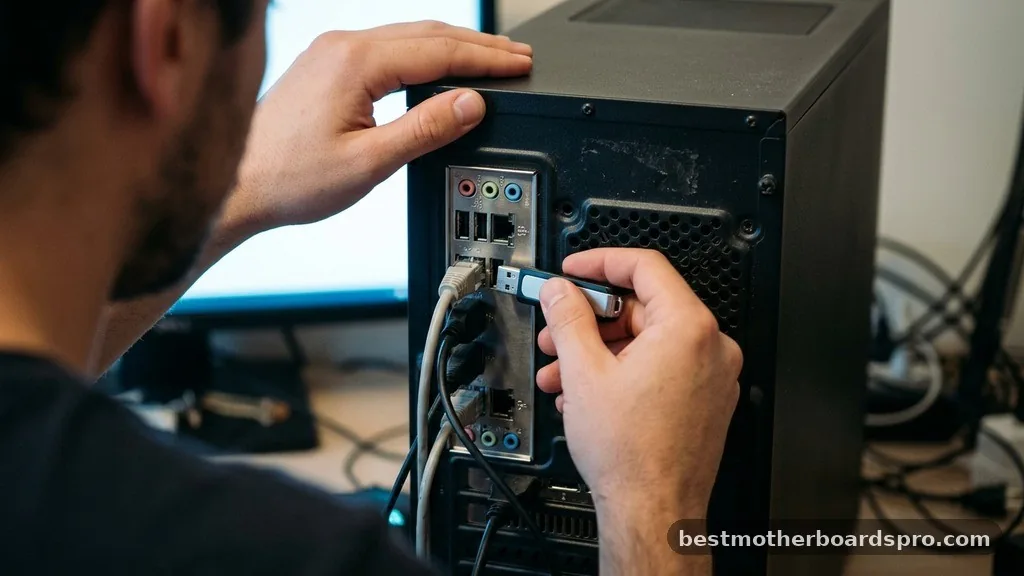
In some scenarios, you may need to update or flash BIOS to ensure compatibility. Many modern motherboards allow you to update the firmware using a USB flash drive without needing a working CPU or RAM installed. Check your manufacturer’s website for “BIOS Flashback” features, which allow you to recover from a non-bootable state by simply pressing a button on the back I/O panel.
Comparing Potential Causes
It helps to know what you are looking for while you work through these steps. The following table highlights common causes and their relative likelihood when dealing with memory errors.
| Potential Cause | Likelihood | Recommended Action |
|---|---|---|
| Loose RAM Connection | High | Reseat modules firmly |
| CMOS Configuration Error | Medium | Clear CMOS battery |
| Incompatible BIOS Version | Low | Update firmware |
| Damaged DIMM Slot | Very Low | Inspect pins visually |
Topical Gaps: What Most Guides Miss
Many guides fail to mention that RAM frequency and XMP profiles are common triggers for a persistent DRAM light. If you recently enabled an XMP or DOCP profile and the system suddenly stopped booting, the motherboard is likely struggling to maintain that overclock. When you clear the CMOS, these profiles are wiped, which is why the system will usually boot immediately afterward.
Another often overlooked issue is the CPU cooler mounting pressure. Because the memory controller is integrated into the CPU, if your cooler is tightened unevenly, it can cause the processor to lose contact with pins in the CPU socket. If you have tried everything else, loosening your cooler slightly or reseating the CPU can sometimes fix the DRAM light.
When to Consider Hardware Replacement
If you have tested every slot with every stick and the DRAM light remains solid, you are likely looking at a hardware failure. If a specific stick fails to boot in any slot, that module is likely defective. If no sticks work in any slot, the issue might be the motherboard’s memory controller or the processor itself.
Before you commit to buying new parts, borrow a known-working stick of RAM from a friend or a different computer. If the system boots with the borrowed stick, you have confirmed your own memory is the problem. If it still fails, focus your attention on the motherboard or the CPU.
FAQ
Is a DRAM light always a sign of dead RAM?
No, a DRAM light indicates a communication failure, not necessarily dead hardware. It often points to a loose connection, an unstable BIOS setting, or an issue with the memory controller. Troubleshooting by reseating the sticks or clearing the CMOS usually resolves the issue without needing replacements.
What should I do if the DRAM light stays on after I add new RAM?
If you recently upgraded, the motherboard might be struggling to train the new memory. Try clearing the CMOS to reset the memory controller. Also, ensure the new sticks are seated in the correct slots according to your manual, especially if you are running a dual-channel configuration.
Can a damaged motherboard slot cause the DRAM light to stay on?
Yes, a damaged or dirty DIMM slot can prevent the motherboard from detecting the RAM. Inspect the slots for bent pins or dust. If one specific slot consistently triggers the DRAM light while others work fine, that slot might be faulty, forcing you to use a different configuration.
How long does the memory training process take?
Memory training can take anywhere from 30 seconds to several minutes after clearing the CMOS. During this time, the system might restart itself multiple times or hang with the DRAM light on. Avoid turning the power off immediately, as interrupting this process can lead to further configuration errors.
Resolving Persistent Memory Issues
Fixing a DRAM light on motherboard systems requires patience and a systematic approach. By isolating your components and clearing the CMOS, you can eliminate the most common software and configuration errors that prevent a successful boot. Remember that the debug LED is there to guide you; take your time with each step, especially when reseating modules or testing them one by one.
If you have exhausted all troubleshooting steps and the error persists, do not hesitate to reach out to the motherboard manufacturer’s support or look into warranty options for your RAM. Maintaining a clean workspace and avoiding static discharge during these repairs will protect your components throughout the process. With a bit of persistence, you will likely have your computer back to its normal, fully functional state in no time.