

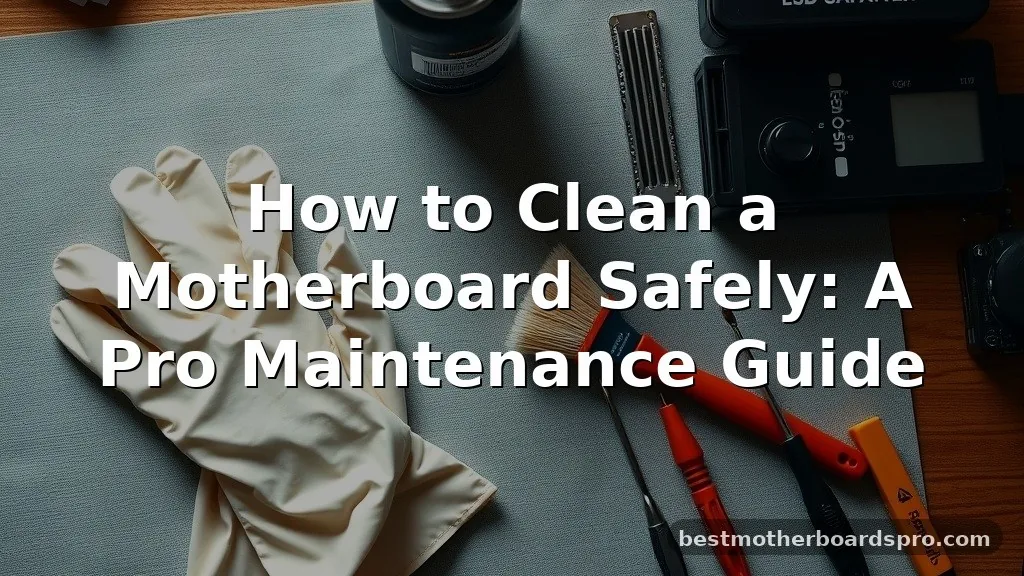
When your computer starts sounding like a jet engine or suddenly crashes without warning, dust accumulation is often the hidden culprit. Learning how to clean a motherboard isn’t just about aesthetics; it is a critical maintenance step that prevents overheating and extends the lifespan of your expensive internal components. Over time, microscopic particles settle on the PCB, potentially causing shorts or trapping heat around your CPU and GPU.
By performing a careful, systematic cleaning, you can restore optimal airflow and keep your system running smoothly for years. This process requires patience and the right tools to ensure you don’t accidentally damage sensitive circuitry while removing the grime.
Preparation and Safety Measures
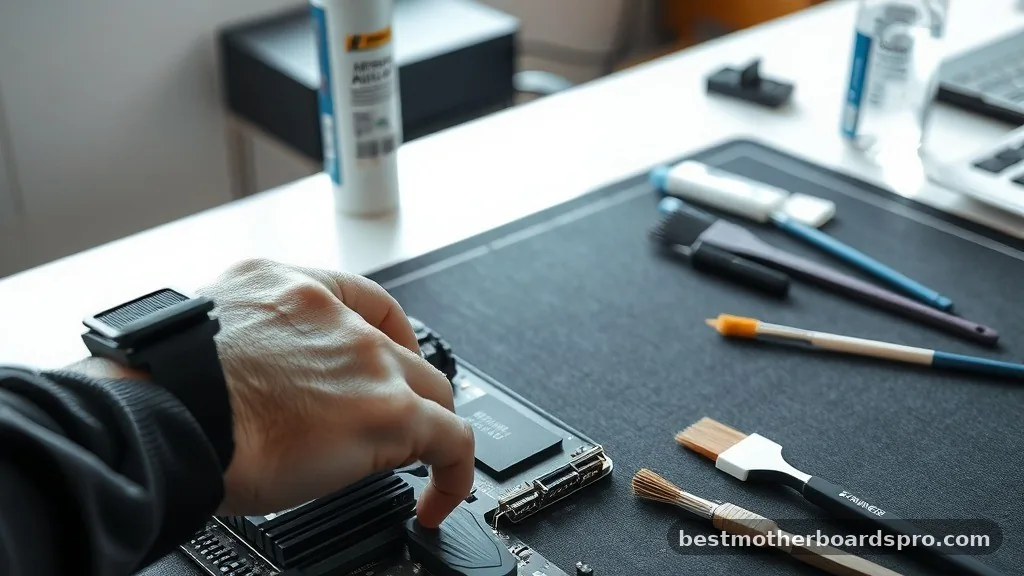
Before you even think about touching the internal hardware, you need to prepare your workspace. Safety is paramount when dealing with electronic components, as static electricity can fry a board in a split second.
Always ensure your system is completely disconnected from the power supply. Flip the switch on your power supply unit to the “off” position and unplug the cable from the wall.
It is also wise to discharge any static buildup from your own body before reaching inside the case. You can do this by touching a large, unpainted metal object or by wearing an anti-static wrist strap. Once you are grounded, remove the side panel of your computer case to gain clear access to the motherboard.
If you are working on a laptop, you will likely need to remove the bottom casing, which may involve unscrewing several small, delicate screws. Keep these screws organized in a small tray or container so you don’t lose them.
Essential Tools for Motherboard Maintenance
You don’t need expensive, specialized equipment to perform a thorough cleaning. Most of the items you need are likely already in your home, though some specific supplies make the job much safer and more effective. Avoid using household cleaners or vacuums, as both can cause irreparable damage.
- High-purity isopropyl alcohol (90% or higher is best to ensure quick evaporation).
- Soft-bristled brushes (antistatic brushes are ideal, but a clean, unused makeup brush works too).
- Compressed air or an electric duster for blowing out hard-to-reach crevices.
- Microfiber cloths that are lint-free to prevent leaving fibers behind.
- Cotton swabs for precision cleaning around heat sinks and connectors.
The Cleaning Process
Start by using compressed air to clear away the bulk of the loose dust. Hold the can upright to prevent liquid propellant from spraying onto the board.
Use short, controlled bursts of air, moving from the center outward to ensure the dust exits the case rather than settling back down. Pay close attention to the CPU cooler fins and the slots where your RAM and graphics cards are seated.
Once you have cleared the loose debris, address any stubborn grime using the isopropyl alcohol. Dip a cotton swab into the alcohol—it should be damp, not dripping—and gently wipe the surface of the PCB. Never pour liquid directly onto the motherboard.
Be extremely careful around small capacitors and resistors, as these components can be fragile. If you find dust inside the PCIe slots or RAM DIMM slots, use a soft, dry brush to gently sweep it out.
| Tool | Best Use Case | Risk Level |
|---|---|---|
| Compressed Air | Removing loose dust from heat sinks | Low |
| Isopropyl Alcohol | Removing sticky residue or oxidation | Low (if used sparingly) |
| Vacuum Cleaner | General dusting | Very High (Static risk) |
| Water | Cleaning PCB | Extreme (Corrosion risk) |
Addressing Corrosion and Liquid Damage
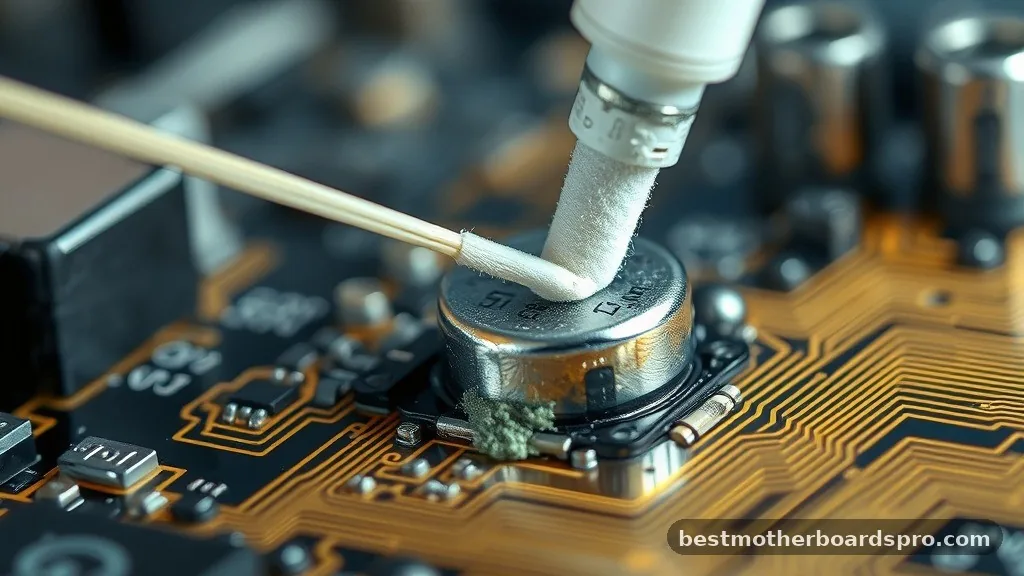
Sometimes, you might encounter more than just dust. If your board has been exposed to humidity or a minor spill, you might see signs of oxidation or corrosion.
This appears as white or greenish crusty deposits on the metal contacts. If you are dealing with this, you need to be much more meticulous.
Dip a soft toothbrush into high-purity isopropyl alcohol and gently scrub the affected area. The alcohol helps break down the oxidation without damaging the board. After scrubbing, use a clean, dry microfiber cloth to wipe away the residue.
Allow the motherboard to air dry for at least an hour before reconnecting any power. If the corrosion is severe or covers a large area, you may need a specialized contact cleaner, but always check the label to ensure it is safe for electronics.
Common Mistakes to Avoid
Many users unintentionally damage their hardware because they rush the process. Never use a standard household vacuum cleaner inside your computer case. The suction creates a massive amount of static electricity, which can discharge into your motherboard and destroy sensitive chips.
Additionally, do not use water or any water-based cleaning agents. Water promotes corrosion and can leave mineral deposits that create shorts even after the liquid has evaporated.
Another common error is using too much force. The motherboard is covered in tiny components soldered to the board; snapping one off will likely render the board unusable. Treat the board like a piece of fine jewelry.
If a piece of dust doesn’t come off with a gentle brush, don’t force it with a metal tool. Use a bit more alcohol and patience instead.
Reassembling and Testing
Once you have finished cleaning, take a moment to inspect your work. Look for any loose debris, cotton swab fibers, or stray bristles that might have been left behind.
Reconnect your cards, such as your graphics cards, ensuring they are seated firmly in their slots. Double-check all power cables to ensure they are snapped securely into their respective headers.
Before you close the case, plug in the power supply and turn the system on. It is normal for the system to take a few extra seconds to boot as it re-initializes hardware.
If the system fails to post, turn it off immediately and re-seat your RAM and GPU. Often, a simple re-seating fixes connection issues that occur after moving components around during a cleaning session.
Frequently Asked Questions
Is it safe to clean a motherboard with alcohol?
Yes, it is perfectly safe as long as you use high-purity isopropyl alcohol, preferably 90% or higher. High-purity alcohol evaporates very quickly and leaves no conductive residue behind, making it the industry standard for cleaning delicate electronics and removing stubborn dust or light oxidation.
Can I use WD-40 on a motherboard?
No, you should never use standard WD-40 on a motherboard. It leaves behind an oily, conductive film that attracts dust and can cause short circuits. If you need a contact cleaner, buy a specific electronic-grade spray that is designed to evaporate completely without leaving a residue.
What can I use to clean my motherboard if I don’t have compressed air?
If you lack compressed air, use a soft, clean, anti-static brush to gently dislodge dust. You can use a manual bulb blower, which is a safer, static-free alternative to canned air. Avoid using hair dryers or anything that generates heat or static electricity near the components.
Is it okay to wash the motherboard with water?
Absolutely not. Water causes immediate oxidation on metal contacts and can lead to long-term corrosion. Even if you dry it thoroughly, mineral deposits left behind can create microscopic electrical bridges, causing the motherboard to fail or malfunction shortly after you turn the power back on.
Maintaining Your PC Long-Term
Keeping your system clean is an ongoing process rather than a one-time event. By establishing a routine, you prevent the buildup that eventually necessitates a deep clean. If you smoke near your computer or have pets, you will likely need to clean your hardware more frequently to prevent hair and ash from clogging the heatsinks.
When you notice your fans spinning at maximum speed while the system is idle, it is a sign that your cooling system is struggling. This often happens because dust has created an insulating blanket on your CPU and GPU heat sinks. Simply removing this dust can lower your operating temperatures by several degrees, which directly improves system stability.
If you are diligent about the basics of cleaning a motherboard, you will find that your PC remains reliable and quiet for much longer. Should you ever feel uncomfortable performing these steps, don’t hesitate to consult with a local technician who can handle the maintenance for you. Consistent care is the best way to protect your investment.
