

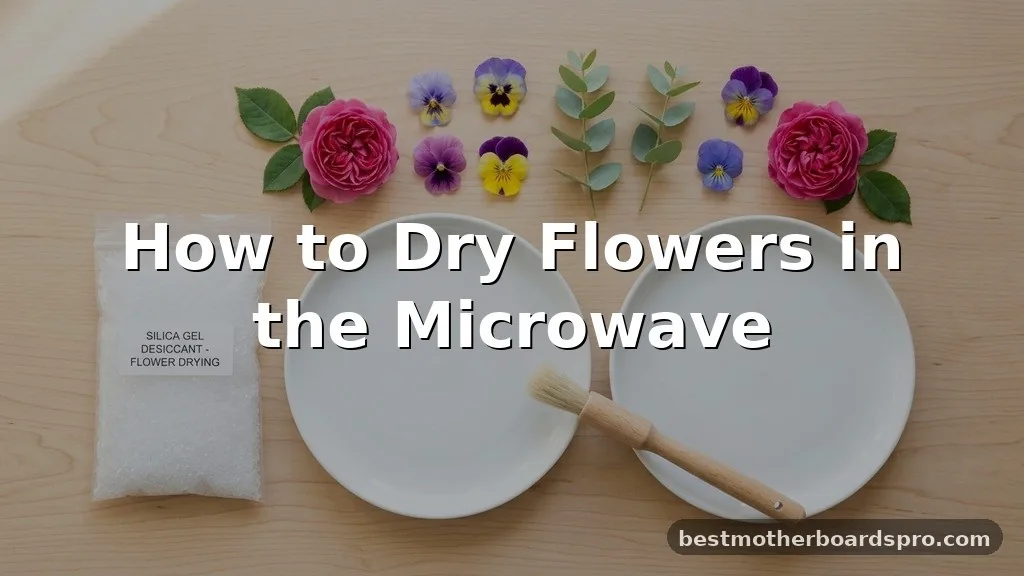
Learning how to dry flowers in the microwave is a game-changer for anyone who loves keeping fresh blooms around long after their season ends. While traditional air-drying methods can take weeks and often result in faded colors, using your kitchen appliance turns the process into a matter of minutes.
This technique works by gently pulling moisture out of the petals while maintaining the structural integrity of the plant. By mastering this simple, high-speed approach, you can create beautiful pressed or three-dimensional floral arrangements for home decor, resin crafts, or scrapbooking projects without waiting for nature to take its slow, steady course.
Essential Tools for Microwave Floral Preservation
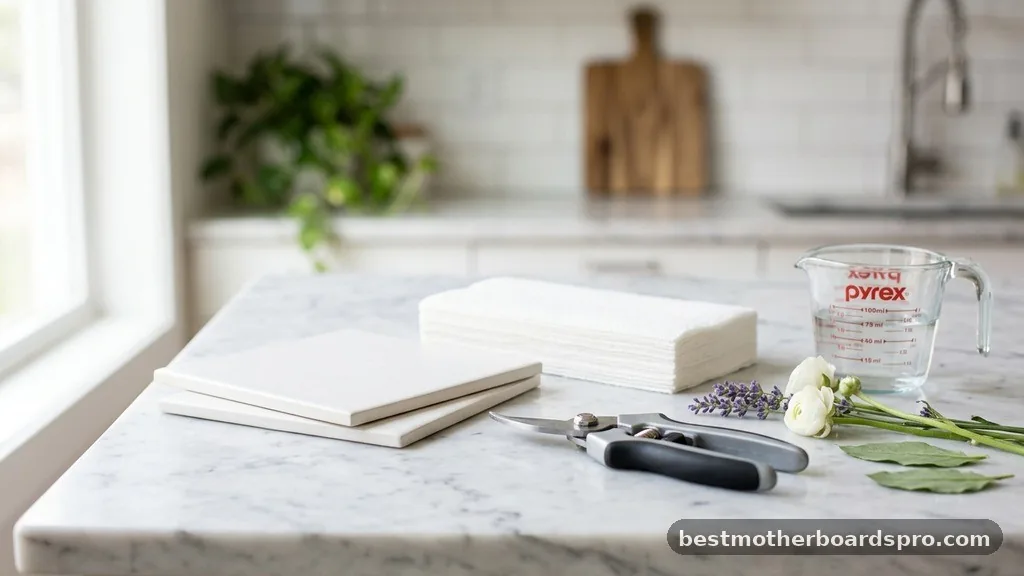
Before you begin, you need to gather a few specific items to ensure the process goes smoothly. Most of these materials are likely already in your kitchen pantry. You will need a microwave-safe container, a source of absorbent material—typically silica gel or paper towels—and, of course, your fresh flowers.
If you choose to use a press, ensure it is specifically labeled as microwave-safe. Using metal components or standard wood frames can lead to sparks or fire hazards, so always verify your equipment first. For most hobbyists, a simple setup using cardboard and absorbent paper works perfectly for creating flat, pressed specimens.
| Material | Role in Drying | Safety Note |
|---|---|---|
| Silica Gel | Draws out internal moisture quickly | Wear a mask to avoid dust inhalation |
| Paper Towels | Wicks moisture away from flat petals | Use plain, non-printed, white paper |
| Cardboard | Provides structural support | Ensure no plastic coatings are present |
| Microwave-Safe Dish | Contains the drying environment | Check for manufacturer stamps |
Step-by-Step: Drying Flowers Using Silica Gel
When you want to keep the three-dimensional shape of your blooms, silica gel is the best medium. This granular substance surrounds the flower and pulls water from the petals while supporting their natural form.
Start by pouring an inch of silica gel into the bottom of a microwave-safe container. Place your flowers face up on the bed of silica, ensuring they do not touch the sides of the dish.
Gently pour more silica over the top until the flower is completely covered. It is crucial to be delicate here so you don’t crush the petals. Once covered, place the dish in the microwave alongside a small cup of water.
The water acts as a heat sink, preventing the flowers from dehydrating too quickly and burning. Heat in short bursts of 30 to 60 seconds, checking the progress until the blooms feel papery and dry.
The Pressing Method for Flat Blooms
If you prefer flat flowers for framing or card-making, you don’t need silica gel. Instead, you will use a press or a makeshift version using two pieces of microwave-safe cardboard. Place your flowers between two sheets of plain, white paper to prevent any ink from the cardboard from bleeding onto your petals.
Layer the paper and flowers between the cardboard pieces and secure them with rubber bands. Place this assembly in the microwave for 30 seconds at a time.
It is vital that you let the flowers cool completely between intervals. This cooling period is when the steam escapes, allowing the petals to set in their dried state without turning brown or translucent from heat damage.
Selecting the Right Blooms
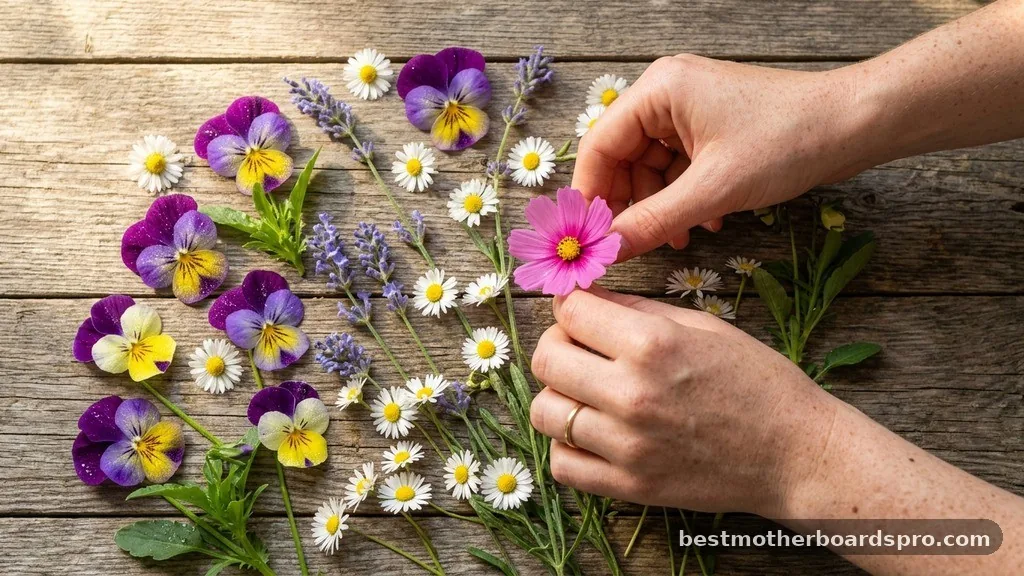
Not every flower reacts the same way to intense heat. Sturdy, thick-petaled flowers like roses, zinnias, and daisies generally perform well. Delicate, thin-petaled flowers can sometimes wilt or lose their shape if you aren’t careful with the timing.
- Roses: Excellent for both pressing and silica drying.
- Daisies: Hold their shape beautifully when pressed flat.
- Lavender: Dries quickly and retains its color well in silica.
- Hydrangeas: Require extra care as they have high water content.
- Pansies: Perfect for beginners due to their flat, thin structure.
Avoid flowers that are already wilting or have signs of decay. The microwave process intensifies whatever state the flower is in, so starting with fresh, vibrant blooms is the secret to a high-quality result. If a flower has a thick stem, trim it off before drying to ensure even heat distribution.
Common Mistakes to Avoid
One of the most frequent errors is overheating. If you leave the flowers in for too long, they will become brittle, brown, or even charred.
Always err on the side of caution with short, incremental bursts of power. You can always add more time, but you cannot fix a burnt flower.
Another common issue is moisture trapped in the container. If you are using silica, make sure it is completely dry before you start.
If you are using paper towels, change them if they become damp. Excess humidity in the microwave will prevent the flowers from drying, leading to mold growth later on.
Filling the Gaps: Why Flowers Turn Brown
Many people struggle with their specimens turning brown during the drying process. This usually happens because the heat was too intense or the drying time was too long.
When you accelerate the moisture removal, you must balance it with adequate cooling periods. If the flower doesn’t have time to “breathe” between blasts, the internal cells collapse and oxidize, turning the petals a dull, brownish color.
Additionally, some flowers are naturally prone to color loss. If you find your blooms are losing their vibrancy, try to pick them when they are at their peak—not when they are fully open and starting to fade. Experimenting with different power levels can also help; sometimes, using the “defrost” setting is safer for sensitive petals than the full power setting.
FAQ
Can I dry any type of flower in the microwave?
Most flowers dry well, but those with high water content, like lilies or thick succulents, are difficult to handle. These often require more precise timing and can easily burn. Stick to thinner-petaled blooms when you are first learning how to dry flowers in the microwave to ensure success.
How do I know when the flowers are finished?
You will know the process is complete when the petals feel stiff, papery, and completely devoid of moisture. They should hold their shape when touched. If they feel soft, limp, or cold, they still contain water and require additional, very short bursts of heat to finish.
Is it safe to use my microwave for this?
Yes, as long as you follow safety protocols. Never use metal, and always include a cup of water in the microwave to absorb excess energy.
This prevents the flowers from burning and protects the appliance. Always monitor the process closely and never leave the microwave running unattended.
Do the colors fade after the process?
Some minor color shifting is natural, especially with delicate blues or purples. However, if you keep the drying time short and use a cooling period, the colors should remain vibrant for a long time. Keep your finished pieces away from direct sunlight to prevent long-term UV fading.
Final Thoughts on Floral Preservation
Mastering the art of drying flowers in the microwave opens up a world of creative possibilities for your home and craft projects. By choosing fresh specimens, utilizing the right absorbent materials, and respecting the need for cooling intervals, you can achieve professional-looking results in mere minutes. Whether you are aiming to preserve a sentimental bouquet or simply want to create unique wall art, this method is efficient and accessible for any skill level.
Remember to keep your heat intervals short, stay patient, and enjoy the process of turning fleeting blooms into lasting memories. Start with a few simple daisies or pansies today, and you will quickly see how easy it is to keep your favorite flowers looking perfect for years.



