


Knowing where to find my motherboard model is essential when you need to upgrade components, troubleshoot driver conflicts, or simply verify your system specifications. Whether you are adding more RAM, installing a new graphics card, or updating your firmware, identifying the exact hardware sitting inside your chassis is the first step toward a successful project.
You don’t need to be a hardware engineer to locate this data. With a few simple software commands or a quick visual inspection, you can pull up the precise details regarding your computer’s foundation in just a few minutes.
Using Windows System Information
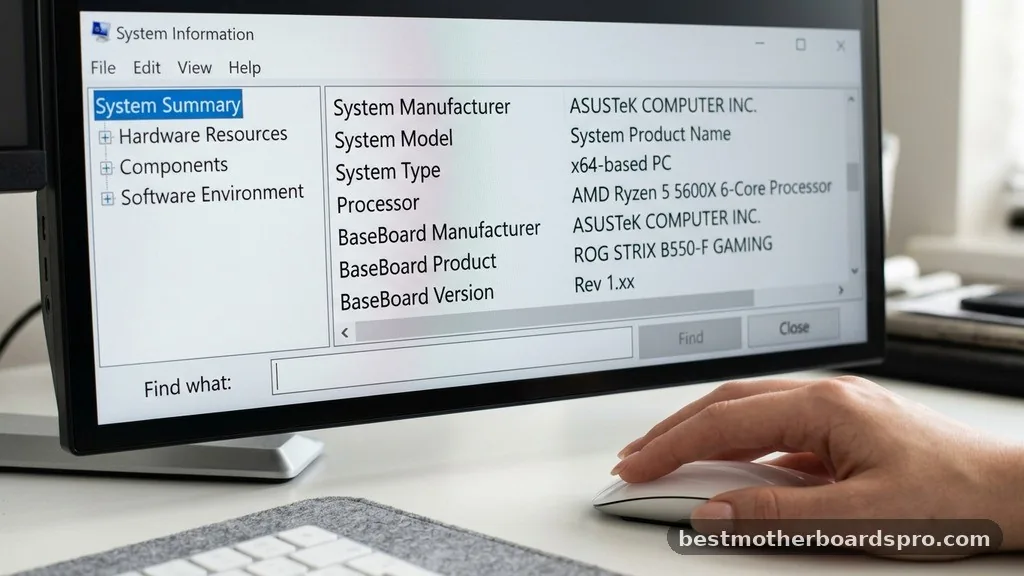
The quickest way to get the data you need without opening your case is by using the built-in Windows System Information tool. This utility aggregates various hardware details into one easy-to-read window, perfect for identifying your board’s manufacturer and specific version.
To access this, simply press the Windows key on your keyboard, type “msinfo32” into the search bar, and hit Enter. Once the System Information window opens, look for the “BaseBoard Manufacturer” and “BaseBoard Product” labels.
The product entry will show you the exact board model installed in your system. If you see “Not Available” or generic manufacturer info, it often means the OEM—such as Dell or HP—has customized the board, and you may need to check their support site using your PC’s service tag.
Leveraging the Command Prompt
If you prefer a text-based interface or the System Information tool isn’t giving you enough detail, the Command Prompt is an incredibly powerful alternative. This method is fast and bypasses the graphical interface entirely, making it a favorite for power users.
Open the Command Prompt by typing “cmd” into your start menu search. Once the black window appears, copy and paste the following command: wmic baseboard get product,Manufacturer,version,serialnumber.
Press Enter, and the system will immediately display the exact name of your board. This command pulls raw data directly from the system management BIOS, ensuring the information you see is accurate and sourced straight from the hardware itself.
Accessing the UEFI BIOS
If your computer won’t boot into Windows or you are in the middle of a troubleshooting session, the UEFI BIOS is your best friend. This environment exists independently of your operating system and provides a reliable way to check hardware specs.
Restart your computer and repeatedly tap the Del, F2, or F12 key—depending on your specific manufacturer—to enter the BIOS or UEFI menu. Once you are inside, the main dashboard usually displays the system model, processor information, and the board version right on the home screen.
If it isn’t immediately visible, check the “System Information” or “Advanced” tabs. This is the most reliable method because the interface communicates directly with the hardware, leaving no room for driver-related errors.
Performing a Physical Inspection
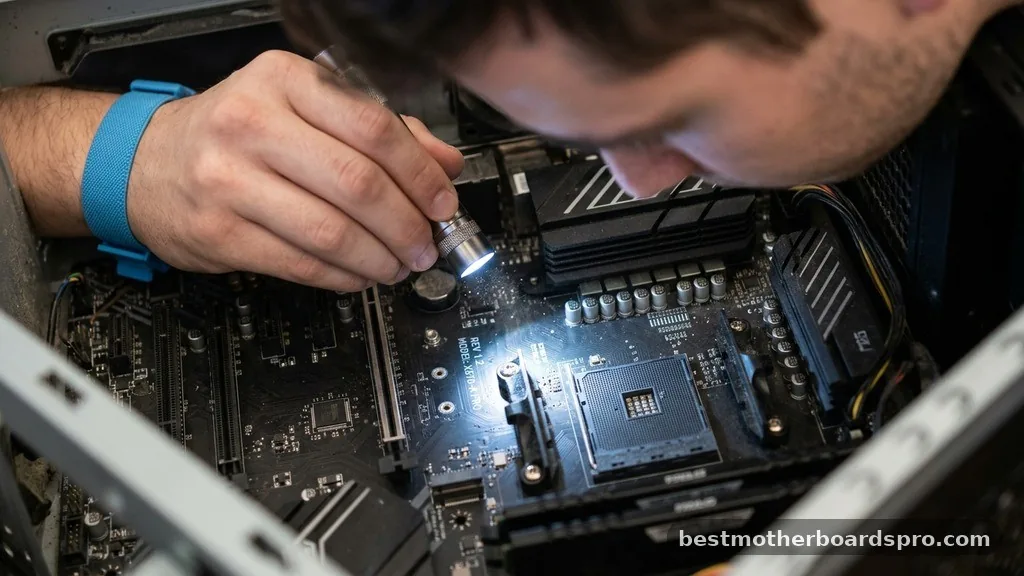
Sometimes, software might fail to report the correct information, especially with pre-built systems or older hardware. In these cases, you may need to open the side panel of your computer case to look for the markings directly on the circuit board.
Locating the Label
Manufacturers typically screen-print the model name directly onto the surface of the motherboard. You will usually find this printed in bold white text near the CPU socket, between the PCIe slots, or near the RAM modules. If you are using a flashlight, look for the largest, most prominent branding on the board.
Tips for Visual Identification
* Turn off your computer completely and unplug the power cable before opening the chassis.
* Use a flashlight to illuminate the board, as the text can be small or blended into the color of the PCB.
* If you cannot find a model name, look for a sticker with a long string of numbers, which often denotes the revision or serial number.
* Be careful not to touch any sensitive components while inspecting the inside of your machine.
Comparing Identification Methods
Choosing the right approach depends heavily on your current situation and the state of your computer. The following table highlights the pros and cons of each method.
| Method | Best For | Difficulty |
|---|---|---|
| System Information | Quick checks inside Windows | Very Low |
| Command Prompt | Automated data retrieval | Low |
| UEFI BIOS | Troubleshooting when OS fails | Medium |
| Physical Inspection | Corroborating software data | High |
Addressing Common Identification Gaps
Many users encounter issues when they try to find their motherboard model on pre-built systems from companies like Dell, HP, or Lenovo. In these instances, the manufacturer often rebrands the board, meaning standard software might only show the computer’s model number rather than the specific board manufacturer.
If you find yourself in this situation, do not panic. Your best course of action is to use the serial number or service tag located on the back or bottom of your tower or laptop. Enter that tag into the manufacturer’s official support website.
They will provide a complete parts list for your specific serial number, which will include the exact motherboard specifications. This is often more useful than the generic model name because it accounts for specific hardware revisions and proprietary power connections that are common in mass-produced machines.
Third-Party Software Tools
If you want a more user-friendly interface than the built-in system tools, there are several reputable free utilities available. These programs act as a bridge between your hardware and your display, pulling deep-level data that Windows might hide.
- CPU-Z: A lightweight, industry-standard tool that provides a dedicated “Mainboard” tab with your exact model and chipset info.
- Speccy: Developed by the creators of CCleaner, this provides a clean, graphical overview of your entire system’s health and hardware.
- HWiNFO: Best for advanced users who need to see everything from voltage sensors to BIOS version details alongside the board model.
Frequently Asked Questions
Does the BIOS provide the exact motherboard model?
Yes, the BIOS or UEFI menu is the most accurate source for identifying your motherboard. Because it communicates directly with the hardware during the startup phase, it bypasses any potential operating system errors, ensuring you get the correct model name and revision number every single time you check.
Can I find the model without opening the computer?
Absolutely. You can use the Windows System Information tool, the Command Prompt, or third-party software like CPU-Z to identify your board. These methods pull data from the system registry and BIOS, allowing you to see your hardware specifications without ever touching a screwdriver or opening your case.
What if my motherboard model isn’t showing up?
If software reports generic data, your system is likely a pre-built model from an OEM. In this case, the motherboard is proprietary. Visit the manufacturer’s support website and enter your PC’s serial number or service tag to see the specific hardware components installed in your machine.
Is the serial number the same as the model name?
No, they are different. The model name identifies the design and series of the board, such as an Asus Prime or MSI Tomahawk. The serial number is a unique string of characters specific to your individual unit, used primarily for warranty tracking and registration with the manufacturer.
Understanding where to find my motherboard model is a foundational skill for any PC owner. Whether you are performing a simple check for driver updates or embarking on a complex hardware overhaul, having this information at your fingertips saves time and prevents potential compatibility headaches. By utilizing the software methods like the Command Prompt or the reliable physical inspection of the board, you ensure that any upgrades you choose will integrate perfectly with your current setup.
Start by trying the System Information tool, and if you need more depth, don’t hesitate to enter the BIOS. Once you have identified your hardware, you can confidently proceed with your maintenance or upgrades, knowing exactly what your system needs to perform at its best.



