

Seeing a persistent DRAM light glow on your motherboard is one of the most frustrating experiences for any PC builder. That small, often orange or red LED is a diagnostic signal from the system’s firmware, indicating that the computer has failed the initial memory check during the startup sequence.
You might be staring at a black screen, wondering why your machine refuses to boot despite everything appearing connected. Fortunately, most memory-related errors are caused by minor physical seating issues or temporary configuration conflicts that you can resolve at home with a bit of patience and a methodical approach.
Understanding the POST Process and DRAM Errors
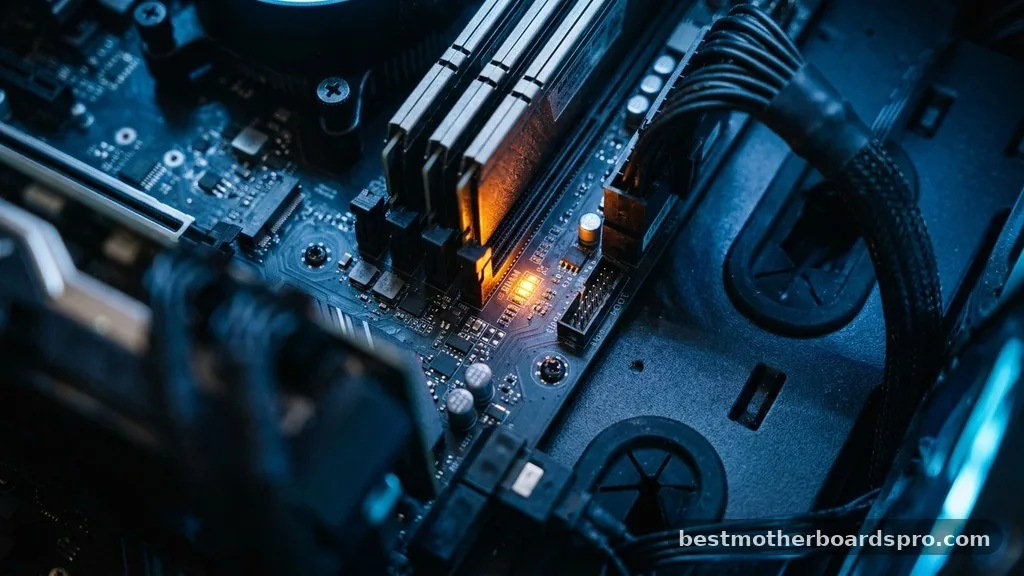
When you press the power button, your computer initiates the POST process (Power-On Self-Test). This sequence checks essential hardware components like the CPU, RAM, and GPU before the operating system loads. If the motherboard detects a problem with your memory, it triggers the Q-LED indicator—that specific DRAM light—to alert you to a failure in hardware initialization.
The motherboard essentially acts as a gatekeeper. If it cannot establish a stable handshake with your memory modules, it halts the boot process to protect your components from potential electrical damage.
While a glowing light is alarming, it rarely means your hardware is permanently broken. It usually means the system is struggling to communicate with your RAM sticks due to dirt, loose connections, or incorrect BIOS settings.
Initial Physical Inspection and RAM Seating
Before you worry about software or advanced settings, focus on the physical connection between your RAM and the DIMM slots. Over time, even slight vibrations or thermal expansion can cause a module to lose perfect contact with the pins inside the slot.
Re-seating your memory modules
- Power down your PC and flip the switch on your power supply unit to the off position.
- Unplug the power cable and hold the power button for 10 seconds to drain residual electricity.
- Open your case and carefully unlatch the clips on the DIMM slots.
- Remove the RAM sticks entirely, checking for any debris or dust inside the slots.
- Reinsert the modules firmly, ensuring you hear a distinct “click” as the clips snap back into place.
If you are using two sticks of RAM, try booting with only one module installed in the second slot from the CPU. This isolates the problem and helps determine if one specific stick is faulty or if a single slot on the motherboard is unresponsive.
Clearing CMOS and BIOS Settings
Sometimes, the memory controller holds onto “bad” data from a previous session, especially if you recently attempted to overclock your system or changed an XMP profile. Performing a CMOS reset clears these stored values and forces the motherboard to revert to its factory default settings, which are almost always stable enough to boot.
You can perform this reset by locating the circular motherboard battery (the CR2032 coin cell). With the power unplugged, remove the battery for about five minutes, then reinstall it.
Alternatively, check your motherboard manual to find the specific “Clear CMOS” pins; shorting these pins with a screwdriver for a few seconds will achieve the same result. If the system boots successfully after this, you know the issue was a configuration conflict rather than a hardware failure.
Addressing CPU and Socket Connectivity
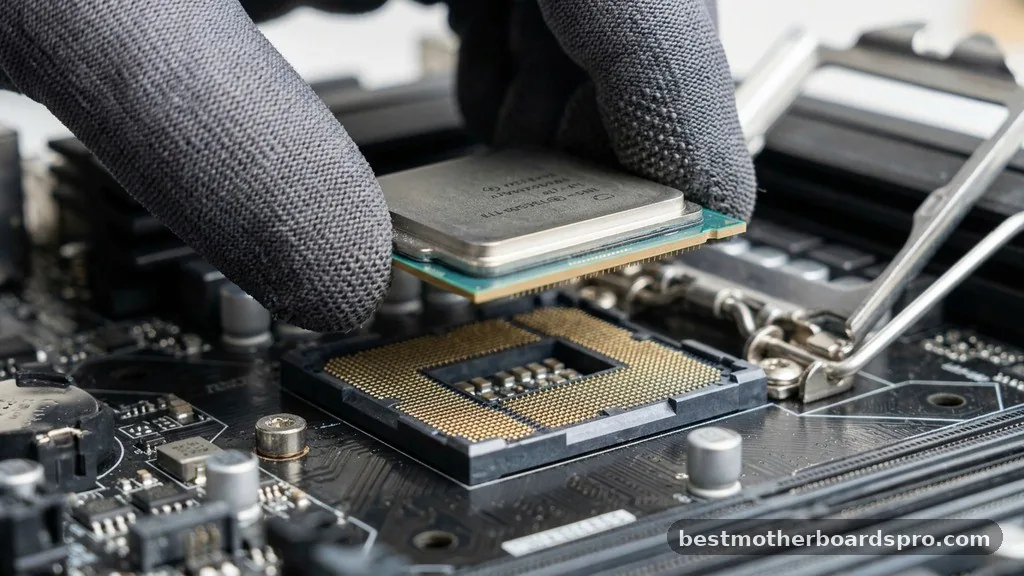
A common misconception is that a DRAM light only points to the RAM sticks themselves. In reality, the memory controller is located inside the CPU. If the CPU is not seated correctly, or if there are bent CPU socket pins, the motherboard cannot communicate with the memory channels, causing the DRAM light to trigger.
If you have recently installed or moved your processor, inspect the socket for any signs of physical damage. Even a tiny, microscopic bend in a pin can disrupt the connection to a specific memory channel. Ensure your CPU cooler is tightened evenly as well; uneven mounting pressure can cause the processor to lose contact with the pins on one side of the socket.
Common Troubleshooting Scenarios
Different motherboard manufacturers use different diagnostic indicators. The following table provides a comparison of common scenarios encountered when dealing with memory initialization errors.
| Symptom | Likely Cause | Recommended Action |
|---|---|---|
| DRAM light on, fans spinning | Poor RAM seating | Remove and re-seat RAM sticks |
| DRAM light flashes during boot | Memory training | Wait 2-3 minutes for the POST to finish |
| DRAM light solid after BIOS update | Corrupted firmware | Perform a BIOS flashback |
| DRAM light on with new CPU | Bent socket pins | Inspect CPU socket for damage |
Resolving Topical Gaps: Advanced Diagnostics
Many users struggle when the DRAM light persists even after swapping RAM or clearing the CMOS. This often points to deeper issues like voltage stability or outdated firmware.
If your motherboard supports a BIOS update via a USB flash button, try this even if you cannot see the screen. Manufacturers frequently release updates that improve memory compatibility with newer processors.
Another often overlooked factor is static discharge. If you didn’t ground yourself before handling your components, a small static spark could have damaged the delicate traces on your motherboard.
If you have access to a secondary PC, test your RAM sticks there. If they work in another system, the problem is almost certainly the motherboard slots or the CPU memory controller, not the RAM itself.
FAQ Section
What should I do if the DRAM light stays on after I re-seated the RAM?
If re-seating doesn’t work, try booting with only one stick of RAM in different slots. This process of elimination helps identify if a specific slot or module is defective. Also, ensure you have performed a CMOS reset to clear any potentially unstable overclocking settings.
Is a DRAM light always a sign of faulty RAM?
No, it is not always a sign of faulty memory. It often indicates a communication breakdown between the CPU, the motherboard, and the RAM. Issues like bent CPU pins, loose power cables, or even a corrupted BIOS can trigger the light, even if your memory modules are perfectly healthy.
How can I tell if a RAM slot on my motherboard is damaged?
You can test a slot by using a single, known-working RAM stick and rotating it through each slot individually. If the system boots in three slots but triggers the DRAM light in the fourth, that specific slot is likely damaged or obstructed by debris, preventing a proper connection.
Does a BIOS update help fix DRAM light issues?
Yes, a BIOS update is highly effective if the issue is related to compatibility. New firmware versions often improve the stability of the memory controller, allowing the motherboard to support a wider range of RAM frequencies and configurations, which can resolve persistent boot failures after hardware upgrades.
Final Thoughts on Memory Troubleshooting
Fixing a DRAM light on your motherboard is usually a process of elimination rather than a search for a broken component. By systematically checking your physical connections, resetting your BIOS, and verifying the health of your CPU socket, you can resolve the vast majority of these errors without spending money on replacement parts. Remember that hardware initialization is sensitive; patience is your greatest tool when the system refuses to cooperate.
If you have tried these steps and the light remains, it might be time to test your components in a different machine or consult the manufacturer’s warranty support. Taking a methodical approach will get you back to your desktop and out of the troubleshooting loop as quickly as possible.



