

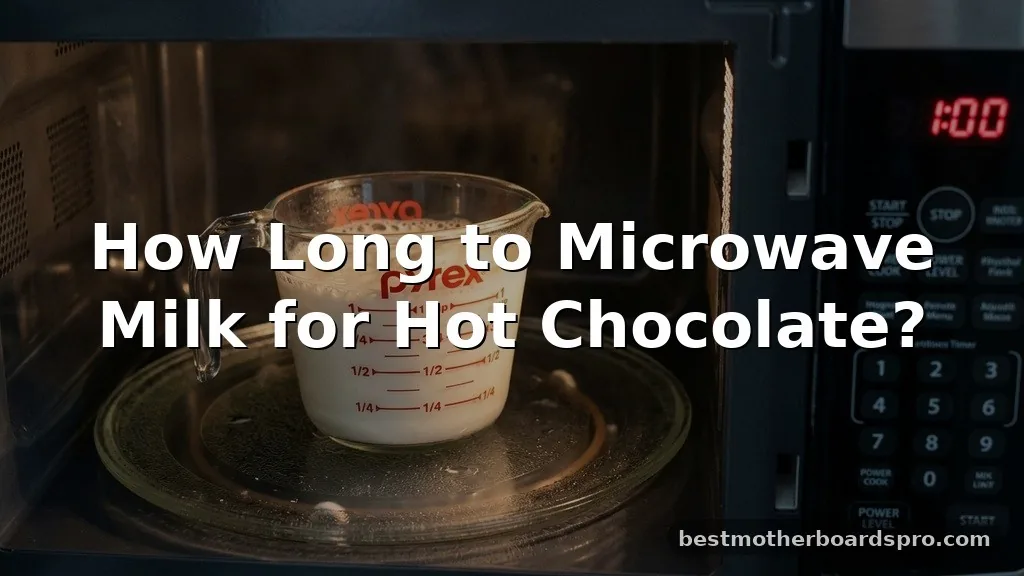
Getting the perfect cup of cocoa starts with the base. If you have ever wondered how long to microwave milk for hot chocolate, you are likely looking for that sweet spot between lukewarm and scalded. Heating milk can be a bit temperamental because of its high protein and sugar content, which makes it prone to bubbling over or forming a tough skin on the surface.
By understanding the relationship between your microwave’s wattage and the volume of liquid, you can easily achieve the ideal temperature for a cozy drink. This process is about precision rather than guesswork, ensuring your beverage is ready to enjoy without the mess of a stovetop cleanup.
Understanding Microwave Power and Timing
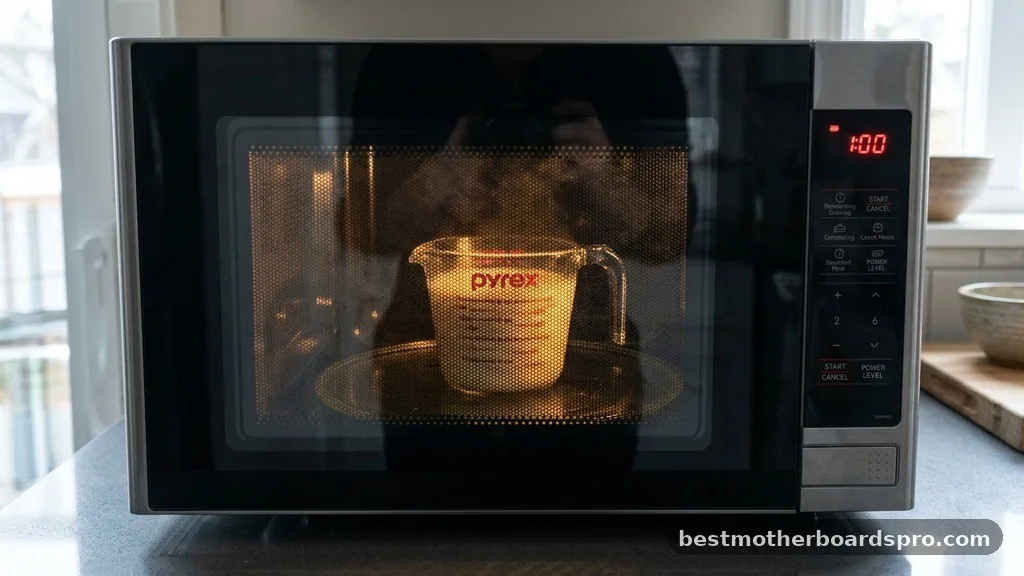
The primary factor determining how long to microwave milk for hot chocolate is the power level of your appliance. Most household microwaves range from 700 to 1200 watts. A high-wattage microwave will obviously heat the liquid much faster than a lower-wattage model, meaning you need to adjust your timing accordingly.
Always start with shorter intervals to avoid boiling over. If you blast the milk for two minutes straight, you risk a kitchen disaster.
Instead, aim for 30 to 45-second bursts, checking the temperature and stirring in between. This method ensures the heat distributes evenly throughout the cup, preventing “hot spots” that can burn your tongue.
Variables Influencing Heating Time
Several factors influence the time required to heat your milk effectively. The starting temperature of the milk is perhaps the most significant.
Milk taken directly from the back of a cold refrigerator will take longer to reach the desired heat than milk that has been sitting on the counter for a few minutes. Additionally, the material of your mug matters.
| Milk Volume | Estimated Time (1000W Microwave) | Recommended Interval |
|---|---|---|
| 0.5 Cup | 45 – 60 Seconds | 20 Seconds |
| 1 Cup | 60 – 90 Seconds | 30 Seconds |
| 2 Cups | 120 – 180 Seconds | 45 Seconds |
Ceramic mugs are standard, but they absorb heat differently than glass or plastic. If you use a heavy ceramic mug, it will soak up a portion of the microwave’s energy, meaning the milk might feel cooler than it actually is. Always use a spoon to stir the liquid; this motion helps you gauge the temperature accurately while preventing the formation of that stubborn film on top.
Techniques for a Perfectly Smooth Drink
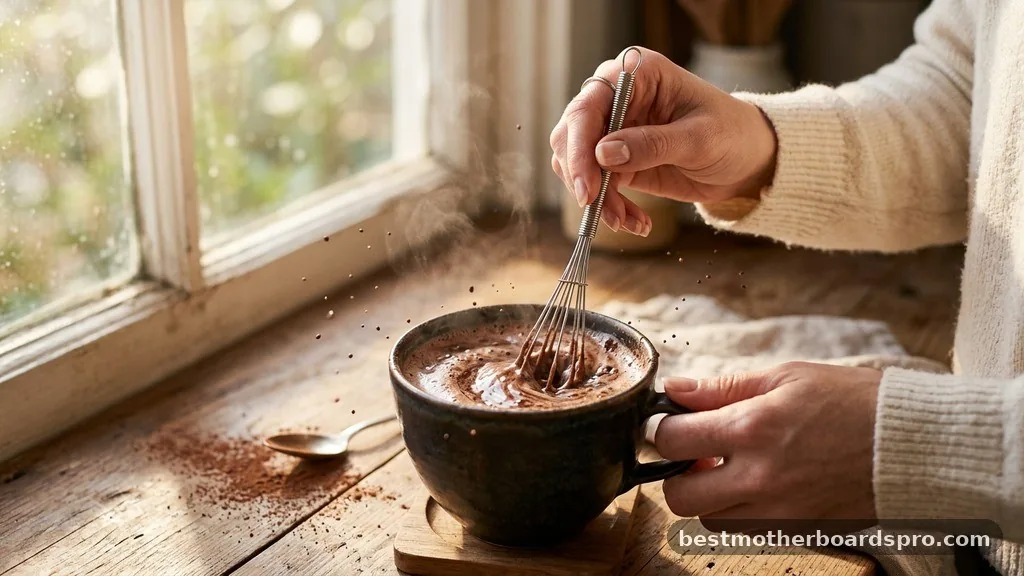
Once you have mastered the timing, the secret to a professional-tasting beverage lies in how you incorporate your cocoa powder. Adding dry ingredients to hot milk often results in clumps that stick to the bottom of the cup. To avoid this, mix your cocoa powder with a tiny splash of cold milk or water first to create a thick paste.
- Create a smooth paste with your cocoa and a small amount of liquid before adding the rest.
- Use a small whisk to ensure no dry pockets remain hidden at the bottom.
- Heat the milk in short, controlled bursts to maintain the texture.
- Stir vigorously after each microwave interval for even heat distribution.
- Top with marshmallows or whipped cream only after the drink is fully prepared.
This simple step ensures that when you finally pour in the warm milk, the chocolate dissolves instantly. The result is a silky, uniform texture that feels indulgent. If you prefer a frothy top, a quick whip with a handheld frother after heating will add that coffee-shop aesthetic to your homemade treat.
Addressing Common Heating Issues
Many people struggle with the milk bubbling over the edge of the mug. This happens because milk contains proteins that trap air bubbles as they expand.
When these bubbles rise to the surface, they create a foam that pushes the liquid up and over the rim. To prevent this, never fill your cup more than two-thirds full.
If you find that your milk often develops a skin, it is likely because you are heating it to a boiling point. Milk proteins begin to denature and create a surface layer at around 160°F to 170°F.
For the best drinking experience, aim for a temperature closer to 140°F. It will be hot enough to melt chocolate and keep you warm, but cool enough to sip immediately without burning your mouth.
The Science of Hot Milk
Understanding the physics behind heating dairy can help you become more consistent. When you microwave milk for hot chocolate, you are agitating the water molecules within the dairy. Because milk is essentially an emulsion of fat and water, the water molecules heat up faster.
If you use whole milk, the fat content provides a richer mouthfeel, but it also heats slightly differently than skim milk. Skim milk has less fat and can sometimes heat faster, making it even more prone to sudden boiling.
Regardless of the fat content, always keep an eye on the microwave door. If you see the liquid rising rapidly, hit the stop button immediately and let it settle for a few seconds before continuing.
Frequently Asked Questions
Is it safe to microwave milk for hot chocolate?
Yes, it is perfectly safe to heat milk in the microwave. The key is using moderate power levels and short, controlled intervals to prevent the liquid from boiling over or developing a film. Always use a microwave-safe container and avoid overheating to preserve the quality of the milk.
How long to microwave 1 cup of milk?
For a standard 1000-watt microwave, one cup of milk typically takes between 60 and 90 seconds. We recommend starting with 45 seconds, stirring, and then adding 15-second intervals until it reaches your preferred temperature. Adjust your timing slightly if your microwave has a lower or higher wattage.
Why does my milk form a skin when heated?
The skin that forms on the surface of heated milk is caused by the evaporation of water and the subsequent concentration of proteins and fats. To minimize this, stir the milk frequently during the heating process and avoid bringing the milk to a full, rolling boil.
Can I add chocolate before microwaving?
It is generally better to heat the milk first and then stir in your chocolate. Adding solid chocolate or powder before heating can lead to scorching at the bottom of the mug, as the sugar and cocoa particles absorb microwave energy faster than the liquid, potentially causing burnt spots.
Conclusion
Finding the right balance when you microwave milk for hot chocolate transforms a simple task into a reliable routine. By focusing on shorter heating intervals and consistent stirring, you can avoid common pitfalls like messy overflows or scorched dairy. Remember that the goal is a gentle heat that creates a warm, comforting base for your cocoa.
Start with the suggested times in this guide, observe how your specific appliance reacts, and you will soon find the perfect rhythm for your morning or evening mug. Enjoy the process of creating your favorite drink, and do not hesitate to experiment with different cocoa blends once you have mastered the temperature of your milk.



