

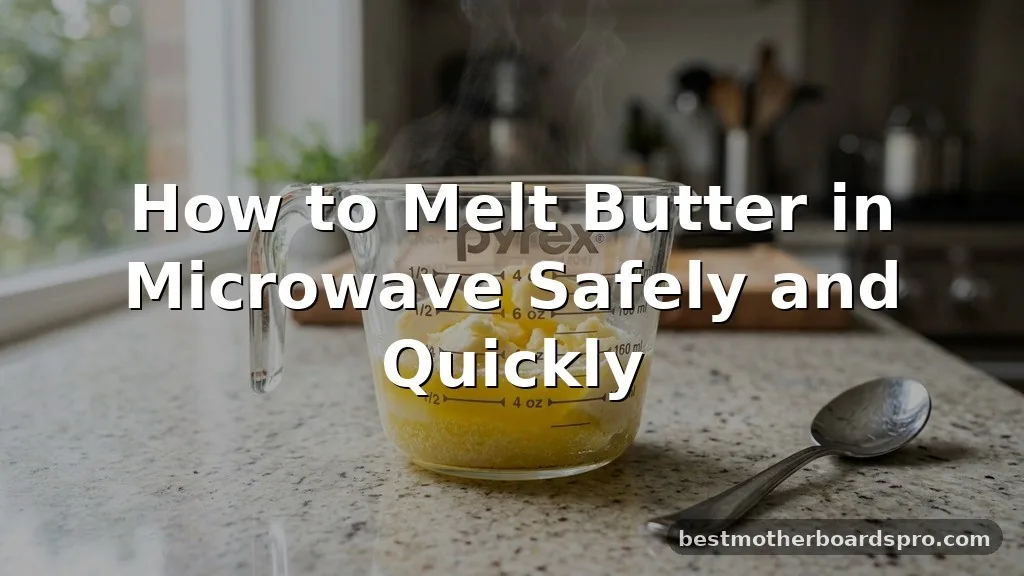
Learning how to melt butter in microwave settings is a simple kitchen skill, yet it often ends in a messy explosion or burnt dairy. When you need liquid gold for a quick batch of cookies or a drizzle over popcorn, you want speed without the cleanup.
Mastering this technique requires understanding how your appliance interacts with fat and moisture. By following a few key precautions, you can consistently achieve the perfect consistency for all your baking and cooking projects without sacrificing the quality of your ingredients.
Why Precision Matters When Melting Dairy
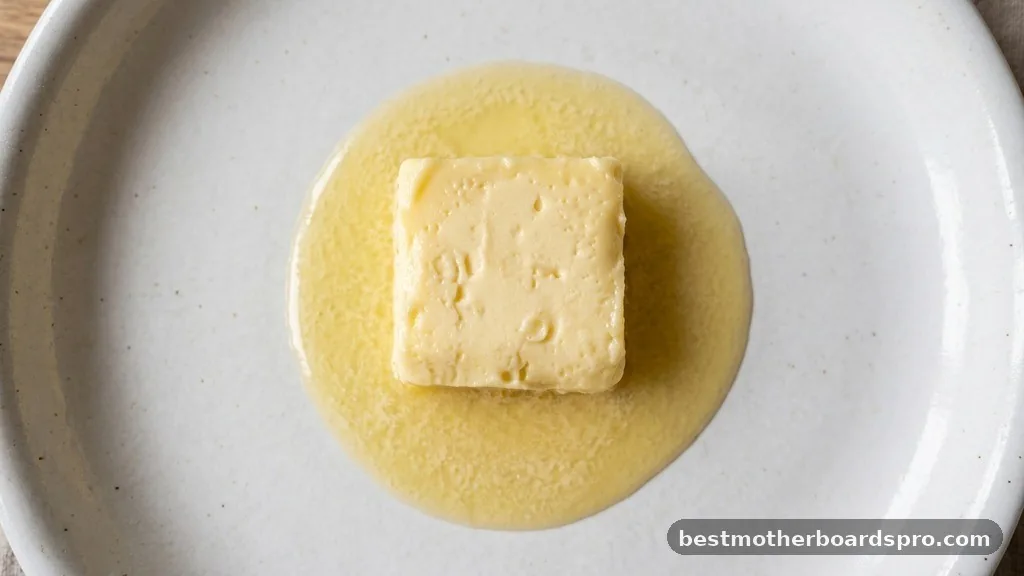
Butter is an emulsion of fat, water, and milk solids. When you subject it to high-intensity electromagnetic waves, the water molecules vibrate rapidly, generating heat. Because butter has a low smoke point, it transitions from solid to liquid and then to burnt in a matter of seconds.
If you overheat it, the milk solids will brown or separate entirely, leaving you with a greasy, clarified liquid rather than the emulsified state required for most recipes. Controlling the heat is the primary challenge.
Most modern appliances have high power settings that are far too aggressive for such a delicate ingredient. Always opt for lower power levels to maintain structural integrity.
The Step-by-Step Process for Perfect Results
To melt butter properly, you need to prepare the butter and choose the right container. Avoid using plastic, as fat absorbs heat quickly and can warp or melt the container itself. A small glass bowl or a ceramic ramekin works best for this task.
- Cut the butter into uniform pieces to ensure it melts evenly.
- Place the pieces in a microwave-safe dish.
- Cover the dish with a paper towel or a microwave-safe plate to prevent splattering.
- Set your microwave to 30% or 50% power.
- Heat in short intervals, checking the progress every 10 seconds.
- Remove the dish when a few small lumps remain and stir until fully smooth.
Using this method prevents the butter from reaching its boiling point. If you hear popping sounds, you have already gone too far. The residual heat in the dish will handle those final few lumps, keeping the flavor profile rich and creamy.
Avoiding Common Mistakes and Messes
The most frequent issue people face is the “butter explosion.” This happens because the water content in butter heats up and turns into steam faster than the fat can melt. When the pressure builds up, the steam forces the fat to erupt, coating your appliance’s interior in grease.
The Role of Covering Your Dish
Always cover your bowl. A simple paper towel acts as a barrier for rogue droplets, while a glass saucer keeps the heat contained. If you do not have a lid, a piece of parchment paper is an excellent alternative. This simple step saves you from the tedious task of scrubbing the ceiling of your appliance.
Power Settings Explained
Many users default to full power, which is the root cause of most kitchen accidents. Table 1 illustrates why lower settings are superior for dairy.
| Power Setting | Risk Level | Result Quality |
|---|---|---|
| 100% (High) | High (Explosion/Burning) | Poor (Separated/Burnt) |
| 50% (Medium) | Moderate | Good |
| 30% (Low) | Low | Excellent |
Alternative Methods for When the Microwave Fails
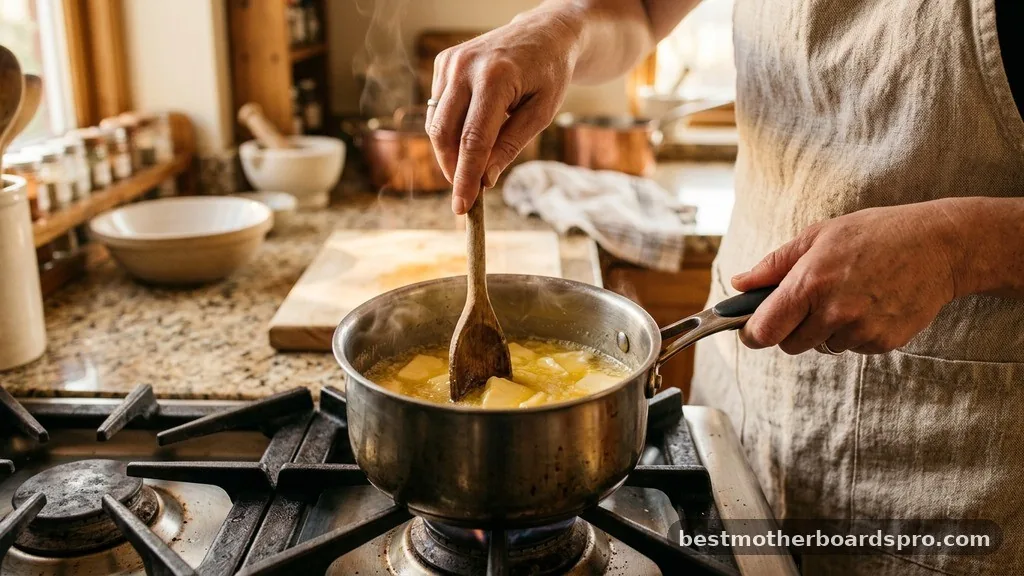
If you find yourself without a microwave or if you prefer a more controlled environment, you can use traditional methods. A stovetop double boiler is the gold standard for delicate sauces, as it uses indirect heat to ensure the butter never scorches.
Alternatively, you can leave butter out at room temperature to soften it, which is often better for creaming in baking recipes. If you are in a rush, place the butter in a bowl and invert a pre-warmed glass over it. The ambient heat trapped inside will soften the butter without melting it into a liquid state.
Addressing Common Topical Gaps
Many people wonder if they can melt frozen butter. While possible, it is risky because the exterior will melt before the center even thaws.
It is better to grate the frozen butter using a cheese grater first. The increased surface area allows it to melt almost instantly at a very low power setting.
Another common question involves salted versus unsalted butter. Salted butter has a slightly higher water content, which can make it more prone to popping. When using salted varieties for sauces, be extra vigilant during the final seconds of the process.
Comparing Methods for Fat Preparation
Different recipes call for different states of butter. Understanding the comparison between these states ensures your final product has the right texture.
| Method | Best For | Texture |
|---|---|---|
| Microwave | Popcorn, quick glazes | Liquid |
| Stovetop | Browned butter, delicate sauces | Liquid/Nutty |
| Room Temp | Cookies, cakes | Soft/Spread |
Frequently Asked Questions
Can I melt butter in the microwave without it exploding?
Yes, you can prevent explosions by using a lower power setting and covering the dish. Heating in 10-second bursts allows the heat to distribute evenly throughout the fat, preventing the steam pockets that cause butter to splatter and pop inside your appliance.
Is it better to melt butter in the microwave or on the stove?
The microwave is faster and more convenient for simple tasks like greasing a pan or drizzling popcorn. However, the stove is superior for browning butter or making delicate emulsions like Hollandaise, as it offers more precise temperature control and prevents the butter from separating.
How long should I heat 2 tablespoons of butter?
For two tablespoons, start with 15 seconds on 50% power. Check the consistency immediately after the timer stops. Most likely, it will be mostly melted with a few solid bits left. Stir the butter until those remaining pieces disappear, which avoids overheating the liquid portion.
Why does my butter turn into a clear oil when melted?
If your butter turns into a clear, golden oil, it has reached the point of clarification. This means the milk solids have separated and sunk to the bottom. While this is great for high-heat cooking, it is generally undesirable for baking recipes that rely on the moisture of the solids.
Final Thoughts on Proper Butter Management
Taking the time to adjust your settings makes a significant difference in your cooking results. By using lower power and keeping your container covered, you turn a potentially messy task into a seamless part of your culinary routine. Remember that the goal is to gently transition the fat into a liquid state without compromising its structure or flavor.
Whether you are prepping for a batch of cookies or simply finishing a dish, these small habits ensure that melting butter in microwave appliances remains a quick and reliable method in your kitchen. If you have a favorite trick for consistent results, feel free to share your experience with other home cooks.



