

Installing an over the range microwave transforms your kitchen by clearing up valuable counter space while providing professional-grade ventilation. While the process might seem intimidating, homeowners can successfully manage the project with a few basic tools and a bit of patience.
You will need to carefully align your unit with the existing cabinetry and ensure it is secured firmly to the wall studs to support the weight of the appliance. By following the correct sequence of measurements and structural checks, you can achieve a secure, functional setup that looks like it was installed by a professional contractor.
Preparing for the Installation
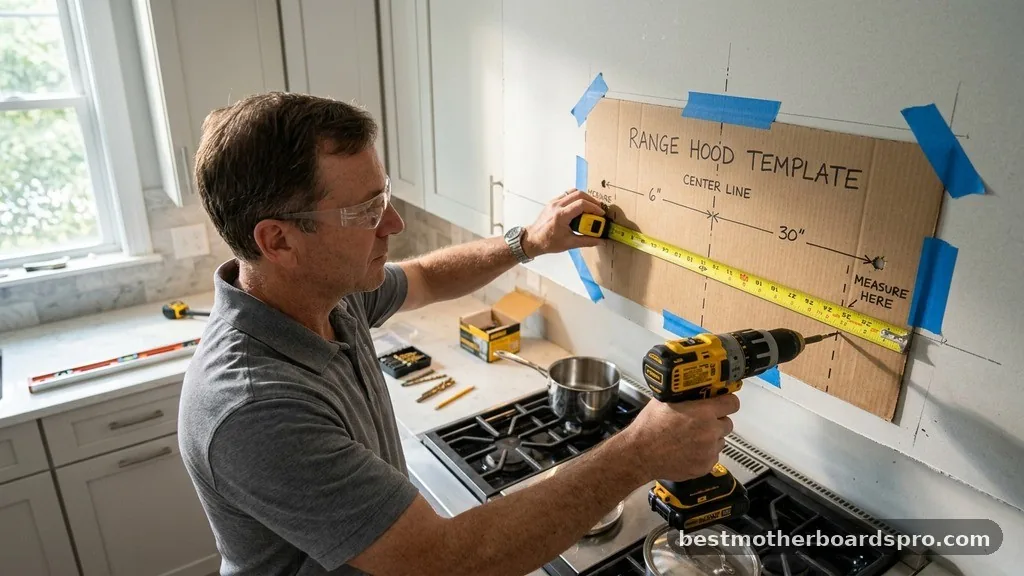
Before you touch a single tool, you must assess the space above your stove. Most over the range microwaves require a specific clearance between the cooktop surface and the bottom of the unit, usually around 30 inches.
Check your manufacturer’s manual for the exact requirement, as this ensures both safety and proper operation of the ventilation system. You should also verify that your existing kitchen cabinetry can handle the weight of the new appliance.
Gather your essential tools early to avoid mid-project interruptions. You will need a stud finder to locate the structural supports behind your drywall, as the mounting plate must be anchored into wood rather than just plaster or tile. A reliable drill with the correct bits is mandatory for creating the cabinet mounting holes and securing the heavy-duty bolts that hold the microwave in place.
Understanding Ventilation Configurations
One of the most important decisions when installing an over the range microwave is choosing your venting configuration. You generally have three options: exterior venting through the roof, venting through an exterior wall, or a recirculating setup. If you do not have existing ductwork leading outside, a recirculating system is your best path forward.
In a recirculating setup, the air is pulled through a charcoal filter to remove odors and grease before being pushed back into the kitchen. If you choose this method, you must ensure the vent damper is oriented correctly toward the front of the unit. Failure to set the damper properly can cause the unit to struggle with airflow, leading to overheating or poor performance.
| Ventilation Type | Best Use Case | Maintenance Requirement |
|---|---|---|
| Exterior Ducting | High-volume cooking | Clean ducting annually |
| Recirculating | Apartments/No outside access | Replace charcoal filter every 6 months |
Using the Mounting Template
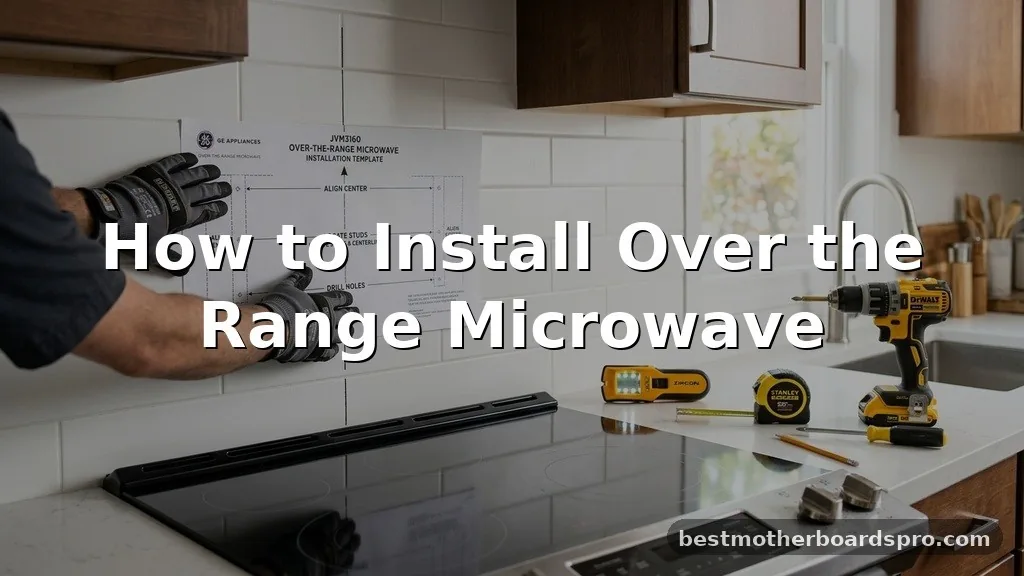
Every new microwave comes with a paper template. Do not throw this away; it is the most critical tool for your installation. This paper guide shows you exactly where to drill the holes in your wall for the mounting plate and where to drill the holes in the upper cabinet for the mounting bolts.
Tape the template to the wall, lining it up with the center of your stove. Use a level to ensure the horizontal line is perfectly straight.
If your kitchen walls are tiled, you may need a specialized diamond-tipped drill bit to penetrate the surface without cracking the tiles. Once the template is positioned, mark your drill points clearly with a pencil.
Securing the Mounting Plate
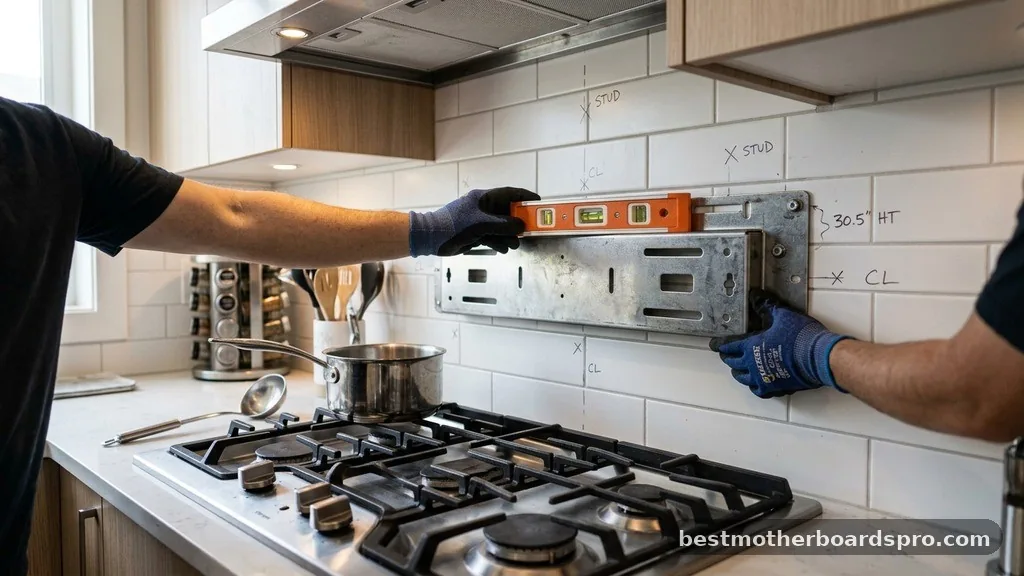
The mounting plate acts as the primary support system for the microwave. You must find the wall studs using your stud finder and mark them clearly. If your mounting plate holes do not align with the studs, you will need to use toggle bolts to bridge the gap.
When using toggle wings, ensure you have enough clearance behind the wall to allow the wings to snap open. Insert the bolt through the mounting plate and the toggle wing, then push it through the hole.
As you tighten the bolt, the wing will expand against the backside of the drywall, creating a rock-solid anchor point. Always double-check that the plate is perfectly level before tightening the bolts fully.
Mounting the Microwave Unit
This step is much easier if you have a helper. The microwave is heavy, and trying to lift it while simultaneously threading the power cord through the cabinet hole is difficult to do alone. Have your assistant hold the unit steady as you guide the power cable into the upper cabinet.
Hook the bottom of the microwave onto the tabs of the mounting plate, then slowly rotate the top of the unit toward the cabinet. Once the microwave is flush against the wall, you will insert the heavy-duty bolts through the cabinet mounting holes from inside the top cabinet.
Tighten these bolts until the unit is snug. Do not overtighten, as this could warp the cabinet or the microwave housing.
Addressing Electrical and Clearance Gaps
Many DIYers worry about the electrical connection. Your microwave requires a standard GFCI outlet located inside the upper cabinet.
If you do not have an outlet there, you will need to install an electrical junction box to provide power. Never attempt to run an extension cord through the cabinetry or wall, as this is a fire hazard.
Another common issue involves cabinet depth. If your cabinets are deeper than the standard 12 inches, you may need to install filler strips or spacers to ensure the microwave door can swing open fully without hitting the cabinet frame. Always check the door swing radius before finalizing your installation to avoid frustration during daily use.
- Double-check the level of the wall plate before drilling permanent holes.
- Ensure the power cord is not pinched between the unit and the wall.
- Verify that the vent damper is positioned correctly for your specific airflow needs.
- Test the unit by heating a small cup of water for one minute after installation.
Frequently Asked Questions
Can I install an over the range microwave myself?
Yes, you can install it yourself if you have basic DIY skills, a drill, and a stud finder. However, because the unit is heavy and requires precise alignment with the cabinet and wall studs, it is highly recommended to have a second person assist with the lifting and positioning.
What holds an over the range microwave in place?
The microwave is supported by a heavy-duty metal mounting plate screwed into the wall studs and by large bolts that pass through the bottom of the upper cabinet. This dual-support system ensures the unit remains securely attached even when the door is opened or the microwave is in use.
How do I hook up an over the range microwave?
The unit connects to a standard electrical outlet, typically located inside the cabinet directly above the microwave. You simply feed the power cord through a pre-drilled hole in the cabinet floor and plug it into the outlet before securing the unit to the cabinet and wall mounting plate.
Can I install an over the range microwave without a vent?
Yes, you can install it in a recirculating configuration. In this setup, the microwave uses a charcoal filter to clean the air before venting it back into the kitchen. You must ensure the internal vent damper is set to recirculate mode rather than pointing toward an outside exhaust duct.
Finalizing Your Setup
Successfully installing an over the range microwave is a rewarding project that significantly improves your kitchen’s utility. By carefully following the steps for mounting the bracket, ensuring your wall studs are utilized, and managing the electrical connection, you create a safe and efficient cooking environment. Always prioritize safety, especially when dealing with the heavy lifting and electrical components of the installation.
If you encounter unexpected issues with your cabinet layout or electrical wiring, it is always better to consult with a professional to ensure your home remains compliant with safety standards. With the heavy lifting complete, you are ready to enjoy your clean, functional, and modern kitchen space.



