

Determining if you can melt wax in a microwave is a common hurdle for DIY enthusiasts and candle makers alike. While the convenience of using a kitchen appliance is tempting, the process requires specific precautions to avoid ruined equipment or potential fire hazards.
When you decide to melt wax in a microwave, you are essentially harnessing electromagnetic radiation to excite the molecules within the wax, causing a phase change from solid to liquid. Understanding the material science behind your specific type of wax is the first step toward achieving professional results without the mess often associated with traditional stove-top methods.
The Science of Melting Wax via Microwave
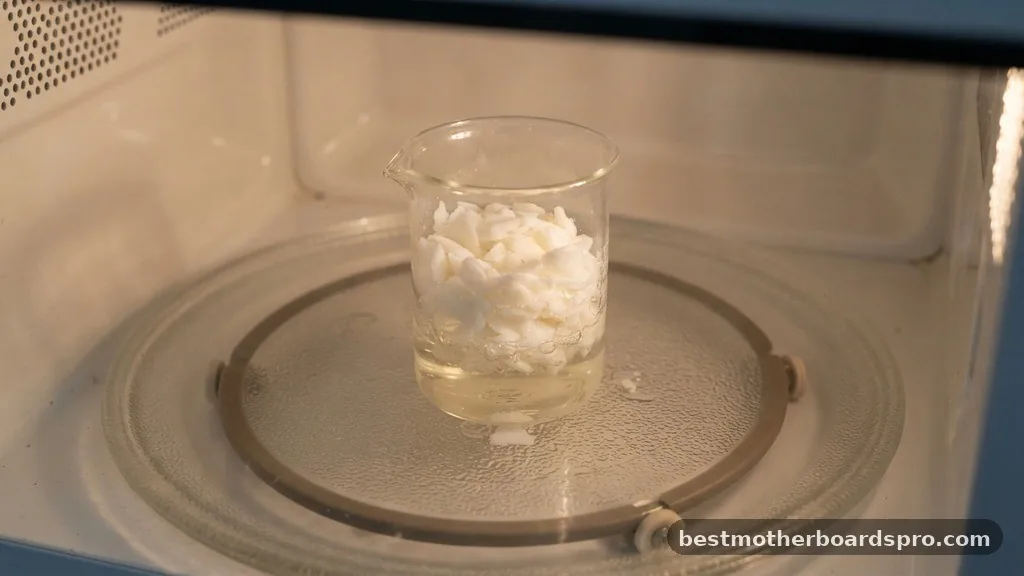
Microwaves work by emitting electromagnetic waves that cause water molecules to vibrate, creating heat through friction. Since most candle wax varieties—like soy, paraffin, or beeswax—are non-polar, they do not heat up as efficiently as water.
Instead, the heat transfers through conduction once the wax begins to liquefy. When you melt wax in a microwave, you are relying on these secondary heat transfers to complete the transition.
Because waxes have different melting points, your results will vary based on the specific blend you are using. For instance, soy wax typically transitions to a liquid state between 115°F and 130°F, whereas harder waxes like beeswax may require significantly higher temperatures. Using a microwave is generally safe for small batches, provided you monitor the process closely and use appropriate containers.
Essential Equipment and Safety Precautions
Before you begin, you must ensure your workspace is prepared with the right supplies. Using the wrong materials can lead to containers shattering or wax overheating, which creates a dangerous situation. Always check your equipment before starting.
- Microwave-safe glass or ceramic pitchers that are heat-tempered.
- A reliable digital thermometer to monitor the internal temperature of the wax.
- Heat-resistant gloves or oven mitts to handle hot containers.
- A designated stirring tool, such as a stainless steel or silicone spatula.
- Protective barriers, such as parchment paper, to catch any accidental spills.
Avoid using plastic containers, as they can warp or melt when in contact with hot wax. Furthermore, never leave the microwave unattended. Even a short burst of extra time can cause the wax to reach its flash point, which is the temperature at which it can spontaneously ignite.
Step-by-Step Procedure for Melting Wax
To get the best results, you need to use a pulsed heating method. Never set the microwave for a long duration, as this increases the risk of uneven heating and potential boiling.
Preparation and Initial Heating
Start by placing your wax chunks into a microwave-safe container. Fill it no more than halfway to prevent overflow. Set your microwave to 50% power rather than full intensity. Heat the wax in 30-second intervals, checking the progress after each cycle.
Monitoring and Adding Fragrance
Stir the wax thoroughly after every interval to distribute the heat evenly. If you are adding fragrance oils, wait until the wax is fully melted and has reached the appropriate temperature, typically around 185°F for optimal scent binding. Adding oils too early can cause them to evaporate, resulting in a weak scent throw in your finished product.
| Wax Type | Average Melting Point | Microwave Suitability |
|---|---|---|
| Soy Wax | 115°F – 130°F | Excellent |
| Paraffin Wax | 120°F – 150°F | Good |
| Beeswax | 144°F – 147°F | Moderate |
| Coconut Wax | 90°F – 100°F | Excellent |
Addressing Common Topical Gaps
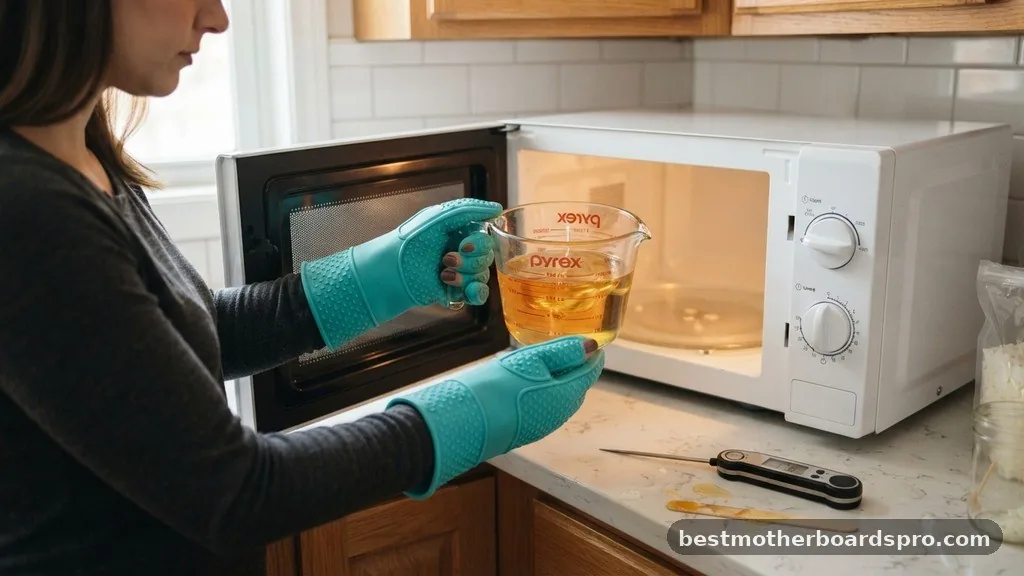
Many beginners struggle with the “how-long” aspect of this process. There is no magic number because the duration depends on the volume of wax, the wattage of your microwave, and the type of wax.
A common mistake is assuming that a larger batch requires a linear increase in time. In reality, large volumes should be melted on a stove to ensure safety and temperature control.
Another frequent issue involves the container itself. If you are trying to melt wax directly inside an old candle jar, ensure the glass is thick and free of cracks. Thin glass can shatter under the stress of rapid thermal expansion.
If you notice the wax at the edges melting significantly faster than the center, stop and stir immediately. This uneven heating, often called “hot spotting,” is a primary cause of container failure.
Optimizing Your Candle Making Workflow
Once you have mastered the technique, you can streamline your candle making workflow. Keeping your supplies organized in a dedicated cart or storage bin helps maintain a clean environment. When you check your inventory, ensure your fragrance oils are stored in a cool, dark place to preserve their potency.
If you are scaling up your production, you may eventually find that the microwave is no longer efficient. While it is perfect for hobbyists or small test batches, professional candle makers often switch to double boilers or dedicated wax melters. These tools provide better control over the cooling process, which is essential for achieving a smooth, professional finish on the tops of your candles.
Troubleshooting Issues During the Process
If you find that your wax is not melting, verify that your microwave is functioning correctly. Sometimes, the issue is simply that the wax density is too high for the power setting you have chosen. Try increasing the power slightly, but only after ensuring you are using a safe, heat-tempered glass container.
If the wax develops a cloudy appearance after cooling, it may have been heated too quickly or cooled unevenly. This is common with soy wax.
To prevent this, try to maintain a consistent environment while the wax sets. Avoid placing your cooling candles in a drafty area or directly in front of an air conditioning vent.
Frequently Asked Questions
Is it safe to melt wax in a microwave?
It is safe provided you use a microwave-safe container, such as tempered glass, and heat the wax in short, controlled bursts. Always monitor the temperature with a thermometer to prevent the wax from reaching its flash point, which could lead to a fire hazard or ruined ingredients.
What is the easiest way to melt candle wax?
For small amounts, the microwave is often the fastest and easiest method when using the pulsed heating technique. For larger batches or continuous production, a double boiler or a dedicated electric wax melter provides more consistent results and greater control over the cooling and scent-binding process.
How do I melt hard wax without a warmer?
If you do not have a wax warmer, you can use a double boiler on your stove. Place the wax in a heat-resistant bowl inside a pot of simmering water. This indirect heat prevents the wax from scorching, which can happen if you apply direct heat to the container.
Can you microwave wax in a glass jar?
You can, but only if the glass is specifically labeled as microwave-safe or heat-tempered. Thin, decorative glass jars are prone to cracking or shattering when exposed to the high heat of melting wax. Always inspect the jar for hairline cracks before placing it inside the microwave.
Final Considerations for Success
Successfully working with wax requires patience and a commitment to safety. Whether you are experimenting with new fragrance oils or creating a batch of candles for personal use, taking the time to understand the specific properties of your materials will lead to much better results. Remember that the goal is a slow, even melt that preserves the integrity of the wax and any additives you choose to include.
By following these guidelines, you can confidently melt wax in a microwave for your creative projects. Always prioritize safety, keep your tools clean, and record your successes to replicate your favorite candle designs in the future.
As you refine your process, you will find that the convenience of this method makes it a staple in your home studio. Feel free to experiment with different temperatures and cooling techniques to discover the perfect balance for your unique candle creations.



