

Learning how to update BIOS on motherboard hardware is a critical skill for anyone building or maintaining a high-performance PC. Your motherboard’s firmware acts as the low-level bridge between your operating system and your physical components, ensuring everything communicates correctly.
While many users avoid touching these settings, keeping them current can resolve stability issues, improve memory compatibility, and even add support for newer processors. If you have been experiencing mysterious system crashes or are planning a hardware upgrade, you are likely in the right place to learn the proper, safe, and effective methods to refresh your firmware.
Why You Should Keep Your Firmware Current
The basic input/output system, or BIOS, is the first thing to initialize when you press the power button. Updating it isn’t just about getting the latest version; it is about ensuring your system remains compatible with the ever-evolving hardware landscape. Manufacturers release these updates to patch security vulnerabilities, optimize how the CPU draws power, and fix bugs that might cause your system to hang or stutter under heavy loads.
If you are wondering whether you truly need to perform an update, consider the specific release notes provided by the manufacturer. If your current system is rock solid and you aren’t changing your processor, some might argue that you should leave well enough alone. However, if you are experiencing performance bottlenecks or planning to install a newer generation of RAM or a faster CPU, staying updated is essentially mandatory for the best results.
Preparation Before Starting the Process
Before you touch any files, you need to gather the right information about your current setup. You cannot simply download a random file and hope for the best; you must match the firmware to your exact board model. Start by checking your current version within the system information tool in Windows or by pressing the delete key during the initial boot process to enter the BIOS interface.
Once you have your model name and current version, visit the manufacturer’s official website. Never download firmware files from third-party forums or unofficial hosting sites, as these could contain malicious code. Always stick to the official support pages for brands like ASUS, MSI, Gigabyte, or ASRock.
Essential Checklist Before You Begin
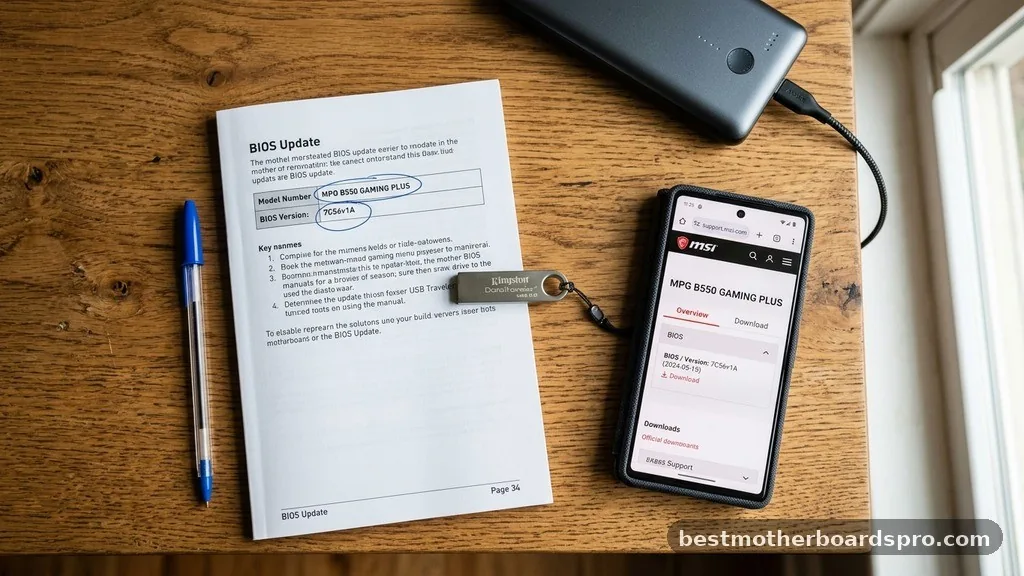
- Confirm your exact motherboard model and revision number.
- Download the correct file from the official manufacturer support page.
- Format a reliable USB flash drive to FAT32, as most boards cannot read NTFS or exFAT formats during the boot process.
- Ensure your power supply is stable; never update during a thunderstorm or if you suspect your home has erratic electrical current.
- Back up your important data, as some updates may reset custom configurations or security keys.
Methods for Updating Your Firmware
There are generally three common ways to perform this task. The most reliable method is using the built-in utility found within the BIOS menu itself.
This bypasses the operating system entirely, reducing the chance of background software interference. Some modern boards also feature a dedicated button on the rear I/O panel for a process called BIOS Flashback, which allows you to update even without a CPU or RAM installed.
| Method | Ease of Use | Risk Level |
|---|---|---|
| BIOS Internal Utility (EZ Flash) | Moderate | Low |
| BIOS Flashback Button | High | Very Low |
| Windows-based Utility | Very High | High |
Using the Internal BIOS Utility
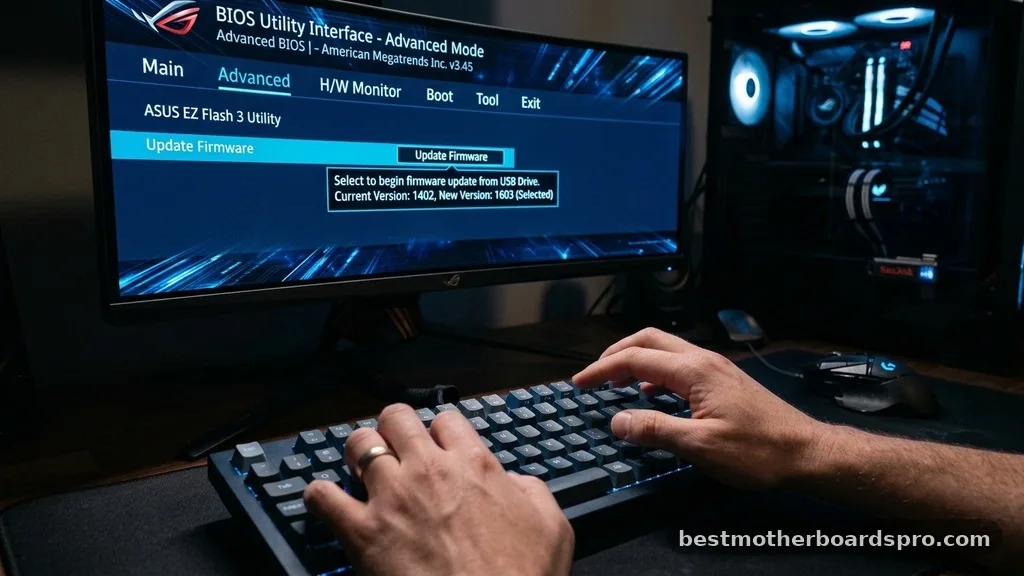
This is the standard approach for most users. You copy the extracted firmware file onto your USB drive, restart your computer, and enter the setup screen. Once there, navigate to the Tools or Advanced menu to find the update utility. Select your USB drive, choose the file you downloaded, and confirm that you want to proceed. The system will then write the new firmware to the chip. You must not turn off the power during this phase, as doing so can brick your motherboard.
Leveraging BIOS Flashback
This feature is a lifesaver for people building new systems with older motherboards that need a software refresh to recognize a new CPU. You simply plug a USB drive into the specific port marked for flashback, press the button, and wait for the indicator light to stop blinking. This process requires only power from the PSU, meaning you don’t even need to enter the BIOS or have a monitor connected.
Troubleshooting Common Issues
Sometimes, the process doesn’t go as planned. If the utility doesn’t recognize your USB drive, the most common culprit is the file system format. Many older motherboards strictly require FAT32.
If you are using a drive formatted as NTFS or exFAT, the system will simply report that no file was found. Always reformat the drive if you encounter this error.
Another frequent issue is a corrupted download. If the update fails immediately after starting, delete the file and download it again from the official site.
Occasionally, a browser might interrupt the download, leading to a partial file that the motherboard will correctly flag as invalid. If you continue to face problems, consider using a different USB port, preferably one directly on the motherboard’s rear panel rather than a front-panel case connector.
Risks and How to Mitigate Them
The primary risk when updating the firmware is power failure. If the system loses electricity while it is writing the new data to the chip, the board becomes unbootable.
This is why many enthusiasts recommend using an Uninterruptible Power Supply (UPS) if you live in an area with frequent power flickers. If you don’t have a UPS, simply choose a time when you are confident the power will remain consistent.
Another risk involves using the wrong file. While manufacturers usually include a check that prevents you from flashing an incompatible file, it is still possible to force an update on some boards. Always verify the model name on the motherboard itself if you are unsure, as the box or the manual might occasionally be for a different revision of the same product.
Addressing Topical Gaps
A common point of confusion is whether you need to install every single version in chronological order. In the vast majority of cases, the answer is no.
Most modern motherboard firmware files are cumulative, meaning the latest version contains all the fixes and improvements from previous releases. You can safely skip directly to the most recent version unless the manufacturer explicitly states that an intermediate version is required as a bridge.
Additionally, many users worry about their custom settings, such as XMP profiles for RAM or overclocking configurations. Performing an update will almost always reset these to factory defaults.
Before you start, take photos of your current BIOS settings with your phone. This makes it much easier to restore your preferred performance profile after the update is complete.
Frequently Asked Questions
Do motherboards automatically update BIOS?
No, motherboards do not automatically update their firmware. You must manually download the files from the manufacturer’s website and trigger the process yourself. This is a deliberate safety design, as an automatic update could trigger at the wrong moment, potentially causing a system failure if the power cuts.
How do I know if my motherboard needs a BIOS update?
You generally need an update if your current system is unstable, if you are installing a new CPU that the board doesn’t natively support, or if there is a known security vulnerability mentioned in the manufacturer’s release notes. If everything is working perfectly, you can usually skip it.
Why is it so risky to update BIOS?
The risk stems from the fact that the firmware is the fundamental code that tells the hardware how to start. If the power fails or the update is interrupted while writing, the motherboard can lose its ability to boot, which often requires specialized hardware or professional repair to fix.
Can I update the BIOS without a USB drive?
Some manufacturers provide a software utility that runs within Windows to perform the update directly from a file on your hard drive. However, this is generally considered riskier than using a USB drive because Windows background processes can occasionally interfere with the delicate writing process during the update.
Final Thoughts
Learning how to update BIOS on motherboard hardware is a straightforward process when you prioritize caution and preparation. By ensuring you have the correct file, a reliable USB drive, and a stable power source, you can keep your system running at its peak efficiency. Remember that while these updates provide vital compatibility and security patches, they should only be performed when necessary.
If you encounter any unexpected errors during the process, do not hesitate to contact the manufacturer’s support team for specific guidance tailored to your board model. Keeping your system firmware current is a great way to extend the lifespan of your PC and ensure you’re getting the most out of your hardware investment.



