

Installing a new drive is often the single most effective way to breathe new life into an aging computer or provide the necessary speed for a high-end gaming rig. If you are learning how to connect SSD to motherboard hardware, you might feel intimidated by the internal components, but the process is quite straightforward once you understand the specific interface your drive requires.
Whether you are upgrading from a mechanical hard drive or simply adding more space, knowing your way around the internal ports of your PC is a essential skill for any DIY enthusiast. By following a few key safety precautions and understanding the physical requirements of your storage hardware, you can quickly improve your system‘s overall performance.
Understanding Drive Interfaces and Compatibility
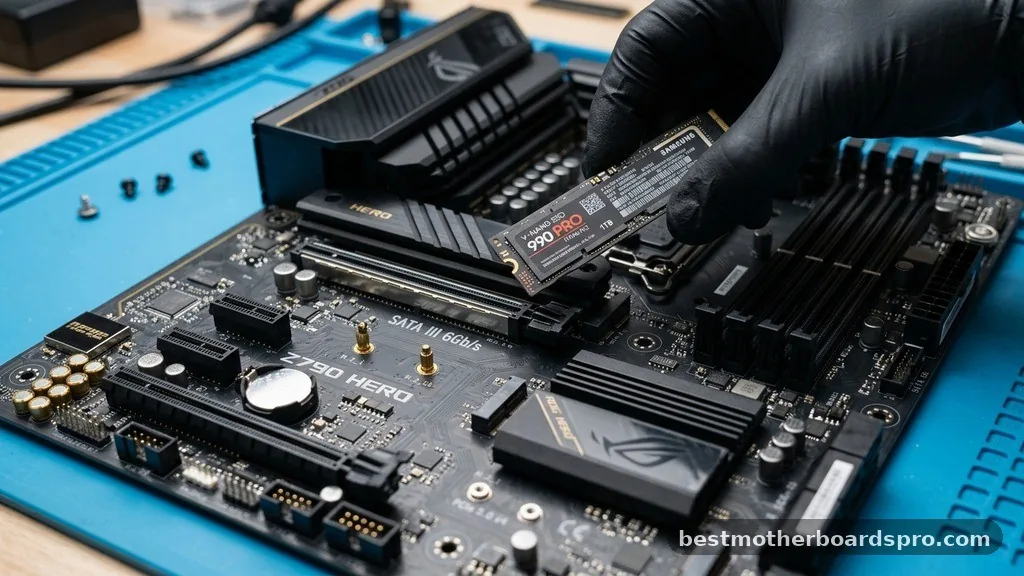
Before you open your computer, you need to identify which type of storage you have. Most modern systems utilize either a SATA interface or the faster NVMe protocol. Knowing the difference ensures you don’t waste time trying to force a drive into an incompatible slot.
SATA drives, typically 2.5-inch units, look like small, thin boxes. They require two cables: one for data and one for power.
NVMe drives, specifically M.2 form factors, look like small sticks of gum. These plug directly into a dedicated slot on the motherboard, requiring no cables at all.
| Feature | SATA SSD | NVMe M.2 SSD |
|---|---|---|
| Connection | SATA Data + Power Cable | Direct M.2 Slot |
| Performance | Up to 600 MB/s | Up to 7,000+ MB/s |
| Cabling | Requires two cables | Cable-free |
Preparing Your Computer for Installation
Safety is paramount when working inside your desktop or laptop. First, shut down your system completely and unplug the power cable from the wall outlet. Press the power button on the case once or twice to discharge any residual electricity stored in the capacitors.
Next, remove the side panel of your computer case. Most cases use thumbscrews at the rear, but some might require a screwdriver.
Once inside, touch a metal part of the case chassis to ground yourself and prevent electrostatic discharge from damaging sensitive components. Now you are ready to begin the actual physical installation of your storage device.
Installing a SATA SSD in a Desktop
If you have a 2.5-inch SATA drive, you need to find an available bay in your case to mount it. Many modern cases have dedicated trays for these drives. If your case lacks them, you can use double-sided tape or a simple adapter bracket to secure the drive in a 3.5-inch bay.
Once the drive is physically mounted, you must connect the cables:
- Locate a SATA data cable; plug one end into the drive and the other into an available SATA port on the motherboard.
- Find a SATA power connector coming from your power supply unit; plug this into the power port on the drive.
- Ensure both connections feel snug and secure, as loose cables are a common cause of detection issues.
Installing an NVMe M.2 SSD
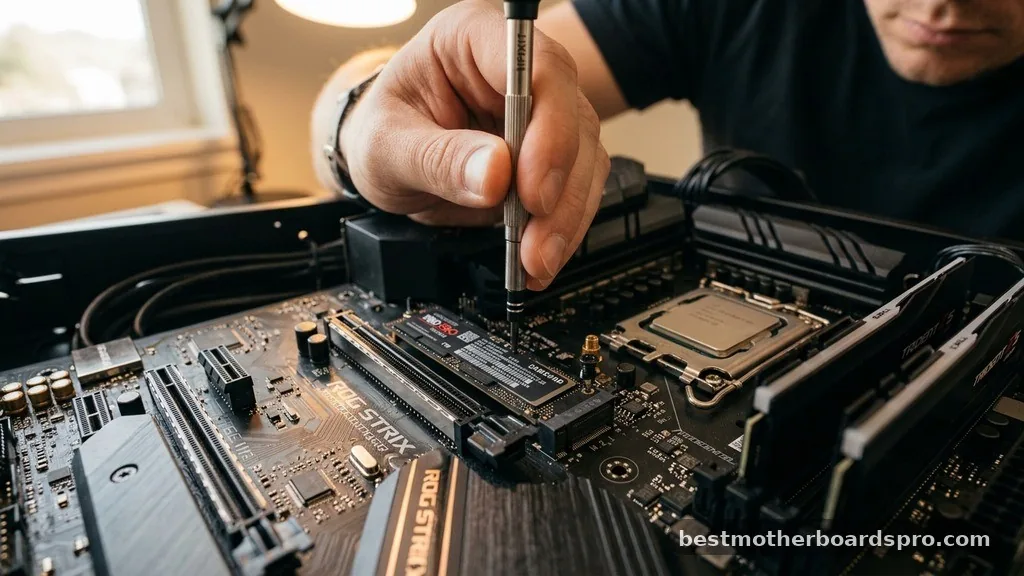
Installing an M.2 drive is the simplest process because it eliminates the need for extra wires. Locate the M.2 slot on your motherboard; it is usually a small, horizontal connector near the CPU socket or the PCIe slots. Some motherboards have a heatsink covering this area, which you will need to unscrew first.
Insert the drive into the slot at a slight 30-degree angle. Once it is seated fully, gently push the other end down so it sits flat against the motherboard standoff.
Secure it using the tiny screw provided with your motherboard. If your motherboard uses a latching mechanism instead of a screw, simply rotate the plastic clip to lock the drive in place.
Troubleshooting Common Detection Issues
Sometimes, you might finish installing your new hardware only to find that Windows does not recognize the drive immediately. This does not always mean the hardware is broken. Usually, the issue is that the drive hasn’t been initialized or formatted yet.
If the drive is missing, check the BIOS first. Restart your computer and press the designated key—usually Delete, F2, or F12—to enter the BIOS settings.
Look for the “Storage” or “Boot” menu to see if the motherboard detects the device. If it appears in the BIOS but not in Windows, you likely need to open Disk Management in your operating system to create a partition and assign a drive letter.
Addressing Unique Installation Challenges
One common gap in knowledge involves laptops and older motherboards. If you are working on a laptop, you must verify that your specific model has an available internal bay or M.2 slot.
Many ultra-thin laptops have soldered storage that cannot be upgraded. Always check your service manual before attempting to open the bottom chassis.
Another issue arises when users try to boot from a secondary drive. If you are adding a new SSD to a system that already has a boot drive, you must ensure your BIOS is set to prioritize the correct disk. If you are moving your operating system to the new drive, you will need to use cloning software or perform a fresh installation of Windows to make the new hardware your primary boot device.
FAQ
Why isn’t my motherboard recognizing my SSD?
If your BIOS does not detect the drive, ensure the cables are firmly seated or that the M.2 stick is fully pushed into its slot. If the hardware is detected but not showing in Windows, you likely need to initialize the drive in Disk Management to format it.
Can I just plug an SSD into my PC?
Yes, but you must ensure your motherboard has the correct interface. SATA drives require a data cable and a power cable from your power supply, while NVMe M.2 drives plug directly into a dedicated slot on the motherboard, provided your board supports the NVMe protocol.
Do I need to install drivers for my new SSD?
In most cases, you do not need specific drivers. Windows includes native support for both SATA and NVMe storage devices. However, if you are using a high-performance NVMe drive, the manufacturer might provide specific software to monitor drive health and update firmware for better efficiency.
Is it safe to move a drive from an old computer to a new one?
It is perfectly safe to move a drive, but remember that the drive will retain its existing data. If you intend to use it as a boot drive in a new system, be prepared for potential driver conflicts. A clean installation of Windows is often recommended for stability.
Final Thoughts
Connecting an SSD to your motherboard is a manageable task that yields immediate benefits in system responsiveness and load times. By identifying your specific interface, handling the components with care, and ensuring all connections are secure, you can reliably expand your system’s capacity. Whether you opted for a high-speed NVMe stick or a reliable SATA drive, the process remains a fundamental part of maintaining a healthy, fast, and organized computer.
Once you have successfully installed the hardware and initialized it within your operating system, your machine should be ready to handle more files and demanding applications. If you run into any persistent issues during the setup, double-checking your BIOS settings is usually the best next step to confirm everything is configured correctly.



