

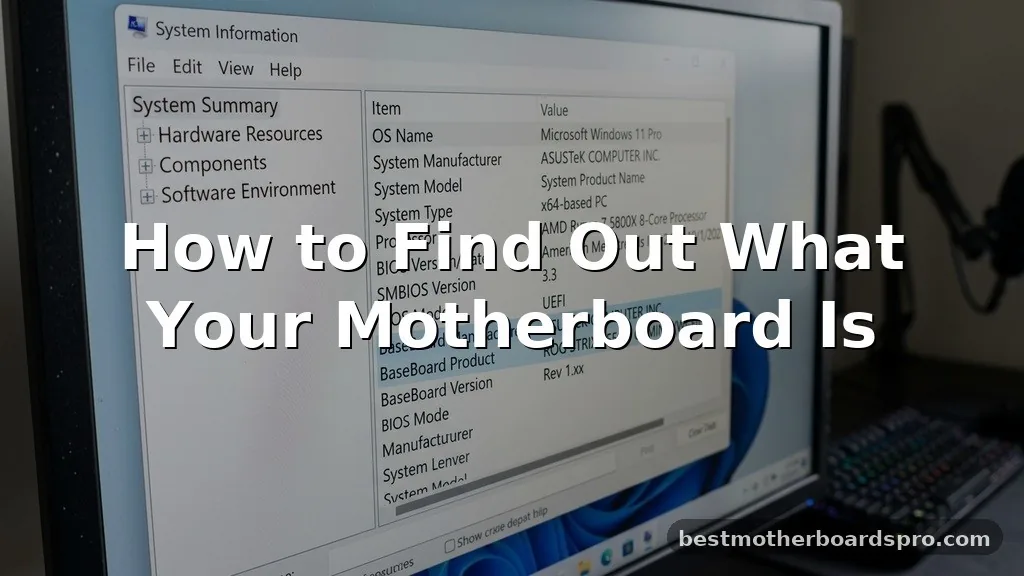
Identifying the hardware inside your computer is a rite of passage for any PC builder or enthusiast. Whether you are planning a memory upgrade, troubleshooting a driver conflict, or simply curious about your system’s specs, knowing how to find out what your motherboard is becomes essential.
You don’t need to be a technical expert to uncover this information, as your operating system keeps a detailed ledger of every component under the hood. By using simple built-in utilities or a quick physical inspection, you can pinpoint your exact board model in minutes without needing specialized software or a degree in computer engineering.
Using Windows System Information
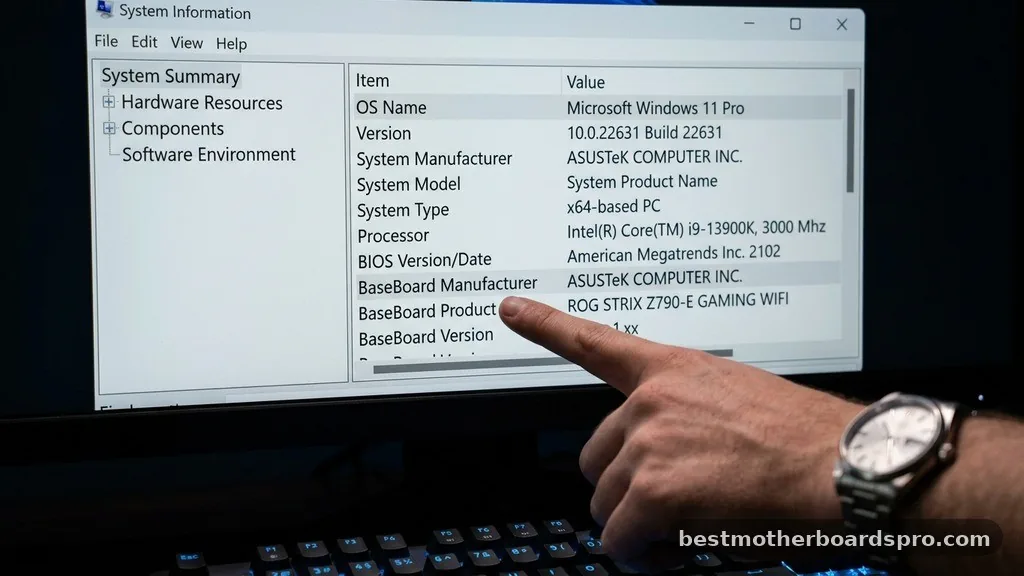
The most straightforward way to see your hardware details is through the built-in Windows System Information tool. This utility aggregates data from your motherboard, CPU, and RAM, providing a clear snapshot of your machine’s identity.
To access this, press the Windows key on your keyboard, type “msinfo32,” and hit Enter. The System Summary window will open immediately. Look for the rows labeled “BaseBoard Manufacturer,” “BaseBoard Product,” and “BaseBoard Version.”
The “BaseBoard Product” entry is exactly what you need, as it represents your specific motherboard model. This method is reliable because it pulls data directly from the firmware, ensuring you get the precise identification needed for driver updates or compatibility checks.
Command Prompt for Quick Identification
If you prefer a keyboard-centric approach, the Command Prompt offers a faster way to extract your system details. This is particularly useful if you are working on a system where the graphical interface feels sluggish or if you simply want to feel like a power user.
Open the Command Prompt by typing “cmd” into your search bar. Once the black window appears, copy and paste the following command: “wmic baseboard get product,Manufacturer,version,serialnumber”. After you press Enter, the system will display the manufacturer and model name directly below the command.
This string of text is the exact identifier you would search for on the manufacturer’s website to download the latest BIOS updates or chipset drivers. It skips the navigation menus of the GUI and gives you the raw data in one clean output.
Checking via UEFI BIOS
Sometimes, software within Windows might not report the full details correctly, especially if drivers are missing or corrupted. Entering the UEFI BIOS is the definitive way to confirm your hardware identity because it bypasses the operating system entirely.
Restart your computer and repeatedly press the Delete, F2, or F12 key during the boot sequence—the specific key depends on your manufacturer. Once you are inside the BIOS interface, the motherboard model is usually displayed prominently on the main landing page or the system status tab.
This is the most accurate method because it reads the information directly from the non-volatile memory chip soldered onto the board itself. It is also the perfect time to check your current firmware version, which is vital if you are planning to upgrade your CPU.
Physical Inspection of the Board
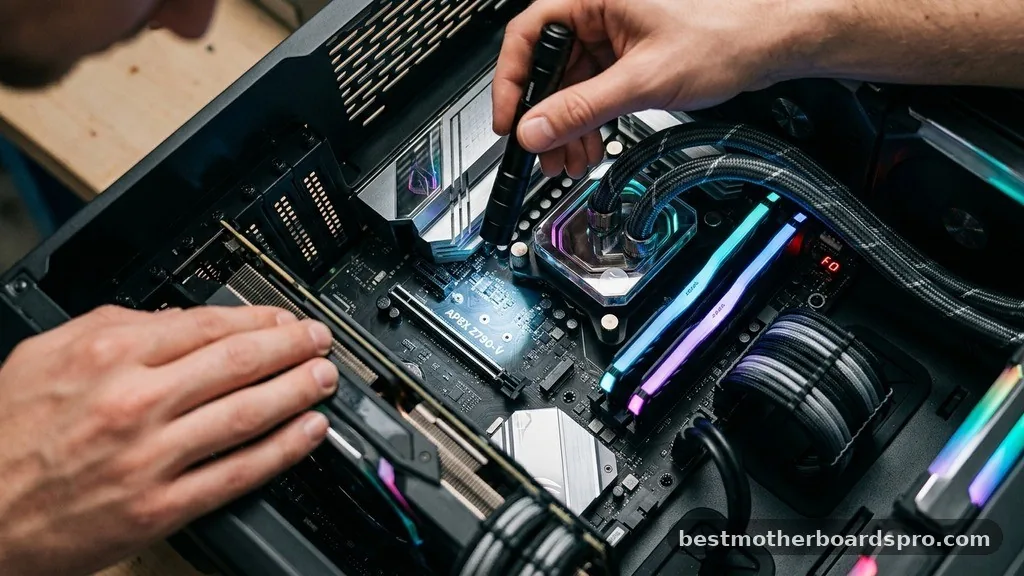
If your computer won’t turn on or you are holding the component outside of a case, you must rely on a physical inspection. Manufacturers almost always print the model name directly onto the PCB (printed circuit board).
Look closely at the area between the PCIe slots or near the RAM DIMM slots. You will typically see a silkscreened label featuring the brand name and the model number, such as “ASUS ROG Strix B550-F” or “MSI B450 Tomahawk.”
If the board is covered in dust, use a flashlight to improve visibility. If you still can’t find it, check the box the motherboard came in or the original invoice from when you purchased the components.
Comparing Identification Methods
Choosing the right method depends on your current situation and the status of your machine. The following table highlights the best scenarios for each approach.
| Method | Best For | Difficulty |
|---|---|---|
| System Information | Quick checks while using Windows | Very Easy |
| Command Prompt | Advanced users and scripting | Easy |
| UEFI BIOS | Troubleshooting boot issues | Moderate |
| Physical Inspection | Broken or unpowered PCs | Moderate |
Addressing Common Identification Gaps
Many users struggle when their system reports “To be filled by OEM” or a generic string of numbers instead of a recognizable name. This often happens with pre-built computers from companies like Dell, HP, or Lenovo, as they use proprietary boards that aren’t sold in retail stores.
If you encounter this, don’t worry. Your best bet is to use the serial number or the service tag found on the sticker on the back or bottom of your computer case. Enter that tag into the manufacturer’s support website.
This will lead you to a dedicated page that lists every component inside your specific machine, including the exact motherboard specs. You might also find that third-party tools like CPU-Z provide more detailed information than the built-in Windows tools, as they are specifically designed to query the hardware bus for more granular data.
Essential Tips for Motherboard Maintenance
Once you have identified your board, keeping it updated is the best way to ensure long-term stability. Here are a few things to keep in mind when managing your hardware:
- Always verify your model on the manufacturer’s official support page before downloading any firmware.
- Keep a digital copy of your manual, as it contains critical information about RAM slots and storage headers.
- If you are looking to upgrade your CPU, check the motherboard’s official compatibility list first.
- Ensure your chipset drivers are current to maintain optimal performance for your storage and USB devices.
- Avoid flashing the BIOS unless you are experiencing specific issues or need support for a newer processor.
Finding Motherboard Details on Mac
While the term “motherboard” is a PC-centric concept, Apple computers use a similar component called a logic board. If you are using a Mac, you won’t find a standard model number in the same way you would on a Windows machine.
Instead, go to the Apple menu and select “About This Mac.” This provides your model name and year.
To get more technical, you can use the System Report tool, which lists the “Model Identifier” and the “Boot ROM Version.” While you cannot easily swap out a logic board like you can a standard ATX motherboard, this information is still critical if you are looking for specific repair guides or replacement parts for your particular model.
FAQ
Will BIOS tell me what motherboard I have?
Yes, the BIOS or UEFI screen is the most reliable way to identify your hardware. When you enter the setup menu during startup, the model name is typically displayed on the main dashboard. This method works regardless of whether you have an operating system installed on your hard drive.
Can I find my motherboard model without opening the PC?
Absolutely. You can use Windows tools like System Information or the Command Prompt to retrieve the model name instantly. If you prefer a visual interface, third-party software like CPU-Z is an excellent, free tool that displays your motherboard manufacturer and model number without requiring you to touch any hardware.
Why does my PC say “To be filled by OEM”?
This message appears because your computer is likely a pre-built system from a large manufacturer. They use custom-designed boards that do not have the standard retail model names. To find the specific details, you should look up your computer’s serial number on the manufacturer’s official support website.
Is it necessary to know my motherboard model for RAM upgrades?
Knowing your motherboard is vital for RAM upgrades because it dictates the type of memory you can use. You need to verify if your board supports DDR4 or DDR5, the maximum capacity allowed, and the top frequency (MHz) it can handle to ensure your new memory works correctly.
Conclusion
Identifying the foundation of your computer is a simple process once you know where to look. Whether you are using the built-in Windows System Information, a quick Command Prompt line, or a physical check of the board, you now have the tools to find out what your motherboard is with confidence.
Having this information at your fingertips makes future upgrades, driver installations, and troubleshooting sessions significantly easier. If you run into any issues or have questions about specific hardware configurations, feel free to reach out or consult your manufacturer’s documentation for further assistance with your build.



