

Building or upgrading a computer feels like a puzzle where the most critical piece is ensuring your processor fits perfectly into your mainboard. Learning how to find a compatible CPU for motherboard configurations is the single most important step in avoiding expensive mistakes or hardware conflicts. If you mismatch these two components, the system simply won’t boot, and you might even risk damaging the delicate pins in the socket.
By understanding how to identify your existing hardware and matching it against manufacturer specifications, you can confidently choose the right upgrade path. This process requires checking a few key technical details, but it is manageable once you know exactly where to look.
Identifying Your Current Hardware
Before you shop for a new processor, you need to know exactly what you are currently running. Relying on memory or vague labels can lead to errors. Using software tools is the most reliable way to gather precise information about your hardware without opening the case.
Using System Utilities
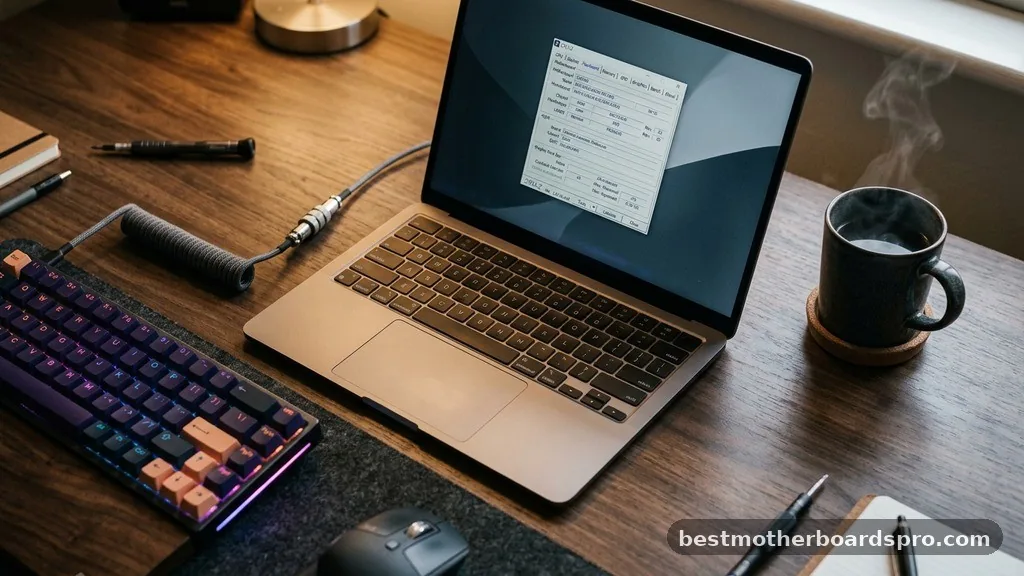
The easiest way to identify your motherboard model is through built-in system tools. On Windows, you can type “System Information” into the search bar to see your baseboard product and manufacturer. For more granular details, many enthusiasts prefer CPU-Z.
This lightweight utility provides a dedicated “Mainboard” tab that displays the specific model, chipset, and even the current BIOS version. Knowing your exact model number allows you to look up the official support documentation directly from the brand’s website.
Physical Inspection
If your computer won’t turn on or you prefer a hands-on approach, you can always open the case. The motherboard model name is almost always printed directly on the PCB, usually near the PCIe slots or the RAM DIMM slots.
While you are inside the chassis, check the socket type. Seeing a physical label or counting the pins (if you are careful) helps confirm the architecture you are dealing with, such as whether it uses an Intel LGA interface or an AMD AM4 or AM5 socket.
Understanding Socket Types and Chipsets
The socket type acts as the physical interface between the processor and the board. Even if a processor fits physically, it will not function unless the CPU chipset is also designed to communicate with it.
The Role of the Socket
A processor must match the socket geometry exactly. For example, a chip designed for socket AM5 will not fit into an AM4 board because the pin layouts are completely different. Intel uses the LGA (Land Grid Array) system, where the pins are on the motherboard rather than the chip.
A common pitfall is assuming that all boards with the same physical socket can run every generation of a processor. You must also account for the underlying logic of the chipset.
Chipset Compatibility
The chipset is the traffic controller of your computer. Even if you have the right socket, the chipset might not support the power requirements or the microcode of a newer generation of processors. For instance, a motherboard might feature an LGA 1700 socket but only support specific generations of Intel Core processors.
Always verify the chipset compatibility by visiting the manufacturer’s website. They often release a CPU support list that explicitly states which processors are tested and verified for your specific board model.
| Component Feature | Why It Matters |
|---|---|
| Socket Type | Determines physical fitment and electrical contact |
| Chipset | Manages communication between CPU and peripherals |
| BIOS Version | Enables software-level support for newer chips |
| TDP Rating | Ensures the VRMs can handle the thermal load |
Consulting Manufacturer Documentation
The definitive source of truth is the motherboard manufacturer support page. Every major brand—such as ASUS, Gigabyte, MSI, or ASRock—maintains a database of compatible processors for their products.
Decoding the CPU Support List
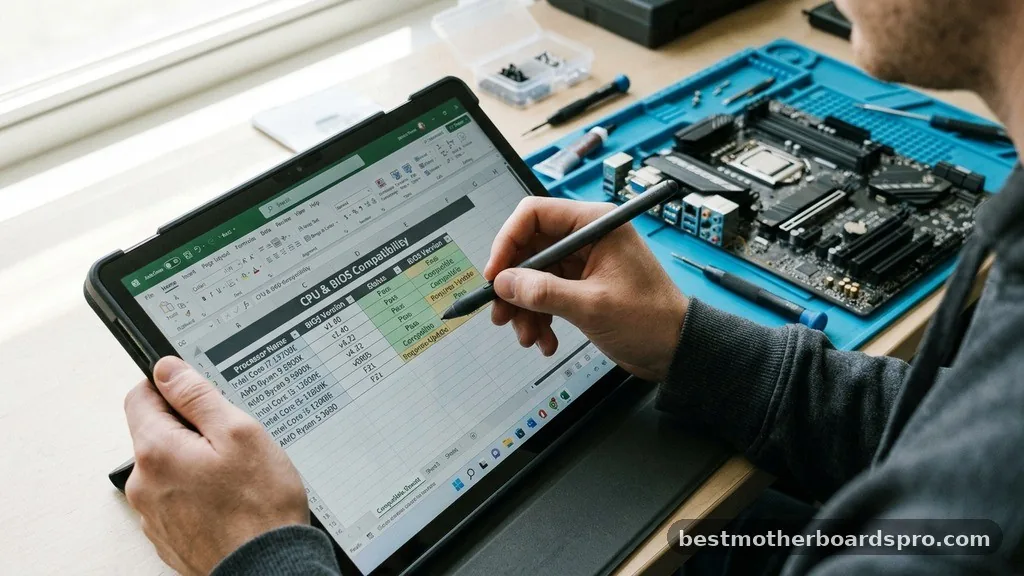
When you navigate to the support page for your specific motherboard, look for a tab labeled “Support,” “Compatibility,” or “CPU Support.” This table is your best friend. It lists every processor that the board can run, often alongside the minimum BIOS update required to make it work.
If you try to install a newer CPU without updating the BIOS first, the system will likely fail to POST (Power-On Self-Test). Never ignore the BIOS version requirement listed in this table.
Reading the Motherboard Manual
If you have the physical motherboard manual, it contains a wealth of information regarding supported memory speeds, storage configurations, and processor series. While it might not list every single CPU model released after the board was manufactured, it will define the supported processor families and socket types.
This is helpful for understanding your CPU upgrade path. You can see whether the board is limited to a specific generation or if it supports a range of upgrades.
Addressing Power and Thermal Constraints
Compatibility isn’t just about physical fit; it is also about the electrical and thermal capacity of your board. Installing a high-end processor in a budget motherboard can lead to performance throttling or system instability.
The Importance of VRMs
Voltage Regulator Modules, or VRMs, are responsible for converting power from your power supply into the stable voltage needed by the processor. High-performance CPUs draw significantly more power, especially under heavy loads.
If your motherboard has weak or uncooled VRMs, it may struggle to supply the required current. This often results in the processor down-clocking itself to prevent the board from overheating, effectively wasting the extra performance you paid for.
Considering TDP and Power Limits
The TDP (Thermal Design Power) indicates how much heat a processor generates. You must ensure your motherboard’s power delivery system is rated to handle the TDP of the new chip.
While most modern motherboards are well-protected against over-voltage, putting a flagship processor on an entry-level board is rarely a good idea. Check the manufacturer’s documentation to see if they recommend a specific tier of motherboard for high-TDP processors.
* Ensure the BIOS update is performed while the old CPU is still installed.
* Verify that your power supply unit has the necessary 8-pin or 4-pin connectors for the CPU.
* Check if your cooler is compatible with the new socket.
* Confirm that the form factor fits your computer case.
* Review PCIe lane support if you plan to use multiple high-speed NVMe drives or high-end GPUs.
Topical Gaps: Beyond the Basics
Many users encounter issues that go beyond simple socket matching. One common gap in knowledge is the relationship between the processor and the PCIe lane support provided by the chipset.
If you are a content creator using multiple high-speed storage drives and a powerful graphics card, the number of lanes available to the CPU becomes a bottleneck. Lower-end chipsets often provide fewer lanes, which can limit the performance of your peripheral devices.
Another frequently overlooked factor is the physical form factor of the motherboard. While a Mini-ITX board might have the correct socket for a powerful CPU, the limited space around the socket might make it impossible to mount a large, high-performance air cooler. Always consider the physical clearance inside your case when planning a significant CPU upgrade.
Frequently Asked Questions
Can I install a CPU that is not on the support list?
While it is technically possible that a CPU not on the list might work, it is highly discouraged. You risk system instability, unexpected crashes, or a complete failure to boot. Without official validation from the manufacturer, there is no guarantee that the motherboard’s power delivery can support that specific chip.
What happens if I forget to update my BIOS?
If your motherboard is running an older BIOS version than what is required for your new processor, the computer will likely not boot. You will see a black screen even if everything is connected properly. You would need to reinstall the old processor to perform the necessary BIOS update.
Do I need to reinstall Windows after a CPU upgrade?
Generally, you do not need to reinstall Windows when upgrading your CPU, provided you stay within the same platform (e.g., upgrading from a Ryzen 5 to a Ryzen 7). However, if you change your motherboard simultaneously, a clean installation is highly recommended to avoid driver conflicts and system errors.
How do I know if my cooler will fit the new CPU?
Check the mounting brackets included with your CPU cooler. Most modern coolers come with universal mounting kits that support both Intel and AMD sockets. If your cooler is very old, you may need to purchase a separate mounting bracket kit from the manufacturer to ensure compatibility with your new socket type.
Finding the right processor for your system is a process of verification and patience. By checking the motherboard manufacturer support page, confirming the socket, and ensuring your BIOS is up to date, you can avoid the frustration of hardware incompatibility. Remember that the CPU support list is the ultimate authority on what your board can handle, and respecting the power limits of your VRMs will keep your system running stable for years.
When you take the time to research your CPU upgrade path thoroughly, you ensure that your investment provides the performance boost you expect. If you encounter any specific error codes during the process, the manufacturer’s forums are often a great place to find solutions from others who have performed similar builds.



