

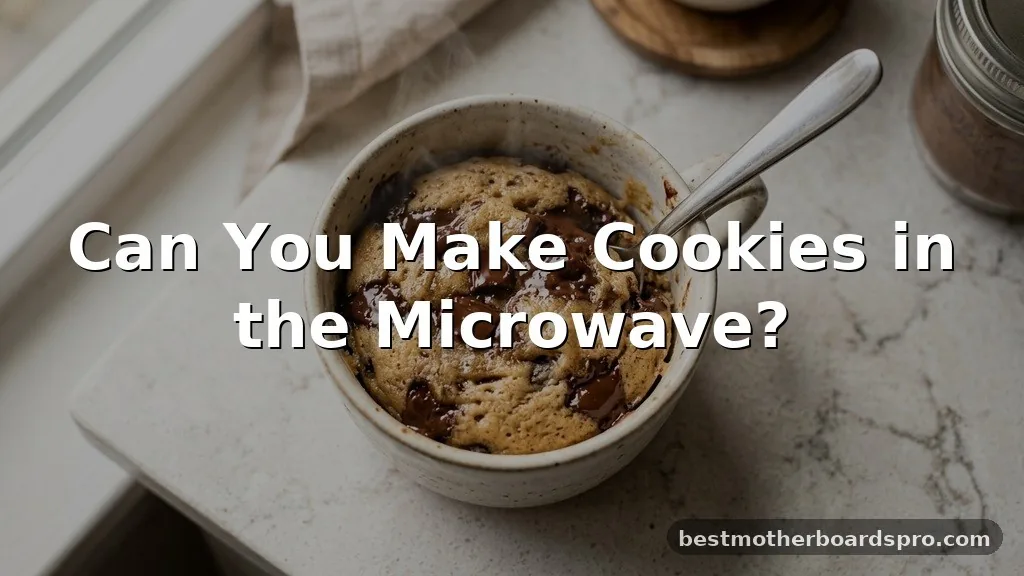
If you have ever found yourself craving a warm treat late at night but realized your oven is cold and your patience is thin, you might wonder if you can make cookies in the microwave. The short answer is yes, though the results differ significantly from the traditional baked variety.
Microwave baking relies on rapid steam and heat rather than the slow, dry environment of an oven. While you won’t get that classic golden-brown crispness, you can certainly satisfy a sudden sweet tooth with a soft, gooey dessert in under two minutes.
This approach is perfect for single-serving portions, often referred to as mug cakes or mug cookies. Because microwave power varies wildly between models, learning to adjust your timing is the secret to success.
You are essentially creating a hot, doughy confection that bridges the gap between a cookie and a molten cake. By understanding the chemistry of how these appliances interact with fats and sugars, you can turn a simple bowl of ingredients into a reliable snack whenever the craving strikes.
The Science of Microwave Baking
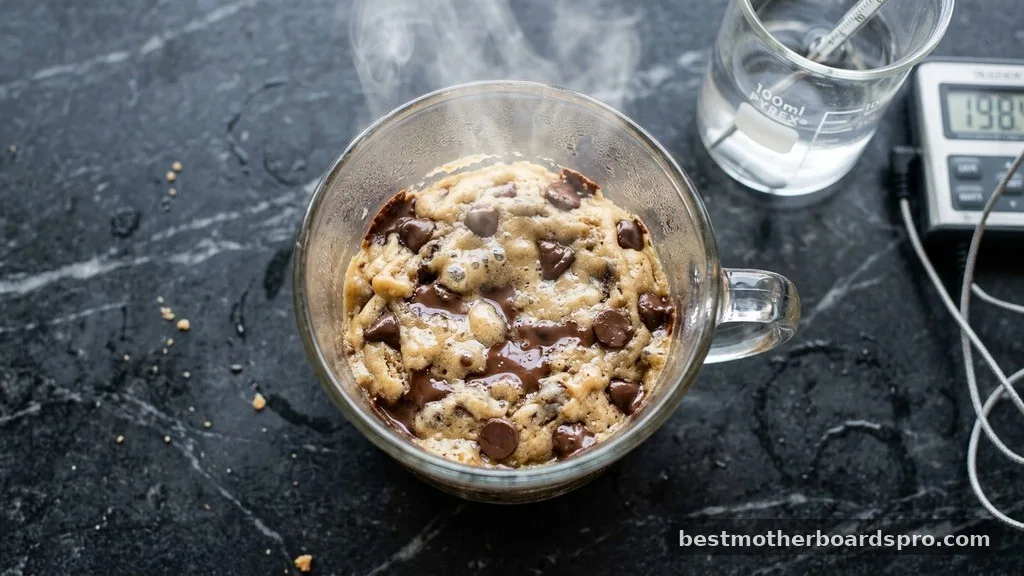
When you bake in an oven, hot air circulates around the dough, drying out the edges to create a crunch while the center stays soft. Microwaves function entirely differently.
They emit electromagnetic waves that cause water molecules in your food to vibrate rapidly, generating heat through friction. This process happens much faster than conventional baking, which is why your treat can go from raw to overcooked in a matter of seconds.
Because microwaves don’t facilitate the Maillard reaction—the chemical process that browns food and creates complex flavors—your microwave cookie will likely remain pale. You won’t achieve the same structural integrity as a standard baked cookie, as the proteins in the flour don’t set in the same way.
The result is often more akin to a dense, warm pudding or a soft, chewy bar. Using the right ratio of ingredients is vital, as moisture management is the primary challenge in this fast-paced environment.
Essential Ingredients for Success
To achieve a decent texture, you need to adjust your typical cookie recipe. Standard doughs often rely on leavening agents like baking powder or soda to create lift, but in a microwave, these can sometimes leave a metallic aftertaste if the reaction isn’t perfectly balanced. Sticking to simple, high-quality ingredients often yields the best results.
- All-purpose flour: Acts as the structural base for your treat.
- Butter: Provides the necessary fat for a rich mouthfeel; melted butter works best here.
- Sugar: Brown sugar adds moisture and a slight molasses flavor, which helps mimic a traditional cookie profile.
- Chocolate chips: These are non-negotiable for that classic taste, but ensure they are semi-sweet to balance the sugar.
- Vanilla extract: Adds depth to compensate for the lack of browning.
Comparing Microwave vs. Oven Methods
Understanding the differences between these two cooking methods helps manage expectations. If you are looking for a crispy edge, the microwave will disappoint you. If you want a warm, gooey, chocolate-filled experience in three minutes, it is the superior choice.
| Feature | Microwave Cookie | Oven Baked Cookie |
|---|---|---|
| Cooking Time | 60-90 seconds | 10-15 minutes |
| Texture | Soft, cake-like, gooey | Crispy edges, chewy centers |
| Browning | Minimal to none | Golden brown caramelization |
| Portion Size | Single serving | Large batches |
How to Perfect Your Microwave Cookie

To start, grab a microwave-safe mug or a small bowl. Combine one tablespoon of softened butter with one tablespoon of brown sugar and a splash of vanilla. Stir until smooth.
Add two tablespoons of flour and a pinch of salt. If you have it, a tiny dash of baking soda can help, but it isn’t strictly necessary for a single serving.
Once the dough forms, fold in a generous tablespoon of chocolate chips. Press the dough into the bottom of the mug. Microwave on high for about 45 to 60 seconds.
The top should look set, but the center should still look slightly damp. Let it sit for at least one minute before eating, as the heat continues to distribute during this resting period. If it looks too raw, add another 10 seconds of time, but be careful—microwaves can turn dough into a rubbery puck if cooked too long.
Troubleshooting Common Issues
Many people struggle with the texture of microwave treats. If your cookie ends up dry, you likely cooked it for too many seconds.
Remember that the residual heat finishes the job after you take it out. If it turns out too gooey or raw, your microwave might have lower wattage, requiring a slightly longer cook time.
Another frequent issue is the lack of “cookie” flavor. Because there is no browning, the flavors can feel muted.
Adding a tiny bit of salt or using higher-quality chocolate can make a massive difference. If you want to experiment, try adding a pinch of cinnamon or swapping some of the flour for almond flour to change the density.
Addressing Topical Gaps: Eggless Alternatives
A major concern for many home bakers is whether they can make cookies in the microwave without eggs. Since standard cookie dough recipes often call for eggs as a binder, omitting them can lead to a crumbly mess. However, for a microwave mug cookie, you actually do not need eggs.
The small amount of flour and fat creates enough structure on its own. In fact, adding an egg to a single-mug portion usually makes it too spongy or cake-like, moving it away from the texture of a cookie.
By keeping the recipe eggless, you simplify the process and ensure that the final result remains soft and decadent rather than rubbery. This makes the microwave method an excellent choice for those with egg allergies or for moments when you simply don’t have eggs in the fridge.
Pro Tips for Better Flavor
To elevate your quick microwave treat, consider the quality of your fats and sugars. Using high-fat European-style butter provides a much deeper flavor profile than standard margarine. Similarly, using a mix of white and dark brown sugar can provide a more complex sweetness that mimics a high-end bakery cookie.
Another technique is to “under-bake” on purpose. By taking the mug out when the edges are firm but the middle still looks slightly underdone, you ensure that the center remains molten.
If you find the microwave is drying out the edges too quickly, try placing a small cup of water in the corner of the microwave. This increases the humidity inside the chamber, which helps keep the dough soft and prevents the edges from becoming tough.
Frequently Asked Questions
Is it safe to eat microwave cookie dough?
If you are making an eggless recipe specifically designed for the microwave, it is generally safe to consume once cooked. However, ensure the flour is fully incorporated and the mixture reaches a temperature that kills potential bacteria, as raw flour can sometimes carry pathogens like E. coli.
Can I use premade store-bought dough in the microwave?
Yes, you can, but it requires caution. Store-bought doughs are formulated for ovens.
If you microwave a large portion, it will likely melt into a puddle before it cooks through. Take a small scoop of dough, place it in a mug, and microwave in short 15-second bursts.
Why does my microwave cookie turn out rubbery?
Rubbery textures usually result from overcooking or using too much flour. Microwaves cook food by vibrating water molecules, and once that moisture is gone, the proteins in the flour become tough. Always start with the minimum recommended time and check the consistency before adding more heat.
Can I make a big batch of cookies in the microwave?
Microwaves are not designed for bulk baking. Because they cook unevenly, a tray of multiple cookies will result in some being burnt while others remain raw. It is best to stick to single-serving mug portions when using this appliance to ensure consistent, delicious results every time.
Final Thoughts on Microwave Baking
Deciding if you can make cookies in the microwave often comes down to managing your expectations. While this method will never replace the crisp, caramelized perfection of an oven-baked batch, it serves as a fantastic solution for immediate cravings. By focusing on single-serving portions and mastering the timing of your specific appliance, you can create a warm, comforting treat in just a few minutes.
The beauty of this technique lies in its simplicity and speed. You don’t need to preheat a large appliance or clean up multiple mixing bowls.
Next time you find yourself wishing for a sweet snack, grab a mug, mix your ingredients, and enjoy a warm, homemade dessert without the wait. If you have a favorite variation or a specific tip for getting that perfect gooey center, feel free to share your results and keep experimenting with your own unique blends.



