

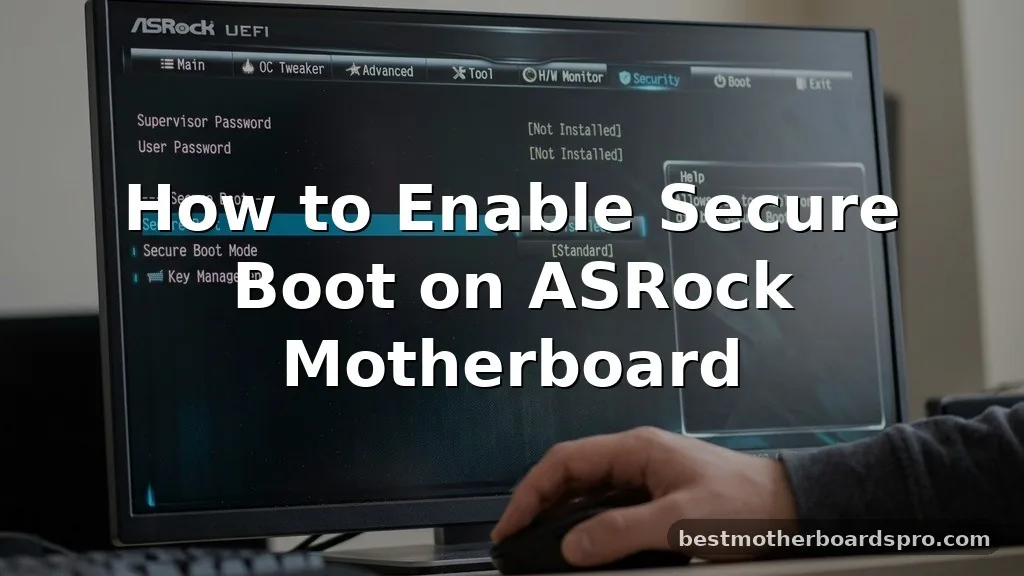
When you need to get your PC ready for Windows 11 or ensure your system stays protected against rootkits, enabling Secure Boot on ASRock motherboard hardware is a vital task. Many users find themselves stuck when the BIOS shows that Secure Boot is disabled, especially during the transition to newer operating systems. This security feature verifies the digital signature of your bootloader, ensuring only trusted code executes during startup.
By adjusting a few settings within your UEFI interface, you can quickly move your system from Setup Mode to User Mode. Follow these steps to secure your machine and resolve compatibility issues without needing to be a hardware expert.
Understanding the Role of UEFI Secure Boot
Secure Boot acts as a gatekeeper for your computer. It is a security standard developed by members of the PC industry to help make sure that a device boots using only software that is trusted by the Original Equipment Manufacturer (OEM). When you power on your computer, the firmware checks the signature of each piece of boot software, including firmware drivers, EFI applications, and the operating system.
If the digital signatures are valid, the computer boots; if they aren’t, the system prevents the boot process from continuing. This protection is critical for blocking malicious software that attempts to load before your antivirus program even gets a chance to start. For ASRock users, this functionality is built directly into the UEFI BIOS, providing a robust layer of defense against low-level threats.
Preparing Your System for Configuration
Before you jump into the BIOS, you should verify the current state of your system. You can easily check if Secure Boot is already active by using the System Information tool in Windows. Simply press the Windows key, type “msinfo32,” and press Enter.
Look for the “Secure Boot State” entry in the summary list. If it says “Off” or “Unsupported,” you have work to do.
It is also important to ensure your disk partition style is set to GPT (GUID Partition Table) rather than MBR (Master Boot Record). Secure Boot requires a UEFI-based system, which generally necessitates a GPT-formatted drive. If your drive is currently using MBR, you may need to convert it before the system will allow you to successfully enable these security features.
Accessing the ASRock UEFI BIOS
To change any settings, you must enter the UEFI interface. Restart your computer, and as soon as the ASRock logo appears on your screen, repeatedly press the F2 or Delete key on your keyboard. Do not wait for the Windows loading icon to appear, or you will have to restart the process.
Once you are inside the BIOS, you might be in “EZ Mode.” If so, press F6 to switch to “Advanced Mode,” which provides the granular control needed to modify security settings. This interface is where you will manage the transition from Setup Mode to User Mode.
Steps to Enable Secure Boot on ASRock Motherboard
Once you are in the Advanced Mode of your ASRock BIOS, follow these specific steps to turn on the feature. The layout can vary slightly between different ASRock models, but the logic remains consistent.
- Navigate to the Security tab using your arrow keys or mouse.
- Locate the Secure Boot menu and select it.
- If you see “Secure Boot” set to Disabled, click it and change it to Enabled.
- If the option is greyed out, you likely need to set a Supervisor Password first.
- Ensure that “CSM” (Compatibility Support Module) is set to Disabled, as Secure Boot is incompatible with CSM.
- Press F10 on your keyboard to save your changes and exit the BIOS.
Handling the Setup Mode vs User Mode Issue
A common hurdle occurs when the system shows that Secure Boot is in “Setup Mode.” This means the platform keys are not yet installed. In the Secure Boot menu, look for an option that says “Install Default Secure Boot Keys.”
Selecting this option will automatically generate the necessary keys and transition the state to “User Mode.” Once the keys are installed, the status should update, and you will be able to successfully enable the feature.
Comparison of Boot Settings
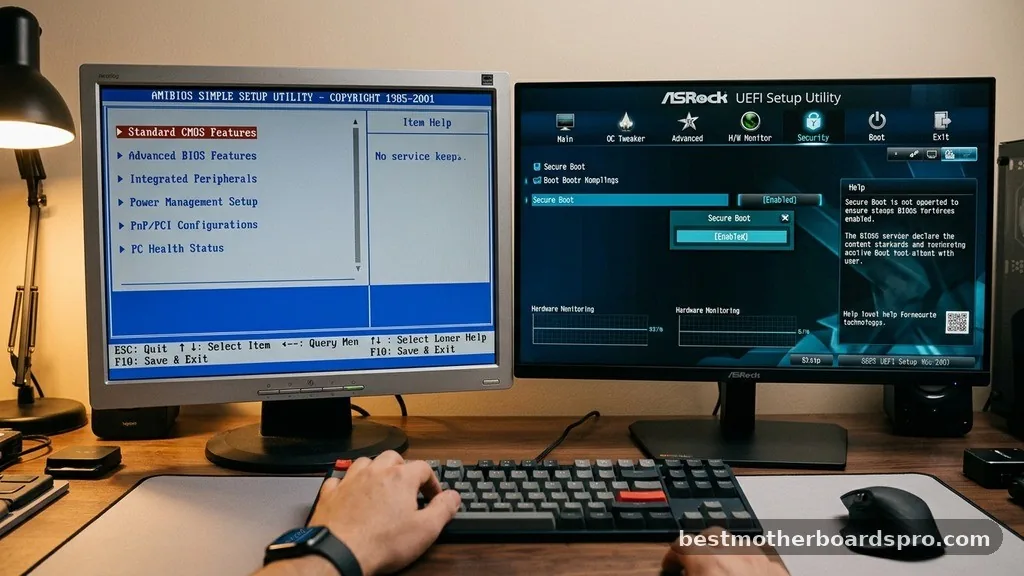
Understanding how these settings interact helps prevent common boot loops or “no display” issues. The following table highlights the necessary configuration states for a successful setup.
| Setting | Required State | Reason |
|---|---|---|
| CSM Support | Disabled | Conflicts with UEFI requirements |
| Partition Style | GPT | Required for UEFI boot |
| Secure Boot Keys | Installed/User Mode | Validates bootloader signatures |
| BIOS Mode | UEFI | Necessary for security features |
Troubleshooting Common ASRock BIOS Errors
Sometimes, even after following the steps, you might run into issues. If your PC fails to boot after enabling these settings, it usually means your graphics card or boot drive does not support UEFI. Older hardware might require a firmware update from the manufacturer to become compatible with modern security standards.
If you are stuck in a loop, simply clear your CMOS. You can do this by removing the small coin-shaped battery on your motherboard for about thirty seconds while the power is unplugged.
This resets the BIOS to factory defaults, allowing you to try again with different settings. Always ensure you have a backup of your important files before making major changes to your firmware configuration.
Why CSM Must Be Disabled
Many users struggle because they forget to disable CSM. The Compatibility Support Module is designed to allow modern systems to run older, legacy software and hardware. Because legacy boot methods do not support the signature verification process required by Secure Boot, the two features cannot run simultaneously.
When you attempt to enable Secure Boot while CSM is active, the BIOS will often force you to disable CSM first. If you find that you cannot disable CSM, it is usually because your primary boot drive is still using the older MBR partition style. You must convert the drive to GPT first, which allows the system to recognize the modern UEFI boot path.
Refining Your Security Configuration
Once you have successfully enabled the feature, you may want to explore other security options within the ASRock interface. Features like TPM (Trusted Platform Module) often work in tandem with Secure Boot. If you are preparing for Windows 11, ensuring both TPM 2.0 and Secure Boot are active will satisfy the system requirements.
You can verify that everything is configured correctly by checking the System Information window again. The “Secure Boot State” should now display as “On.” If it shows “Active,” your system is fully protected against unauthorized boot-time modifications.
Frequently Asked Questions
What if the Secure Boot option is greyed out in my BIOS?
If the option is greyed out, it is often because you have not set a BIOS Supervisor Password. Go to the Security tab, set a password, and then return to the Secure Boot menu. Additionally, ensure that CSM is disabled, as this often prevents the feature from being toggled.
Will enabling Secure Boot delete my data?
No, enabling Secure Boot does not delete your data. However, if your drive is currently formatted as MBR and you need to convert it to GPT to satisfy the UEFI requirements, you must back up your files first. The conversion process can involve reformatting the drive in some scenarios.
Why does my screen show a black screen after enabling Secure Boot?
This typically happens if your graphics card does not support UEFI GOP (Graphics Output Protocol). You may need to update the VBIOS of your graphics card or ensure your monitor is connected via a cable that supports modern signal standards. Clearing your CMOS will restore your display.
Do I need to enable Secure Boot for gaming?
Generally, no. However, some modern anti-cheat software used in competitive games now requires Secure Boot to be active. If you are experiencing issues launching specific games, enabling this feature is often the required fix to satisfy the game’s security verification process.
Final Thoughts on System Security
Managing your firmware settings is a powerful way to take control of your computer’s security profile. By successfully enabling Secure Boot on ASRock motherboard systems, you ensure that your operating system remains untampered with from the very first moment you press the power button. While the process involves navigating the BIOS, the steps are straightforward once you understand the relationship between CSM, partition styles, and key management.
If you run into trouble, remember that resetting your BIOS via the CMOS battery is a reliable safety net. Most modern systems are highly compatible with these security standards, and the performance benefits of a clean, verified boot path are worth the brief time it takes to configure. Keep your drivers updated, and your system will remain both secure and efficient for years to come.



