

Learning how to heat treat flour in microwave settings allows you to enjoy your favorite raw dough recipes without the worry of foodborne illness. Many home bakers assume that flour is a shelf-stable, inert ingredient, but it is actually a raw agricultural product that can harbor harmful pathogens like E. coli or Salmonella.
By applying consistent heat, you neutralize these potential threats, making the ingredient safe to use in no-bake desserts or edible cookie dough. Understanding the process of heat treating flour is a simple, effective way to upgrade your kitchen safety practices while keeping your treats delicious and worry-free.
Why You Need to Treat Flour
Raw flour is a harvested grain product that hasn’t undergone a “kill step” to eliminate pathogens. Unlike pasteurized milk or eggs, flour sits in fields and processing plants where it is exposed to environmental contaminants. When you ingest it raw, you are essentially gambling with your digestive health.
While most people associate food poisoning with meat or eggs, flour is a known vehicle for bacteria. Heat treating ensures that the internal temperature of the flour reaches a point where these organisms can no longer survive. This process is essential for any recipe that doesn’t involve baking, such as edible cookie dough, cake batter dips, or no-bake pie crusts.
The Science of Heat Treating
To make raw flour safe for consumption, you must raise its temperature to at least 160°F (71°C) throughout the entire batch. Bacteria are sensitive to heat, and maintaining this temperature for a short duration is sufficient to ensure the product is safe.
Using a microwave is often faster than using a conventional oven, but it requires more attention. Because microwaves heat by exciting water molecules, the moisture content of your flour plays a huge role in how it reacts. Always use a high-quality food thermometer to verify that you’ve reached the target temperature, as guessing can lead to uneven results.
Step-by-Step: How to Heat Treat Flour in Microwave
When you decide to heat treat flour in microwave appliances, preparation is everything. Follow these steps to ensure uniform heating and safety.
- Spread the flour in a thin, even layer on a microwave-safe plate or in a wide, shallow glass dish.
- Microwave the flour on high power in 30-second intervals to prevent scorching.
- Stir the flour thoroughly after every interval to redistribute the heat and prevent hot spots.
- Continue the process until the flour reaches a consistent internal temperature of 160°F.
- Allow the flour to cool completely before using it in your recipes to prevent it from melting fats like butter or chocolate.
Comparing Methods for Safety
While the microwave is convenient, it isn’t the only way to make your ingredients safe. You can also use a traditional oven or even an air fryer depending on the volume you need to process.
| Method | Efficiency | Risk of Burning | Best For |
|---|---|---|---|
| Microwave | Very Fast | Moderate | Small batches (1-2 cups) |
| Conventional Oven | Slow | Low | Large batches (bulk prep) |
| Air Fryer | Moderate | High | Quick, small-scale tasks |
Tips for Success and Avoiding Common Pitfalls
The most common mistake when you heat treat flour in microwave units is impatience. If you crank the power and leave it for two minutes straight, you will likely end up with browned, toasted flour that tastes nothing like the original ingredient.
Preventing Scorching
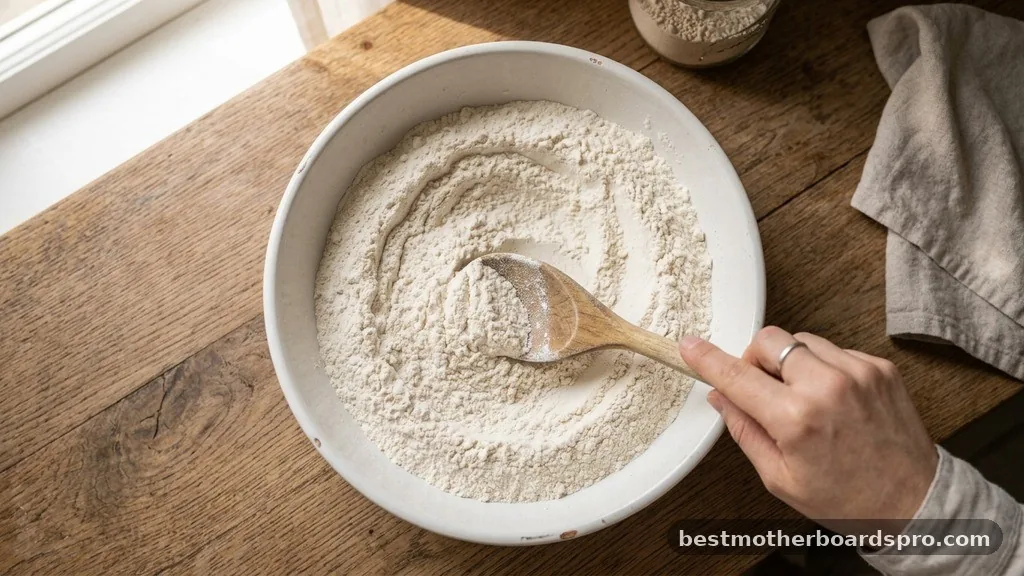
Flour can burn easily. If you notice a nutty aroma or a change in color, you are likely over-treating it. While toasted flour is delicious in some contexts, it will alter the flavor profile of your cookie dough. Stick to short bursts and constant stirring to keep the flour neutral.
Checking Temperature Accuracy
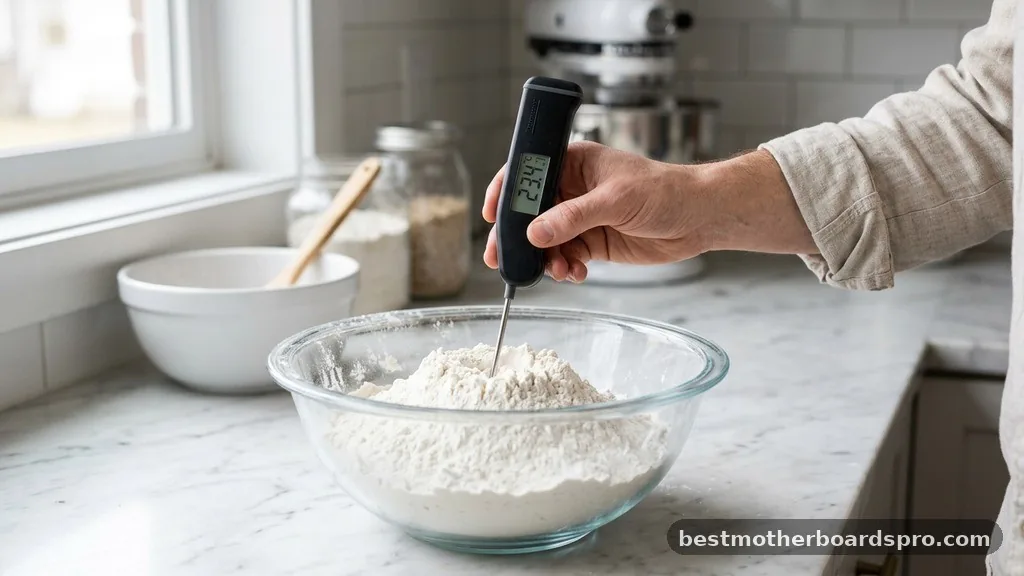
Always insert your thermometer into the center of the flour mound. Because the microwave heats from the outside in or based on density, the middle is often the last part to reach the required temperature. Don’t rely on time alone; rely on the thermometer.
Storing Your Treated Flour
Once the flour has cooled, treat it exactly like fresh flour. Store it in an airtight container to keep moisture out. If you have extra, it stays fresh in the pantry for a few weeks, but it’s usually best to treat only what you need for the specific recipe you are making.
Addressing Topical Gaps in Flour Safety
Many home bakers wonder if they can simply buy heat-treated flour from the store. While some specialty companies do sell pre-treated products, they are often more expensive and harder to find. Knowing how to do this at home gives you the freedom to use any brand of flour you prefer.
Another common question involves the texture of the flour after heating. Does it change? Generally, if you don’t burn it, the texture remains identical to raw flour.
You won’t notice a difference in your final no-bake recipe, provided you allow the flour to cool to room temperature before mixing it with your wet ingredients. If you add hot flour to cold butter, your dough will turn into a greasy mess.
FAQ Section
How long do you heat treat flour in a microwave?
It typically takes between 1 to 2 minutes total, depending on your microwave’s wattage and the amount of flour. The best approach is to heat it in 30-second intervals, stirring thoroughly between each, until a food thermometer confirms the flour has reached at least 160°F.
Is it safe to eat raw flour if it has been microwaved?
Yes, once you have successfully raised the internal temperature of the flour to 160°F, you have effectively killed off the harmful bacteria that might have been present. This makes it safe to use in recipes that do not require further cooking, such as edible cookie dough.
Why does my flour smell toasted after microwaving?
Your flour smells toasted because it has reached a temperature high enough to trigger the Maillard reaction. This happens if you microwave it for too long or at too high a power level. While this isn’t dangerous, it will change the flavor of your final dessert recipe.
Can I use a thermometer to check the temperature?
Yes, using a digital food thermometer is the only way to be 100% sure your flour is safe. Simply stir the flour, insert the probe into the center of the dish, and wait for the reading to stabilize at 160°F or higher before removing it from the appliance.
Conclusion
Mastering the process of how to heat treat flour in microwave equipment is a small effort that pays off in peace of mind. By taking a few minutes to ensure your ingredients are pathogen-free, you can safely indulge in your favorite no-bake desserts without any hidden risks. Whether you are prepping for a party or just satisfying a late-night craving, these simple steps ensure your kitchen remains a safe space for experimentation.
Remember to move slowly, keep your thermometer handy, and enjoy the process of creating delicious, worry-free treats. If you have any specific recipes you’re planning to try, feel free to share how the process worked for your favorite ingredients.



