

Mastering the art of tempering chocolate in the microwave is a kitchen skill that transforms simple confectionery into professional-grade treats. While many assume you need a double boiler and constant vigilance, the microwave method offers a surprisingly efficient alternative for home bakers.
By controlling the heat and using the right technique, you can achieve that signature snap and professional shine without the hassle of traditional stovetop setups. Whether you are prepping for a holiday bake or simply making homemade truffles, learning how to temper chocolate in the microwave will save you time while ensuring your final results have that perfect, glossy finish every single time.
Understanding the Science of Tempering
Tempering is essentially the process of stabilizing cocoa butter crystals. When you melt chocolate, the cocoa butter crystals fall out of alignment.
If you simply let it cool, it will harden with streaks, bloom, or remain soft and dull. Properly tempered chocolate contains stable beta crystals that provide structural integrity and a smooth texture.
When you use the microwave method, you are carefully heating the chocolate to a specific point where the unstable crystals melt away, then introducing “seed” chocolate to encourage the formation of stable crystals. This process is crucial if you want your chocolate to set quickly, release easily from molds, and resist melting at room temperature. Without this step, your chocolate creations will lack that satisfying “snap” that indicates a high-quality confection.
Essential Equipment for Microwave Tempering
You do not need a professional kitchen to achieve great results. However, having the right tools makes the process much more predictable. Since microwaves vary in power, precision is your best friend.
- A microwave-safe glass or plastic bowl (avoid metal).
- A digital instant-read thermometer for tracking temperature.
- A high-quality silicone spatula for consistent stirring.
- A clean, dry workspace free from steam or water droplets.
- High-quality couverture chocolate, preferably in callets or finely chopped pieces.
Step-by-Step Microwave Tempering Process
The microwave method relies on short bursts of heat and vigorous agitation. You want to avoid overheating the chocolate, as scorched cocoa butter is impossible to fix.
Preparation and Initial Melting
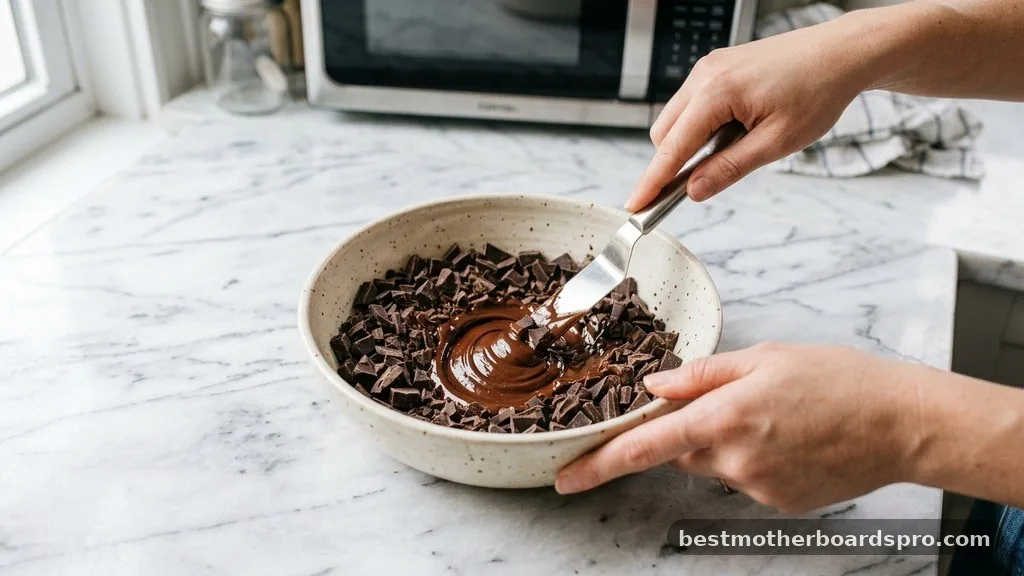
Start by placing about two-thirds of your chocolate into the bowl. If you are using a block, chop it finely to ensure it melts evenly. Microwave the chocolate on 50% power for 30 seconds at a time. It is vital to remove the bowl and stir thoroughly after every burst. Even if the chocolate looks solid, the heat from the bowl will continue to melt the interior pieces during the stirring phase.
Adding the Seeds
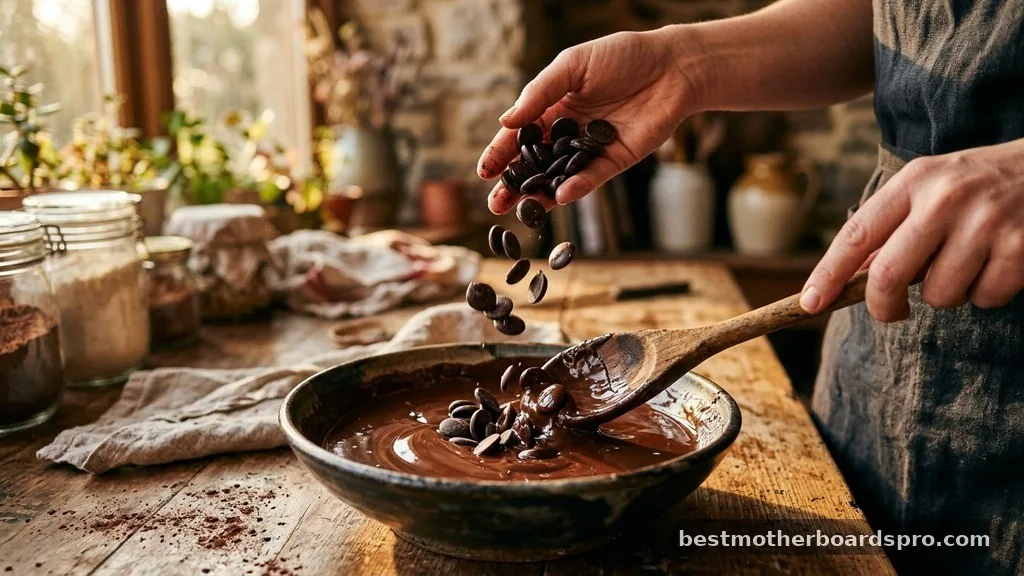
Once the chocolate reaches the desired melting point—typically around 115°F to 120°F (46°C–49°C) for dark chocolate—you need to add the remaining one-third of your chocolate. This is known as “seeding.” The cool, solid callets act as a catalyst, pulling the temperature down and training the melted cocoa butter to form those stable beta crystals. Stir continuously until all the added pieces have completely disappeared into the mixture.
Checking the Temper
To ensure the chocolate is properly tempered, perform a quick test. Dip the tip of a knife or a piece of parchment paper into the chocolate and set it aside for a few minutes. If the chocolate sets within three to five minutes and appears shiny rather than streaky, you have succeeded. If it remains dull or soft, it needs more stirring to encourage further crystal development.
Temperature Targets by Chocolate Type
Different types of chocolate contain varying amounts of cocoa butter, sugar, and milk solids. This means that the target temperature for tempering white chocolate differs significantly from that of dark or milk varieties.
| Chocolate Type | Melting Temp | Working Temp |
|---|---|---|
| Dark Chocolate | 115°F – 120°F | 88°F – 90°F |
| Milk Chocolate | 110°F – 115°F | 84°F – 86°F |
| White Chocolate | 105°F – 110°F | 82°F – 84°F |
Addressing Common Tempering Challenges
One of the most frequent issues is the presence of moisture. Even a tiny drop of water can cause the chocolate to seize, turning it into a grainy, unusable paste. Always ensure your bowl and spatula are completely dry before you begin.
Another common pitfall is overheating. If your thermometer shows the temperature climbing too high, you have destroyed the crystalline structure.
While you can sometimes save scorched chocolate by adding more seed chocolate, it is often better to use it for ganache or baking rather than trying to temper it again. If you find the chocolate is thickening too quickly, you can gently re-warm it for five seconds, but be extremely careful not to exceed the working temperature range.
Why the Microwave Method Works Well
The microwave method works well because it allows for localized heating and easy control. By using short intervals, you prevent the chocolate from reaching the “danger zone” where the proteins burn. Furthermore, this technique is much faster than the traditional bain-marie, where you have to worry about steam condensation from the water bath leaking into your mixture.
Many professional chocolatiers have adopted the microwave technique for small batches because it is efficient and minimizes cleanup. When you master how to temper chocolate in the microwave, you gain the freedom to create professional-looking bonbons, dipped fruits, and molded bars on a whim without needing a dedicated tempering machine.
FAQ
What is the most common mistake when tempering?
The most common mistake is overheating the chocolate. If the temperature exceeds the recommended range, the stable crystals are destroyed, and the chocolate will lose its temper. Always use a thermometer and err on the side of caution with short, controlled bursts in the microwave.
Can I temper chocolate without a thermometer?
Yes, it is possible by using the “tabling” or “seeding” method and observing the texture. However, it is much harder to guarantee professional results. Experienced chocolatiers look for a specific sheen and consistency, but beginners should always use a thermometer to ensure accuracy and avoid wasting expensive ingredients.
How long should the process take?
The entire process usually takes about 10 to 15 minutes, depending on the amount of chocolate used. The melting phase is the longest part, while the cooling and seeding phase requires patience and consistent stirring. Do not rush the cooling step, as steady agitation is key to success.
Why did my chocolate seize?
Seizing happens due to the introduction of moisture, such as a drop of water, steam, or even humidity. When moisture hits melted chocolate, the sugar absorbs it and clumps together, causing the mixture to turn thick and grainy. Always ensure your tools are perfectly dry before starting.
Final Thoughts
Learning how to temper chocolate in the microwave is a practical way to elevate your home confectionery projects. By respecting the temperature thresholds and maintaining consistent movement, you can achieve that professional, glossy look that defines high-quality work. Remember that practice is part of the process; if your first attempt isn’t perfect, the chocolate can still be used for delicious sauces or ganaches.
Once you get the hang of the timing and the visual cues, you will find that the microwave becomes your most reliable tool for working with chocolate. Start with a small batch, keep your tools dry, and enjoy the process of turning simple ingredients into something truly special.



