

Learning how to update BIOS on Gigabyte motherboard hardware is a vital skill for maintaining system stability and ensuring compatibility with the latest processor generations. While the process might seem intimidating at first, Gigabyte has streamlined the experience through their dedicated Q-Flash utility.
Whether you are troubleshooting a hardware conflict or preparing your machine for a new CPU upgrade, performing a firmware refresh ensures your system runs at peak efficiency. This process requires nothing more than a formatted flash drive and a few moments of your time to ensure your machine remains secure and fully optimized for your daily computing tasks.
Understanding the Necessity of Firmware Updates
Most users wonder if they actually need to perform an update when their system is running perfectly fine. Generally, if your computer is stable and supports your current hardware, you might not need to rush into the procedure. However, there are specific scenarios where an update becomes mandatory rather than optional.
Manufacturers release these files primarily to address security vulnerabilities, improve memory compatibility, and offer support for newer CPU releases. If you have recently purchased a newer processor that belongs to the same socket family but was released after your board was manufactured, an update is usually the only way to get the system to boot. Furthermore, if you encounter persistent issues with USB connectivity, RAM stability, or intermittent system hangs, a newer version often contains the necessary patches to resolve these bugs.
Preparation Before You Begin
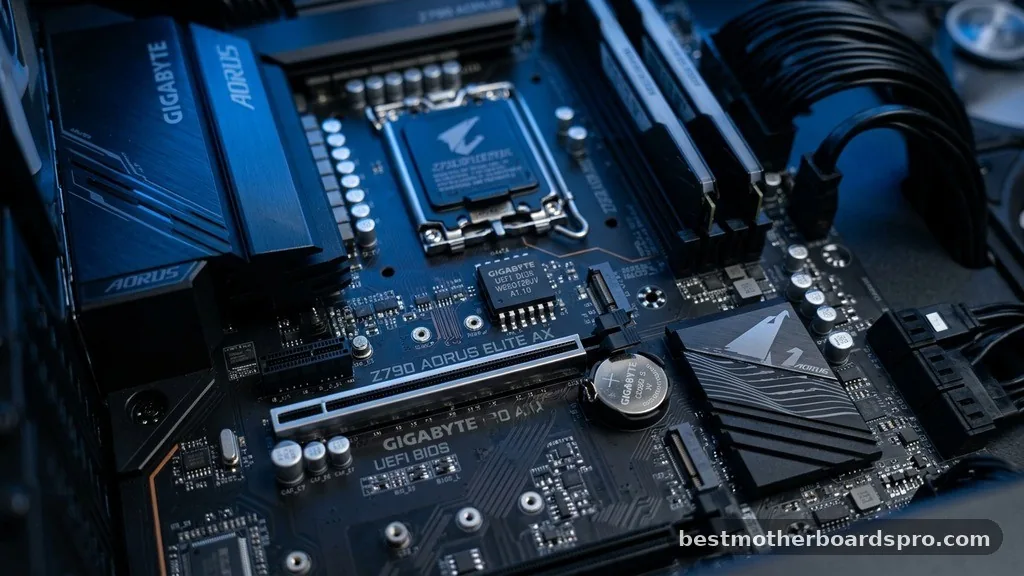
Before you touch any files, you must identify your specific model. Motherboards often look identical but carry different revisions, and flashing the wrong file can result in a bricked device. You can check your model name using software like CPU-Z or by checking the label printed directly on the PCB near the RAM slots.
Once you have identified your board, visit the official Gigabyte support website. Navigate to the support page for your exact model and look for the BIOS section.
You will typically see a list of versions, with the most recent one at the top. Download the latest version, which usually comes as a compressed folder.
Essential Checklist
- Verify your motherboard model and revision number (e.g., Rev 1.0 vs Rev 1.1).
- Ensure you have a stable power supply during the entire process.
- Use a reliable, FAT32-formatted USB drive for the transfer.
- Backup any sensitive data on the drive, as formatting might be required.
- Disable any overclocking settings in the current environment to ensure stability.
Utilizing the Q-Flash Utility
The Q-Flash utility is the most reliable method for updating your firmware. It operates independently of your operating system, which minimizes the risk of corruption caused by background processes or software interference. Once you have downloaded the file, extract it and copy the relevant files—usually a file with a specific extension like .F10 or .F12—to the root directory of your USB drive.
Restart your computer and repeatedly press the Delete key to enter the BIOS menu. Once inside, look for the Q-Flash icon or press the F8 key on your keyboard. This will open the utility interface.
Select “Update BIOS” and navigate to your USB drive. The system will prompt you to select the file you moved over earlier. Confirm your selection, and the utility will verify the file before beginning the writing process.
Using Q-Flash Plus for Bricked or Bootless Systems
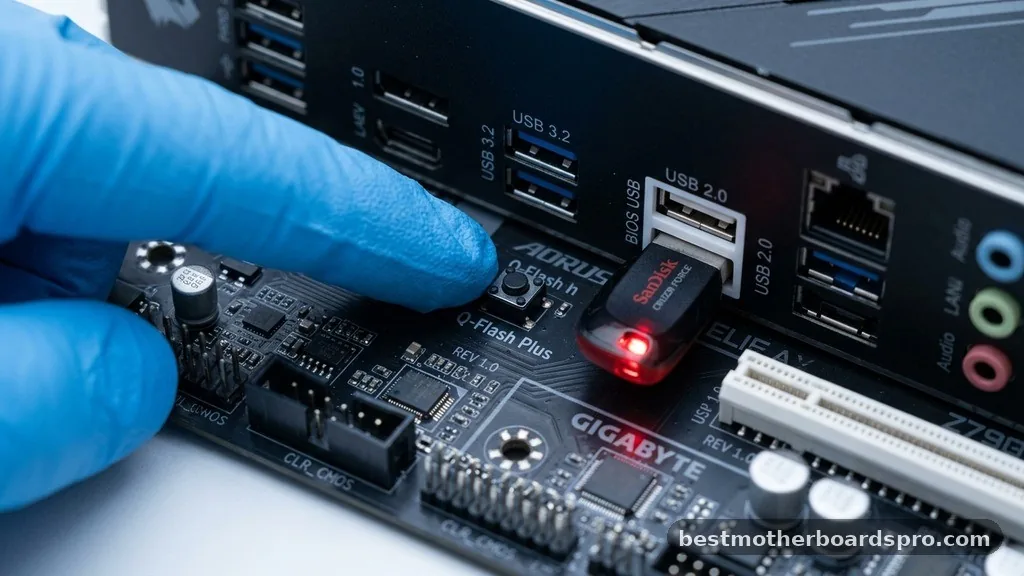
If your system fails to boot entirely, you might still be able to recover it using Q-Flash Plus. This feature allows you to update the firmware even without a CPU, RAM, or graphics card installed. This is a lifesaver for users who accidentally bought a board that doesn’t support their CPU out of the box.
To use this, rename the downloaded BIOS file to GIGABYTE.bin. Place this file on a FAT32-formatted USB drive. Plug the drive into the specific port labeled “BIOS” on the rear I/O panel.
Press the dedicated Q-Flash Plus button on the motherboard. An LED will begin to flash, indicating that the system is actively writing the new firmware. Once the light stops blinking, the process is complete, and you can proceed with a standard build.
| Method | Best Used For | OS Required |
|---|---|---|
| Q-Flash (BIOS Menu) | Routine updates and stability patches | No |
| @BIOS Utility | Windows-based quick updates | Yes |
| Q-Flash Plus | Recovery or updating without CPU/RAM | No |
Addressing Common Hurdles
Users often encounter issues where the BIOS file is not detected by the utility. This usually happens because the file is still inside a folder rather than the root directory of the USB drive.
Ensure the file is placed directly on the drive’s main level. Additionally, ensure the USB drive is formatted as FAT32, as NTFS or exFAT formats are often not recognized by the motherboard’s basic firmware environment.
Another common issue is a sudden power loss during the write process. While modern boards often have dual-BIOS features that can recover from a failed flash, it is still a significant risk.
If you are in an area with unstable electricity, consider using a battery backup or waiting for a more stable time to perform the update. Never turn off the power while the progress bar is active.
Frequently Asked Questions
Do I need to install every version in between my current one and the latest one?
No, you do not need to install every intermediate version. Gigabyte firmware updates are generally cumulative. You can typically flash directly from your current version to the latest one, unless the manufacturer specifies a mandatory “bridge” update for your specific model on their support page.
Can I update my BIOS from within Windows?
Yes, Gigabyte provides a Windows-based utility called @BIOS that allows for updates without entering the setup menu. However, this method is riskier because background applications can crash the process. Using the Q-Flash utility inside the BIOS setup remains the safest and recommended approach for most users.
What happens if the update fails halfway through?
If the process fails, do not panic and do not turn off the power immediately. Many boards feature a recovery mechanism or a dual-BIOS chip. If the system refuses to post after a failed update, try using the Q-Flash Plus button if your motherboard model supports that specific feature.
How often should I check for new updates?
There is no strict schedule for firmware updates. Check the support page once every few months or whenever you experience persistent system instability. If your system is functioning perfectly and you do not intend to upgrade your hardware, there is often no pressing need to update the firmware.
Final Considerations
Maintaining your system through regular firmware maintenance is a smart way to protect your investment. By understanding how to update BIOS on Gigabyte motherboard hardware, you ensure that your computer remains compatible with the latest industry standards and security patches. Take your time during the process, double-check your model version, and always ensure you have a stable power source.
If you follow these steps carefully, you will find that the process is straightforward and effective. Should you run into any specific errors during your update, referring back to the support documentation for your particular board is the best way to find a tailored solution for your system.



