When your computer fails to boot, learning how to test a motherboard becomes the most critical skill for any DIY technician. It is easy to assume the worst when a screen stays black, but isolating the board from other faulty components saves you from unnecessary replacements.
By methodically checking power delivery and physical integrity, you can determine if the heart of your system has truly stopped beating or if a loose cable is simply keeping it in the dark. This process requires patience, a steady hand, and a few basic tools to ensure you aren’t misdiagnosing a simple power supply failure for a catastrophic board death.
Identifying Signs of a Failing Motherboard
Before you reach for tools, observe the system’s behavior to narrow down the cause. A dead or dying board often displays specific patterns that point toward hardware failure rather than software corruption. Watch for these common indicators before starting a more invasive diagnostic procedure.
- The computer turns on, but the fans stop spinning after a few seconds.
- The system power LED blinks, but nothing appears on your monitor.
- You hear a series of beeps from the internal speaker, which are error codes.
- The computer randomly restarts or freezes during standard operations.
- There is a distinct smell of burning plastic or ozone coming from the case.
- USB ports or peripheral devices fail to receive power or be recognized by the OS.
If you notice these symptoms, the board is likely struggling to distribute power or communicate with the CPU. You should also inspect the physical layout for any signs of physical damage, such as warped traces or burnt components.
Visual Inspection and Basic Troubleshooting
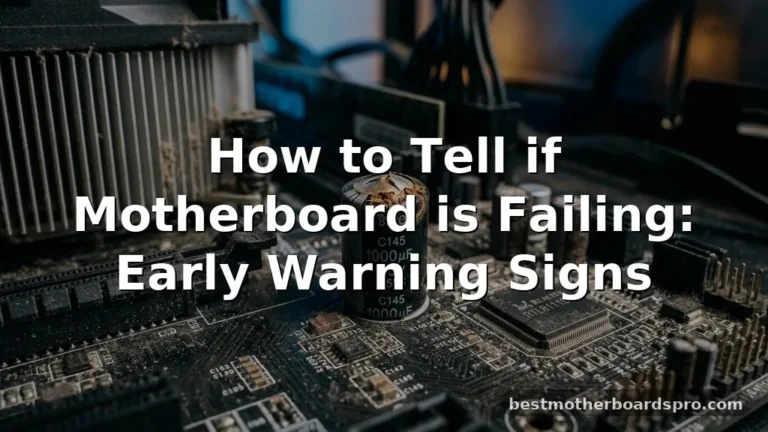
The first step in testing your hardware involves a thorough visual scan of the board’s surface. Many boards fail due to simple issues like a popped capacitor or a buildup of conductive dust that creates a short.
Checking for Damaged Capacitors
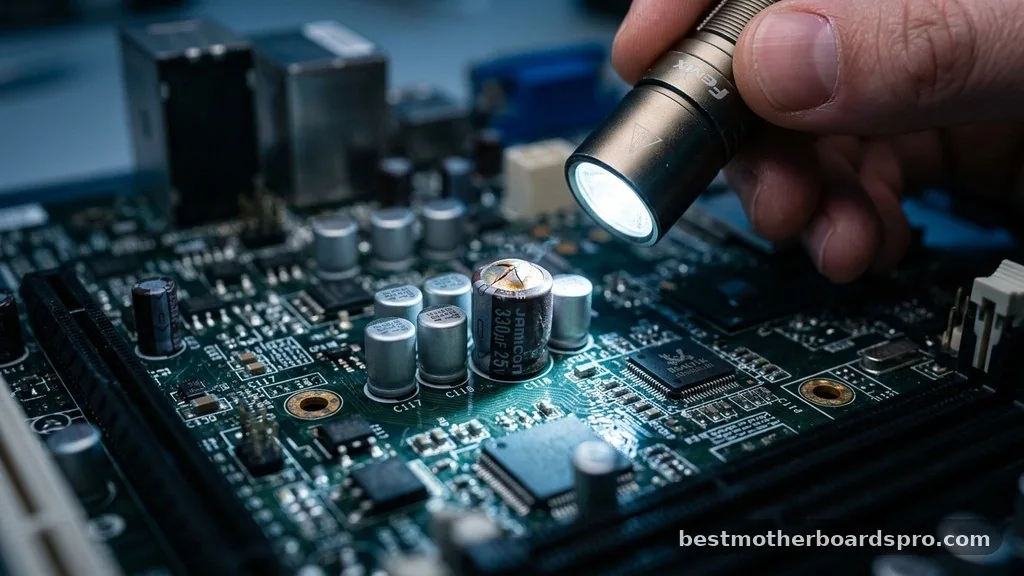
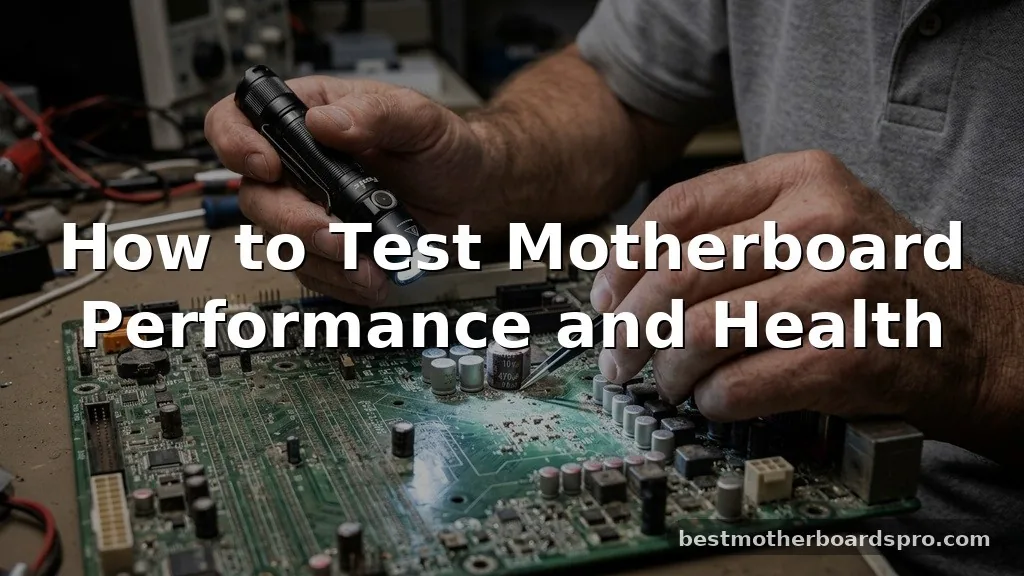
Capacitors are the small, cylindrical components that regulate power across the board. If they are bulging, leaking, or have a crusty top, they have failed and will prevent the system from booting reliably. Use a bright flashlight to inspect each one carefully; even a slight dome shape on the top indicates a capacitor that has reached its end of life.
Testing Connections and Cables
Ensure that the 24-pin ATX power connector and the 4/8-pin CPU power cable are seated firmly. Sometimes, a vibration or a slight bump can dislodge these, leading to intermittent power delivery. If you have spare cables from a known-working power supply, swap them out to rule out faulty wiring as the primary culprit.
Using a Multimeter for Power Diagnostics
When visual inspections yield no results, using a multimeter allows you to measure the voltage arriving at the board. This is the most accurate way to verify that your power supply unit (PSU) is actually delivering the correct amount of electricity to the components.
| Connector Type | Expected Voltage (DC) | Purpose |
|---|---|---|
| 24-Pin ATX | 12V / 5V / 3.3V | Main board power |
| 4/8-Pin EPS | 12V | CPU power |
| SATA Connector | 12V / 5V | Storage/Peripherals |
To test the power supply, jump the green wire on the 24-pin connector to any black ground wire using a paperclip while the PSU is unplugged from the board. Once the PSU fans spin, use your multimeter to check the pins for the corresponding voltages listed above. If the readings are significantly higher or lower than these values, the PSU is likely the problem, not the board itself.
Isolating the Motherboard from External Faults
A common mistake is assuming the board is damaged when another component is actually causing a short. To isolate the issue, perform a “breadboard” test. This involves removing the board from the computer case and placing it on a non-conductive surface, like a wooden table or the original cardboard box it came in.
The Bare Minimum Configuration
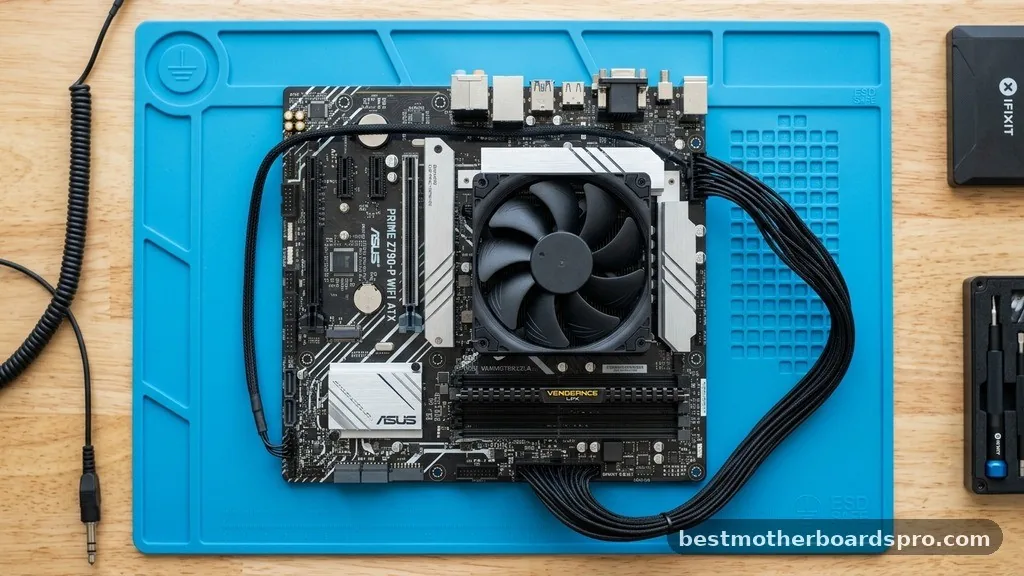
Connect only the essential components required for a POST (Power-On Self-Test): the power supply, the CPU with its cooler, and one stick of RAM. Remove all graphics cards, hard drives, and extra USB headers. If the board boots or shows a signal on the monitor in this configuration, one of the removed components was likely causing a short or a conflict.
Checking for Resistance
If you have advanced technical knowledge, you can set your multimeter to measure resistance (Ohms) between the power rails and the ground. A zero or extremely low reading suggests a short circuit somewhere on the board. This often indicates a failed chip or a damaged circuit trace that requires professional repair or replacement.
Addressing Common Topical Gaps
Many users struggle to differentiate between a dead CPU and a dead motherboard because the symptoms are identical. To distinguish between the two, listen to the beep codes if your board has an internal speaker. A motherboard that lacks a CPU will often trigger a specific beep sequence, whereas a completely dead board will remain silent regardless of whether the CPU is installed.
Another frequent gap involves boards that turn on but fail to reach the BIOS. This is often an issue with the CMOS battery.
Try removing the small coin-shaped battery for thirty seconds to reset the BIOS settings to factory defaults. If the computer boots after this, the board is perfectly fine, and you were simply dealing with a corrupted configuration.
Frequently Asked Questions
Can I test a motherboard without a CPU?
While you can provide power to the board without a CPU, it will not perform a full POST or display anything on a monitor. You can verify if the fans spin and lights turn on, but you cannot determine the functional status of the integrated circuits or the BIOS.
How do I know if my motherboard is shorted?
A shorted board usually triggers the power supply’s safety mechanism, causing the PC to shut down instantly or refuse to turn on entirely. You can confirm this by checking the resistance between the power pins and ground; a near-zero reading indicates a dangerous electrical short.
What are the symptoms of a dead motherboard?
Common symptoms include a total lack of response when pressing the power button, constant restarts, or the system freezing during the boot process. If you have ruled out the power supply and RAM, these persistent issues often point toward a failed board or damaged power delivery circuitry.
Is it worth repairing a motherboard?
Repairing a board is rarely cost-effective unless it involves a simple fix like replacing a CMOS battery or cleaning dust from a shorted socket. If the issue is a failed capacitor or a damaged trace, the labor costs for a professional repair often exceed the price of a new board.
Conclusion
Testing motherboard health is a logical process of elimination that transforms a confusing hardware failure into a manageable diagnostic task. By performing a visual inspection, verifying power delivery with a multimeter, and isolating the board from external components, you can confidently identify the source of your system’s issues. Whether you find that a faulty cable was the culprit or realize it is time for a hardware upgrade, you now have the knowledge to make an informed decision.
If you find yourself stuck at any point in this process, take a break, double-check your connections, and try the bare-minimum configuration again. Most of the time, the solution is simpler than it first appears, so stay patient as you troubleshoot your build.