
Figuring out whether your shiny new build will actually stay in place is a rite of passage for every PC enthusiast. Many builders worry about whether the box sitting on their desk contains all the necessary hardware, specifically wondering if a motherboard comes with screws to secure it to the chassis. It is a common point of confusion, and the answer isn’t always as straightforward as you might hope.
You are in the right place to clear up the mystery of where your hardware pieces actually originate. Understanding which components provide the mounting gear will save you from a mid-build headache when you realize the board isn’t going anywhere without the right fasteners.
Where Do Motherboard Screws Actually Come From?
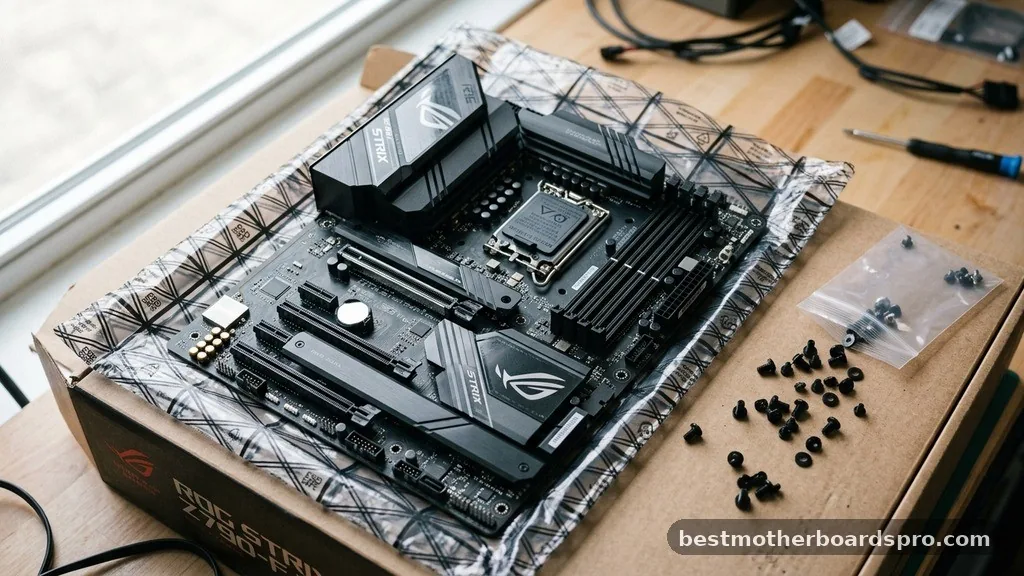
The most important thing to know when you start your assembly is that the motherboard manufacturer does not typically provide the screws needed to mount the board inside the chassis. Instead, the responsibility for providing these fasteners lies with the PC case manufacturer. When you open your case box, you should find a small bag or a box tucked inside, usually containing a variety of screws, zip ties, and sometimes a speaker or standoff tool.
If you are currently staring at an empty motherboard box wondering where the mounting hardware is, don’t panic. The motherboard box is designed to hold the board, the manual, SATA cables, and perhaps an M.2 screw or two, but it is rarely equipped with the larger screws required to bolt the board to the case tray. Those pieces are considered part of the case’s installation kit, as the case manufacturer needs to ensure that the threads match the standoffs they have pre-installed or included in the package.
Understanding Standoffs and Mounting Hardware
Before you try to force a screw into your board, you need to understand how the mounting system works. A motherboard doesn’t sit directly against the metal of the case; it sits on top of small, raised metal or plastic pillars known as standoffs. These standoffs prevent the back of the circuit board from touching the metal chassis, which would cause a short circuit and potentially destroy your expensive components.
When you install your board, you must ensure that the standoffs align perfectly with the holes on the motherboard. Most modern cases come with these standoffs pre-installed for the standard ATX form factor.
However, if you are using a Micro-ATX or Mini-ITX board, you might need to move or add standoffs to match the specific layout of your board. The screws you use to secure the board will thread into these standoffs, effectively locking the board in place while maintaining the necessary gap for airflow and electrical safety.
What to Do If You Are Missing Screws
It happens to the best of us: you get halfway through your build and realize you cannot find the hardware kit that came with the case. If you find yourself in this situation, there is no need to abandon the project. First, double-check all the nooks and crannies of your case box, especially inside the drive bays or hidden compartments where manufacturers often tuck the hardware bag.
If you are absolutely certain the screws are missing, you have a few practical options to get your build back on track:
- Check your local computer repair shop for spare hardware kits.
- Order a generic PC hardware screw kit online, which usually contains a wide variety of motherboard and drive screws.
- Contact the case manufacturer’s customer support, as they can often send a replacement parts kit for a small fee or even for free if the unit was missing them upon arrival.
- Scavenge from an old, retired PC case if you have one lying around, as most standard PC screws use the same thread pitch.
Comparing Hardware Origins
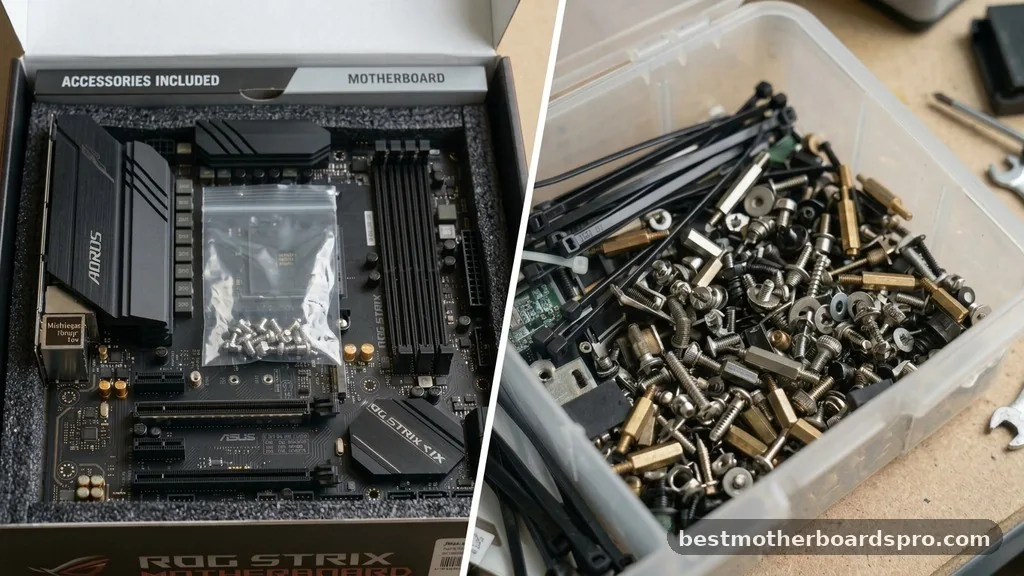
To help clarify which parts come from where, use the table below to see which components are typically found in the motherboard box versus the case box.
| Component | Typically Found In |
|---|---|
| Motherboard Standoffs | PC Case Box |
| Motherboard Mounting Screws | PC Case Box |
| M.2 SSD Screw | Motherboard Box |
| SATA Data Cables | Motherboard Box |
| Case Fan Screws | PC Case Box |
Identifying the Correct Thread Size
Not all screws are created equal, and using the wrong one can strip the threads on your standoffs or, worse, damage the motherboard. Most motherboard screws use a 6-32 thread, which is the standard size for PC building. You will notice that these screws have a wide head and a flat underside, designed to sit flush against the screw holes on the motherboard.
When you are ready to install the board, avoid using screws that have a coarse thread intended for power supplies or hard drives. If you aren’t sure which is which, try the screw in the standoff outside of the case first.
It should turn smoothly with very little resistance. If you have to force it, you are likely using the wrong screw, and you should stop immediately to prevent damaging the delicate threads of the standoff.
Why M.2 SSD Screws Are the Exception
While the main mounting screws come with the case, the tiny, frustratingly small screw used for your M.2 SSD is almost always included with the motherboard. This is because the M.2 slot is a specific feature of the board itself, and the manufacturer needs to ensure you have the correct fastener for that specific socket.
Sometimes, these screws are already pre-installed into the standoff on the motherboard. If you don’t see a baggie with a tiny screw, look closely at the board near the M.2 slot.
You might find that the screw is already waiting for you, held in place by the standoff. Be careful when removing these, as they are incredibly small and easy to lose on a carpeted floor.
Common Mistakes During Installation
Even experienced builders sometimes make mistakes when securing a motherboard. One of the most common issues is over-tightening the screws.
You want the board to be secure, but you don’t need to torque it down like you’re working on a car engine. Tighten the screws until they are firm, and then give them just a tiny quarter-turn more.
Another common error is failing to use the correct number of standoffs. If you leave a standoff out, the board might flex when you plug in your 24-pin power cable or USB headers, which can cause the board to crack or make poor contact. Always take the time to count the holes on your board and ensure a corresponding standoff is present in the case.
Frequently Asked Questions
Does the motherboard box come with the screws to mount it to the case?
Generally, no. The motherboard box typically contains M.2 screws and SATA cables, but the larger screws required to mount the motherboard to the case chassis are almost always included with the PC case itself. Always check your case’s accessory box first if you are missing mounting hardware.
What should I do if my case didn’t include the necessary screws?
If your case box is missing the hardware kit, contact the manufacturer’s support team for a replacement. Alternatively, you can purchase a standard PC screw kit from most online retailers or local electronics stores, which provides the universal 6-32 screws needed for almost all motherboard installations.
Are motherboard screws universal across different brands?
Yes, most motherboard screws use a standard 6-32 thread size that is compatible with the vast majority of PC cases on the market. While the head style or finish might vary slightly, the thread pitch remains consistent, making it easy to swap hardware between standard ATX builds.
How can I tell the difference between motherboard and power supply screws?
Motherboard screws typically have a wide, flat head and fine threads, whereas power supply screws are often thicker and use a coarser thread. If you try to thread a screw into a standoff and it feels gritty or requires force, stop immediately, as you are likely using the wrong type.
Final Thoughts on Motherboard Installation
Successfully building a PC comes down to the details. While it might seem like a simple question of whether a motherboard comes with screws, understanding that these pieces are actually provided by the case manufacturer helps you stay organized during the assembly process. Always inventory your parts before you start, keep your screws sorted in a tray or bowl, and remember that the motherboard box usually only handles board-specific hardware like M.2 fasteners.
If you find yourself missing a piece, don’t rush; take a moment to find the right part to avoid damaging your components. With the right hardware secured, your system will be ready for years of reliable performance. If you have any other questions about your build, feel free to reach out and keep the conversation going.