

Swapping out the central nervous system of your computer is a significant task that often intimidates even experienced enthusiasts. When you decide on changing motherboard hardware, you are essentially rebuilding your machine from the ground up, which requires careful planning and a steady hand. Whether you are upgrading to support a new processor or replacing a damaged unit, the process involves more than just unscrewing components.
By preparing your software environment and organizing your physical workspace, you can manage the transition without losing your personal files or enduring unnecessary technical headaches. This process demands patience, but the performance gains or stability improvements make the effort worthwhile for any serious user.
Preparing Your System for a Hardware Swap
Before you reach for a screwdriver, you need to address the software side of the equation. Windows and other operating systems tie their activation and configuration to the specific hardware ID of your existing board. If you do not prepare, you might face boot loops or licensing issues that complicate your day.
The most important step involves your digital license. If you are using a retail version of Windows linked to your Microsoft account, the activation usually carries over.
However, if you are using an OEM license, it might be permanently bound to the original hardware. Ensure your Windows account is linked to your digital license in the settings menu before you begin the physical disassembly.
Backing Up Essential Data
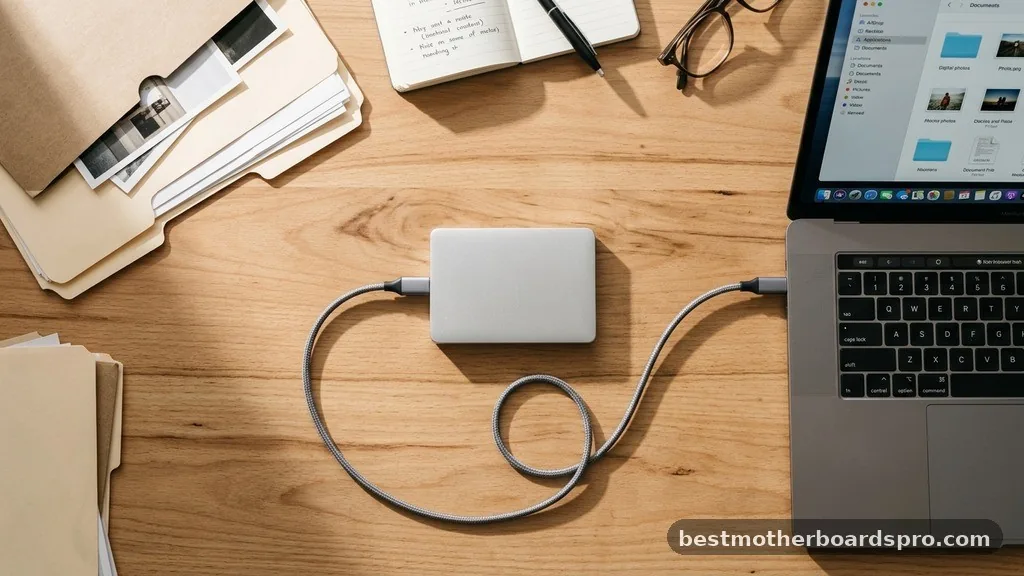
Never assume your data is safe during a major hardware migration. Even though your files live on your storage drives rather than the board itself, a corrupted boot sequence or a failed drive detection can lead to frustration.
Create a complete backup of your critical documents, photos, and projects to an external drive or cloud service. This safety net ensures that even if you encounter an unexpected issue during the boot process, your information remains accessible.
Tools and Workspace Setup
You do not need a professional laboratory to perform this upgrade, but a clean, non-conductive surface is mandatory. Static electricity is the silent enemy of sensitive electronic components. You should use a magnetic screwdriver set and perhaps a small tray to keep track of the various screws, which often vary in length and thread type.
- Magnetic Phillips-head screwdriver (usually size #2).
- Anti-static wrist strap or a grounding point.
- Small container or magnetic mat for organizing screws.
- Zip ties or cable management velcro for the rebuild.
- Thermal paste for the CPU cooler installation.
Organizing your workspace prevents the common mistake of losing a standoff screw inside the chassis. If you leave a loose screw behind the new board, it could cause a short circuit when you power on the system for the first time. Take your time during the removal process to categorize which screws belong to the case, the power supply, and the board itself.
Removing the Existing Hardware
Changing motherboard components begins with a systematic teardown. Start by shutting down the PC completely and unplugging the power cable from the wall. Press the power button a few times while the unit is unplugged to drain any remaining electricity trapped in the capacitors.
Remove the side panels of your case to expose the internals. Disconnect every cable attached to the board, including the 24-pin power connector, the CPU power cable, and the front panel headers.
Be gentle with these connectors; if they feel stuck, check for a small release tab rather than pulling with excessive force. Once the cables are free, remove your GPU and any expansion cards to clear the way for the board removal.
Handling the CPU and Cooling System
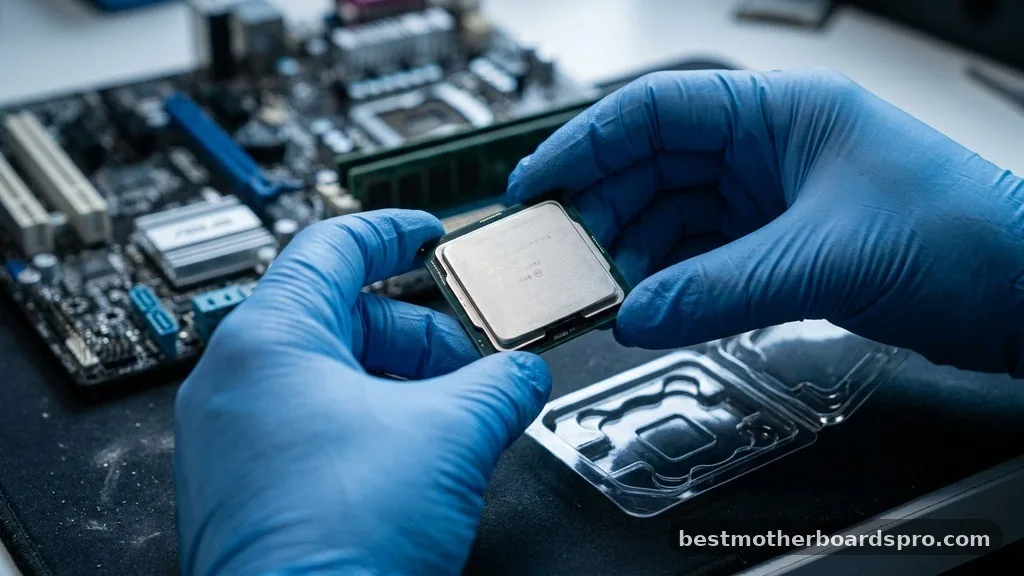
Removing the CPU cooler often reveals a mess of dried thermal paste. If you plan to reuse your existing processor, carefully unlatch the retention arm and lift the chip by its edges.
Never touch the gold pins on the bottom of the processor or the contact pads. Place the CPU in a safe, anti-static container while you work on swapping the boards.
Comparing Board Form Factors
When you move to a new platform, you must ensure the new component fits your existing chassis. The physical dimensions and mounting hole patterns vary between different standards. The following table provides a quick reference for common sizes you might encounter during your search for a compatible unit.
| Form Factor | Dimensions | Typical Use Case |
|---|---|---|
| ATX | 12 x 9.6 inches | Standard mid-to-full tower builds |
| Micro-ATX | 9.6 x 9.6 inches | Compact builds with fewer slots |
| Mini-ITX | 6.7 x 6.7 inches | Small form factor or portable systems |
Always verify that your case supports the size of the board you intend to install. If you try to force an ATX board into a case designed only for Micro-ATX, you will find that the mounting holes do not align, and the board may touch the bottom of the chassis, causing a catastrophic failure.
Installing the New Components
Installation is essentially the reverse of the removal process, but with a few critical additions. Start by installing the I/O shield into the back of your case.
Many modern boards come with an integrated shield, which is a massive quality-of-life improvement. Next, install the standoffs into the chassis, ensuring they match the hole pattern on your new hardware.
Lower the board into the case, aligning it with the standoffs. Secure it with the appropriate screws, but do not overtighten them, as this can crack the PCB.
Once the board is seated, reinstall your CPU, RAM, and the GPU. Connect your power cables, ensuring the 24-pin and CPU power cables are fully clicked into place.
Managing Drivers and Software
After the physical installation, your computer will likely boot into the BIOS. Check that the system detects your storage drives and memory.
Once you confirm the hardware is recognized, you will need to handle the software transition. Since you are changing the core chipset, your old drivers will conflict with the new hardware.
You should perform a clean install of your operating system if possible. This ensures that the registry is free of old, incompatible driver fragments. If a clean install is not an option, use a driver uninstaller tool in safe mode to wipe all traces of the previous chipset drivers before installing the ones specific to your new hardware.
Addressing Common Topical Gaps
Many users worry about whether they need to purchase a new Windows key. In most cases, if your license is linked to a Microsoft account, it will reactivate automatically once you sign in on the new hardware. If it fails, you can use the “Activation Troubleshooter” in the settings menu to transfer the license from the old hardware to the new one.
Another common concern involves the BIOS version. If your new board was manufactured before your CPU was released, it might require a BIOS update to recognize the processor.
Check the box or the manufacturer’s website for “CPU Ready” labels. If an update is necessary, many modern boards feature a “BIOS Flashback” button that allows you to update the firmware using a USB drive without needing a CPU installed.
FAQ
Can I swap motherboards without reinstalling Windows?
Technically, yes. Windows 10 and 11 are remarkably good at detecting new hardware and pulling the necessary drivers. However, a clean installation is always recommended to avoid long-term stability issues, registry bloat, or conflicts between your old chipset drivers and the new hardware configuration.
Will I lose my files if I change the motherboard?
No, your data is stored on your hard drive or SSD, not the board itself. As long as you do not format your storage drive during the Windows installation process, your personal files, documents, and games will remain intact and accessible once the new system is set up.
Is it difficult to replace a motherboard in a laptop?
Replacing a laptop board is significantly more complex than a desktop. Laptops use highly proprietary designs, and you often have to disassemble the entire chassis, screen, and cooling system to reach the board. It is generally not recommended for beginners due to the fragile ribbon cables involved.
How do I know if my new motherboard is compatible with my CPU?
You must check the socket type and the chipset. For example, an Intel LGA 1700 processor will not fit in an AMD AM5 socket. Always consult the manufacturer’s CPU support list on their website to verify that your specific processor model is supported by the board’s BIOS version.
Final Considerations for Your Build
Successfully changing motherboard hardware is a rewarding project that extends the life of your computer and provides a solid foundation for future upgrades. By taking the time to back up your data, prepare your software licenses, and methodically swap the physical components, you minimize the risk of errors and ensure a smooth transition. Remember to check your cable management once everything is powered on to ensure proper airflow, which keeps your components cool under load.
If you run into issues, the manufacturer’s support forums and community tech hubs are excellent resources for troubleshooting specific boot errors. Take your time, stay organized, and enjoy the improved performance of your updated machine.



