

Removing an over the range microwave might seem like a daunting task, especially since these appliances are heavy, awkward, and often bolted into both the wall and the cabinetry above. You don’t need to be a professional contractor to get the job done, but you do need a solid plan and a partner to help you manage the weight.
By following a systematic approach, you can disconnect the electrical, release the mounting hardware, and lift the unit away without damaging your kitchen cabinets or backsplash. This process is entirely manageable if you prioritize safety and take your time during the disassembly phase.
Preparation and Safety Protocols
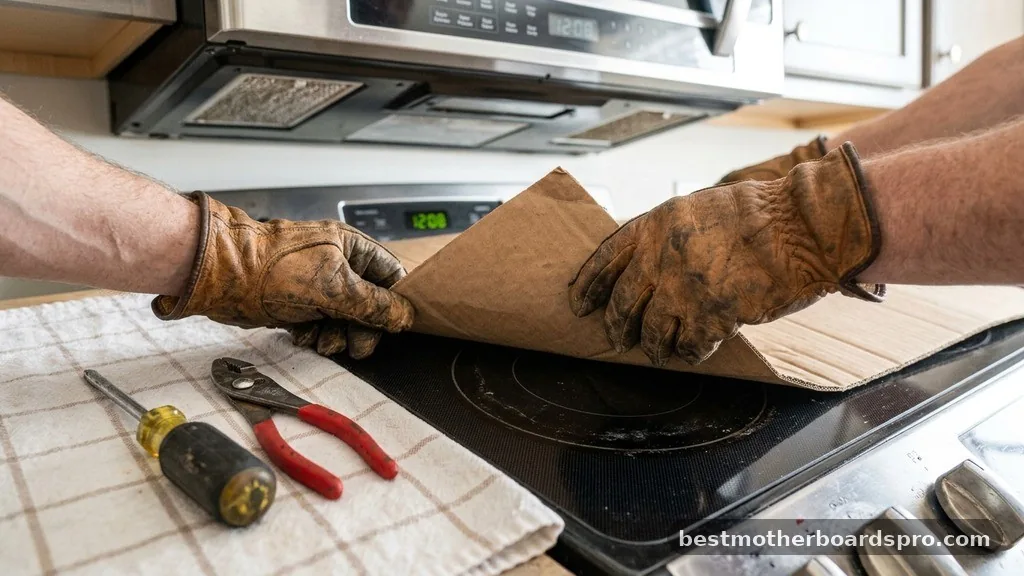
Before you even touch a screwdriver, you must ensure the workspace is safe. The most important step in the entire process is cutting the power. Locate your home’s electrical panel and flip the circuit breaker that controls the kitchen appliance circuit.
Test the microwave to verify it won’t turn on. If the microwave is plugged into an electrical outlet inside the cabinet above, you can simply unplug it once you have access to the cabinet interior.
You should also clear the stovetop area completely. Remove your pots, pans, and any decorative items that might get in the way.
Since you will be working with a heavy appliance, laying down a thick towel or a piece of cardboard on the range surface protects the cooktop from accidental scratches or damage if the microwave slips during removal. Wear safety goggles to protect your eyes from any dust or debris that might fall from the cabinet underside when you loosen the bolts.
Disconnecting the Appliance
Once the power is off, you need to address the mechanical attachments. Most units are secured via two long bolts that go through the cabinet frame and into the top of the microwave.
Open the cabinet doors above the unit and clear out any stored items. You might need a flashlight to spot the bolts, which are usually located toward the front and back of the interior cabinet floor.
If your unit is vented to the outside, you will also have to deal with the vent duct. This connection can be rigid metal or flexible aluminum.
You may need to disconnect the damper or the ducting transition piece before the unit can be pulled away from the wall. If you encounter difficulty, use a screwdriver bit to loosen the connection points.
| Component | Common Fastener Type | Accessibility |
|---|---|---|
| Top Cabinet Bolts | Hex head screws | Inside upper cabinet |
| Wall Mounting Plate | Toggle bolts or lag screws | Behind the microwave |
| Grease Filter | Slide-in tab | Bottom of unit |
Managing the Mounting Bracket
The wall plate is the final piece holding the appliance against the wall. After you have removed the top bolts and disconnected the vent, the microwave will be supported only by this bracket and the weight resting on the wall.
This is the moment where you absolutely need a second person. One person should support the weight of the microwave from underneath while the other carefully tips the top of the unit forward.
- Place a support shim or a sturdy box under the microwave to take some of the initial weight.
- Have your assistant hold the unit firmly as you tilt the top forward.
- Lift the entire unit off the mounting bracket hooks.
- Ensure the power cord is pulled through the cabinet hole as you move the unit.
Addressing Common Challenges
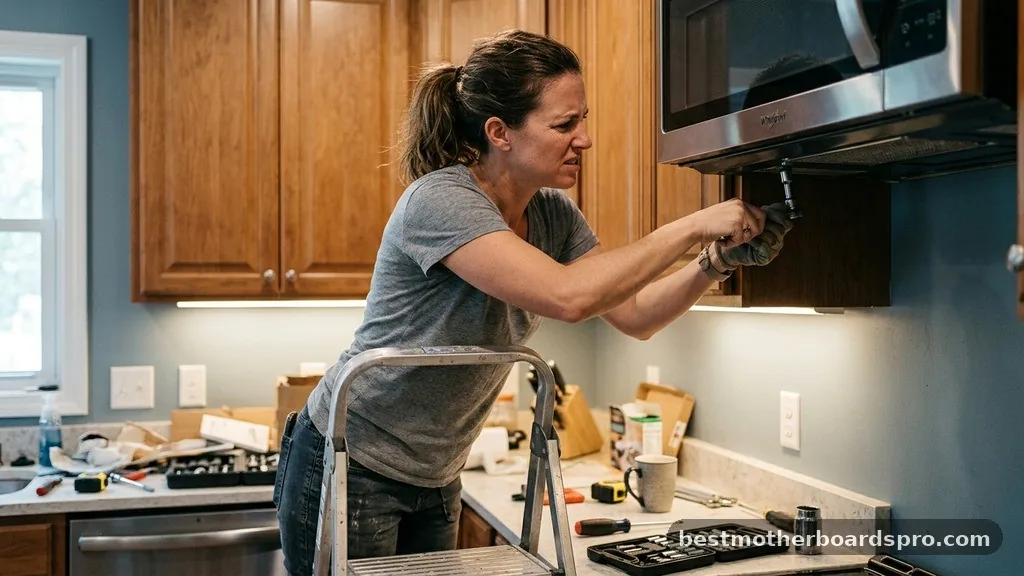
Sometimes, the mounting hardware is seized due to years of grease buildup or rust. If you cannot turn the hex head screws, a penetrating oil can help loosen the threads.
Be careful not to strip the screw heads, as this makes the appliance removal significantly more difficult. If you find that the bolts are spinning without loosening, you might need to use a pair of pliers to hold the nut or washer from the bottom if it’s accessible.
If you are dealing with a recessed mounting situation, the cabinet frame might be hiding the bolts more than expected. Use a stud finder to determine where the original installers anchored the mounting plate.
Knowing where the studs are located helps you understand if the plate is secured with simple toggle bolts or heavy-duty lag screws. If you find that the wall plate is stuck, ensure you have removed all visible screws before applying force.
Handling the Venting and Exhaust
The exhaust fan system is often the most frustrating part of the removal process. If your microwave is ducted through the wall or the ceiling, you must ensure the ducting is not bent or damaged as you pull the unit away.
Sometimes, the vent duct is attached with foil tape or a clamp that is difficult to reach. If you cannot reach the connection, you may need to use a long screwdriver to reach behind the unit to release the clamp or tape.
If you are planning to install a new microwave, keep the old mounting plate aside for a moment. You might find that the new manufacturer uses the same hole pattern, which would save you from having to patch the wall or drill new holes. However, always check the installation manual of the new unit, as mounting bracket heights and dimensions vary wildly between brands like GE, Whirlpool, or Samsung.
Finalizing the Removal
After the microwave is safely on the floor, take a moment to inspect the area where it was mounted. You will likely find a significant amount of grease and dust on the cabinet underside and the wall.
Use a degreasing agent to clean these surfaces before installing a new unit or a range hood. If you found that the original installation was loose or poorly secured, use this opportunity to add extra bracing or repair the drywall behind the mounting plate.
If you are not replacing the unit immediately, consider capping off the electrical wires if you had to disconnect them at a junction box. Never leave exposed wires hanging in a kitchen environment. Properly securing the area ensures that you don’t face any electrical hazards while you decide on your next kitchen upgrade.
Frequently Asked Questions
Is it possible to remove an over the range microwave by myself?
While you might be tempted to do it alone, it is highly discouraged. These microwaves are heavy and awkward to handle. Having a second person to support the weight while you disconnect the final bolts prevents injury to yourself and damage to your stovetop or cabinetry.
What should I do if the microwave is hard-wired instead of plugged in?
If your microwave is hard-wired, you must turn off the power at the circuit breaker first. You will need to open the junction box, which is usually located in the cabinet above, and disconnect the wires. Always use a voltage tester to ensure the lines are dead before touching them.
How do I know where the mounting screws are located?
The mounting screws are almost always located inside the cabinet directly above the microwave. You will see two long bolts passing through the floor of the cabinet into the top of the microwave unit. Use a flashlight to identify them; they are typically standard hex head screws.
Can I reuse the existing wall mounting plate for a new microwave?
It is rarely recommended to reuse the old wall plate. Different brands and even different models from the same brand have unique mounting hole patterns.
Using the wrong plate could result in the microwave not sitting level or, worse, falling off the wall. Always install the new plate provided.
Next Steps for Your Kitchen
Successfully removing your old microwave sets the stage for a cleaner, more functional kitchen. Whether you are upgrading to a high-end convection microwave or switching to a dedicated range hood, the space you have cleared is now a blank canvas. Take your time to clean the area thoroughly, check the condition of the electrical outlet, and verify the integrity of the cabinet frame before starting the installation of your new appliance.
By following these steps, you’ve ensured that the process remains safe and efficient. If you encounter any unexpected issues during the installation of your new unit, don’t hesitate to consult the manufacturer’s specific guidelines or reach out to a local professional for assistance. Proper preparation today prevents headaches tomorrow.



