

Figuring out how to turn on a motherboard without a power button is a common challenge for PC builders who are bench testing components or dealing with a broken case switch. Whether you are troubleshooting a system that refuses to boot or building a custom open-air rig, you don’t actually need the physical case button to complete the electrical circuit.
By identifying the specific pins on your motherboard, you can manually trigger the start command. This process is straightforward, but it requires a steady hand and strict attention to detail to ensure you don’t accidentally bridge the wrong connections.
Understanding your hardware layout is the first step in this process. Most motherboards rely on a specific set of pins to receive the signal from your case’s power button.
When you press that button, you are essentially closing a circuit for a split second, which tells the power supply unit to send electricity to the board. By mimicking this action manually, you can bypass the front panel entirely.
Safety Precautions and Best Practices
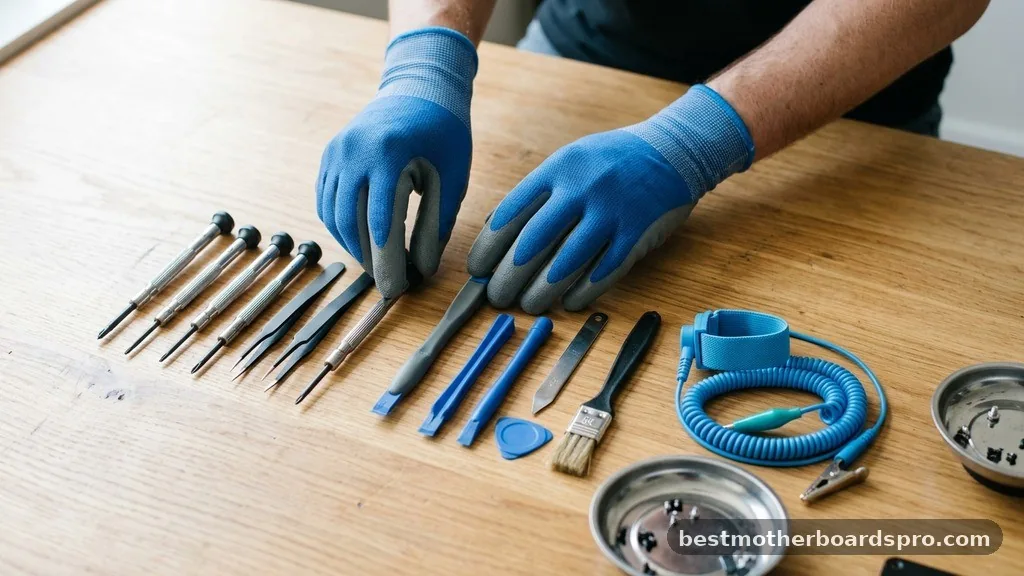
Before you touch any metallic objects to your motherboard, you must prioritize safety. Working with live electronics always carries a risk of electrical shock or component damage. Always ensure your power supply unit is plugged into a grounded outlet but turned off at the back switch while you are locating your target pins.
Avoid wearing synthetic clothing that generates static electricity, as a discharge can instantly fry sensitive capacitors. It is also wise to keep your workspace clear of conductive debris, such as loose screws or metal shavings, to prevent short-circuiting the board. If you are uncertain about the specific layout of your board, consult the manufacturer’s documentation before proceeding.
Locating the Front Panel Header
The front panel header is a cluster of small pins located along the bottom edge of most motherboards. These pins connect the case’s power switch, reset switch, and LED indicators to the mainboard. To find them, you should look for labels printed directly onto the PCB, usually marked as F_PANEL, JFP1, or PANEL.
If the labels are too small to read, refer to your motherboard manual. The manual provides a detailed diagram showing exactly which two pins correspond to the power switch.
Typically, the power switch pins are labeled as PWR_SW or P_BTN. Identifying these correctly is the most important part of the process, as bridging the wrong pins could cause unintended behavior or hardware damage.
Executing the Manual Start
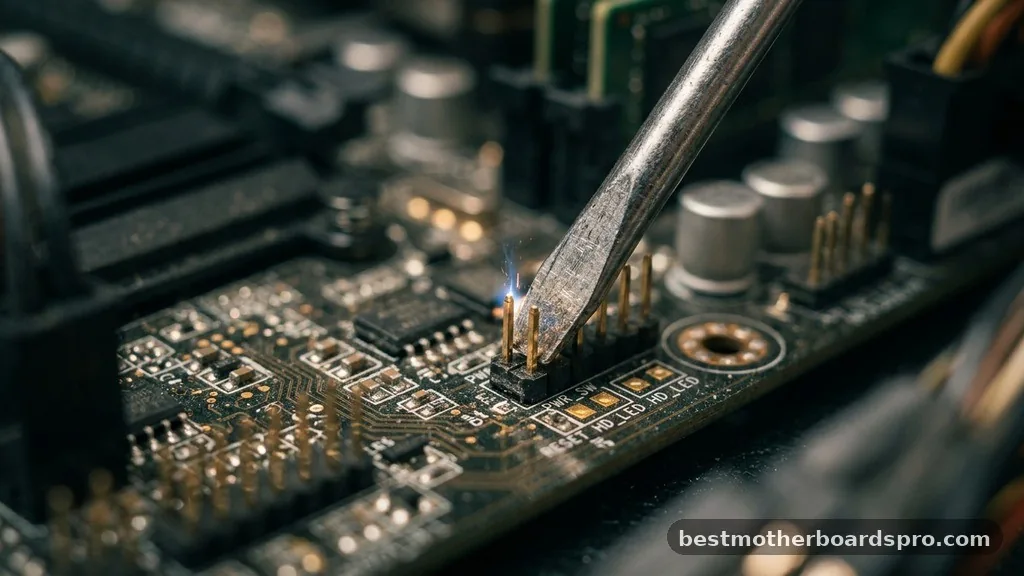
Once you have identified the correct pins, the act of starting the machine is simple. You need a small, flat-head screwdriver to act as a bridge between the two specific pins. Ensure your power supply is connected and the wall switch is on.
Gently touch the tip of your screwdriver to both the positive and negative PWR_SW pins simultaneously. Do not hold it there; just a quick, light tap is enough to close the electrical circuit and initiate the computer POST sequence. Once the fans spin up or you see a light on the board, pull the screwdriver away immediately.
| Task | Tool Required | Risk Level |
|---|---|---|
| Locating Header | Motherboard Manual | Low |
| Shorting Pins | Flat-head Screwdriver | Medium |
| Bench Testing | Anti-Static Surface | Low |
Alternative Methods for Powering On
If you are uncomfortable using a screwdriver, there are other ways to manage your system power. Many modern motherboards designed for enthusiasts come with onboard buttons. These physical power and reset switches are soldered directly onto the PCB, making them perfect for those who frequently swap parts.
- Onboard Power Buttons: Check the top-right corner of your board for physical switches.
- Remote Power Switches: You can purchase external power button kits that plug into the front panel header.
- Keyboard Wake-up: If the computer is already in a sleep state, some BIOS settings allow you to wake the PC via a keypress.
- Jumper Caps: You can temporarily use a jumper cap to bridge the pins, though this is less convenient than a screwdriver.
Troubleshooting Common Power Issues
Sometimes, the motherboard won’t turn on even when you correctly bridge the pins. This usually indicates a problem with the power supply unit or the motherboard itself.
First, verify that the 24-pin ATX connector and the 8-pin CPU power cable are fully seated. A loose connection is the most common reason for a system to remain unresponsive.
If all cables are secure, try the “paperclip test” on your power supply unit to see if the fan spins independently of the motherboard. If the PSU doesn’t react, the unit might be faulty. If the PSU works but the motherboard remains dead, you may be dealing with a corrupted BIOS or a short caused by the motherboard touching the metal chassis without proper standoffs.
Understanding the Role of the Front Panel Header
The front panel header serves as the communication hub between your case and the motherboard. It doesn’t just handle the power switch; it also manages the reset switch, hard drive activity lights, and power LEDs. When you are troubleshooting, it is common to have these cables disconnected to isolate the motherboard from a potentially faulty case switch.
By manually shorting the PWR_SW pins, you eliminate the case as a variable. If the system boots using the screwdriver method but fails when the case wires are attached, the issue lies within your case’s wiring or the physical button itself. This is a classic diagnostic technique used by professionals to narrow down hardware failures quickly.
FAQ
Is it safe to use a screwdriver to start my PC?
Yes, it is generally safe if you are careful. The power switch pins carry a very low voltage. As long as you only touch the two specific pins required for the power switch and avoid sliding the screwdriver into other components, you will not cause any damage.
What if I short the wrong pins on the header?
Shorting the wrong pins can lead to various outcomes, such as triggering the reset switch or potentially causing a short circuit. If you accidentally bridge the wrong pins, the system may simply fail to react or, in rare cases, could cause a temporary shutdown of the power supply.
Do I need to leave the screwdriver on the pins?
No, you should never leave the screwdriver on the pins. The motherboard only needs a momentary signal to start the boot process. Once the signal is sent and the fans begin to spin, you should remove the tool immediately to avoid any risk of creating a permanent short.
Can I use this method to turn off the computer?
You can use the same method to force a hard shutdown, but it is not recommended for daily use. Holding the power pins bridged for several seconds will cut power to the system, which is similar to holding down your case’s power button, but it should be a last resort.
Conclusion
Mastering the technique of bridging your motherboard pins is a valuable skill for any PC enthusiast. It allows you to bypass faulty case switches and verify that your core components are functional during the assembly or testing phase. By carefully identifying the correct PWR_SW pins and using a steady hand with a non-conductive or metal tool, you can safely initiate the boot sequence without the need for a traditional power button.
Always remember that your motherboard manual is your best resource when you are unsure about pin layouts. If you find yourself frequently bench testing components, consider investing in a motherboard with integrated power switches to make your life easier. If you have any further questions about your specific build or run into persistent power issues, feel free to reach out for more detailed troubleshooting advice.



