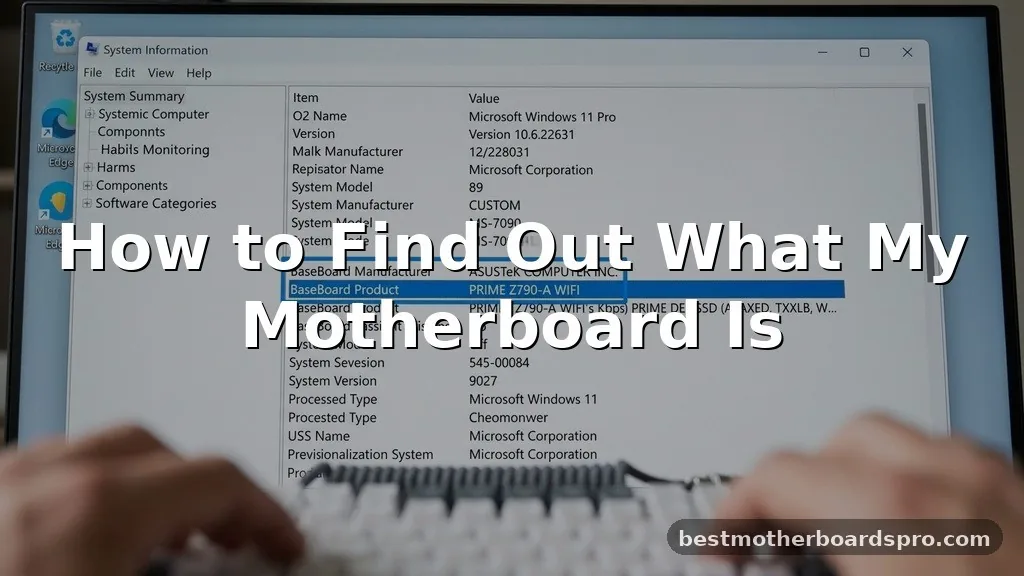
Identifying the hardware inside your computer is a fundamental skill for anyone looking to upgrade components, troubleshoot driver issues, or simply keep their system documentation up to date. You might be staring at your desktop tower or laptop wondering exactly what is powering your rig, and the good news is that you don’t need to be a hardware engineer to get the answer.
Whether you are running Windows or just want to peer inside the case, there are several reliable ways to uncover the identity of your mainboard. Learning how to find out what my motherboard is helps you confirm compatibility before purchasing new memory sticks, processors, or graphics cards.
Using System Information in Windows
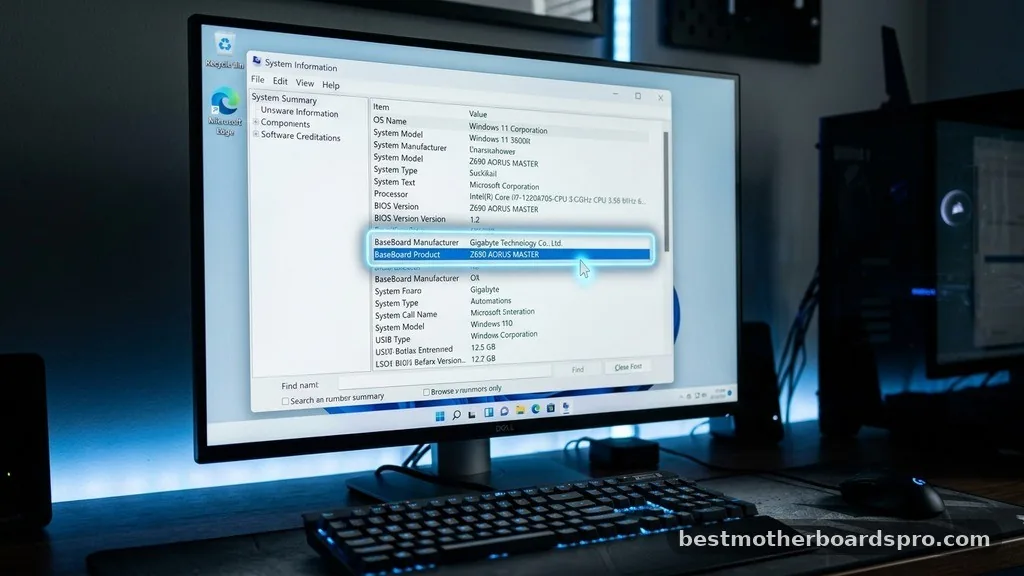
The quickest method to see your hardware specs without installing third-party software is through the built-in System Information tool. This utility provides a snapshot of your PC’s components, including the manufacturer and the specific board model.
To open this, press the Windows key on your keyboard, type “msinfo32” into the search bar, and hit Enter. Once the window pops up, ensure “System Summary” is selected in the left-hand pane. Look for the rows labeled “BaseBoard Manufacturer,” “BaseBoard Product,” and “BaseBoard Version.”
These fields will display the brand and the exact model number of your hardware. If you see “Not Available,” it often means the board is a custom OEM model from a pre-built system, which might require a different approach for specific support.
Command Prompt Methods for Power Users
If you prefer working with text-based interfaces, the Command Prompt (CMD) or PowerShell can pull this information directly from the Windows Management Instrumentation (WMI) database. This is often faster than clicking through menus and is a great way to verify details quickly.
Open the Command Prompt by typing “cmd” in your start menu search. Once the black window appears, copy and paste the following command and hit Enter:
wmic baseboard get product,Manufacturer,version,serialnumber
This command will output the manufacturer name, the product model, and the serial number of your motherboard. It is a highly efficient way to get the data you need without navigating complex menus. If you are using PowerShell instead of CMD, the process is identical; simply paste the same string into the blue console window.
Checking via the BIOS or UEFI
When your operating system isn’t booting or you want to verify hardware details before installing a fresh OS, the BIOS or UEFI interface is your best friend. This menu exists independently of Windows and is accessed during the initial startup phase of your machine.
To enter the BIOS, restart your computer and repeatedly press the specific function key assigned by your manufacturer—usually Del, F2, F10, or F12—as soon as the power button is pressed. Once you are inside the graphical or text-based menu, look for a tab labeled “System Information,” “Main,” or “About.”
The motherboard model is almost always listed prominently on this screen. Navigating the BIOS is safe, but be careful not to change any settings unless you know exactly what they do, as incorrect adjustments can impact your system’s stability.
Physically Inspecting the Hardware
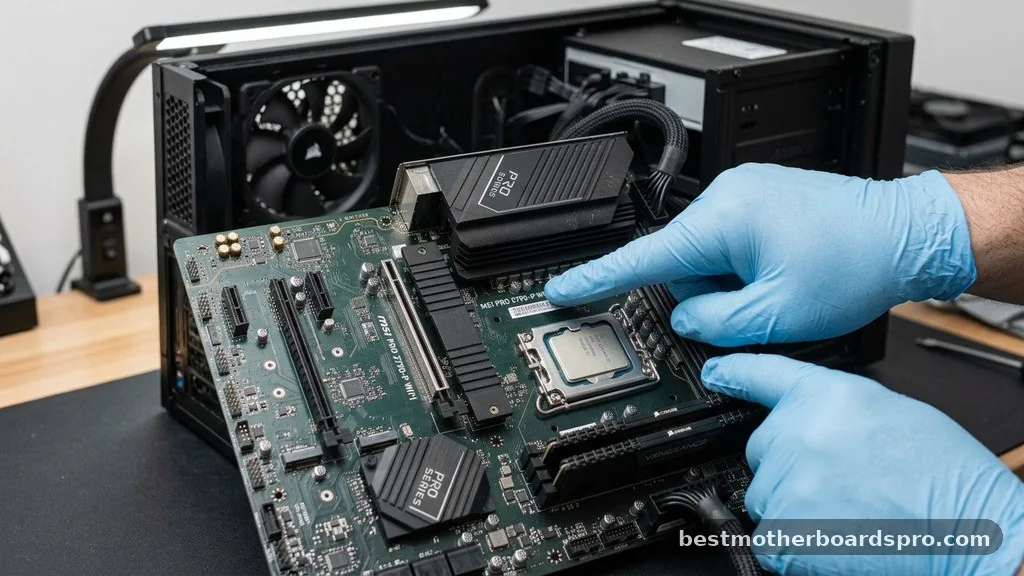
Sometimes, software might report a generic name provided by a system integrator, or you might be dealing with a machine that won’t power on at all. In these cases, taking a look inside the case is the most reliable way to find out what my motherboard is.
Before opening your PC, always ensure it is powered down and the power cable is disconnected. If you are working on a desktop, remove the side panel—usually held in by two thumbscrews at the rear. Once inside, look for the model name printed directly onto the PCB (printed circuit board).
It is often located between the CPU socket and the RAM slots, or near the PCIe expansion slots. You might need a flashlight, as the text is sometimes small or printed in a color that blends into the board’s surface.
| Method | Ease of Use | Best For |
|---|---|---|
| System Information | High | Quick checks inside Windows |
| Command Prompt | Medium | Fast, text-based retrieval |
| BIOS/UEFI | Medium | When OS is inaccessible |
| Physical Inspection | Low | Dead systems or custom builds |
Addressing Common Identification Gaps
Many users encounter issues when they see “To be filled by O.E.M.” or a generic string instead of a recognizable brand name. This usually happens with pre-built computers from companies like Dell, HP, or Lenovo. These manufacturers often use proprietary designs that don’t follow standard retail naming conventions.
If you find yourself in this situation, do not rely on the motherboard model alone. Instead, search for your computer’s serial number or service tag on the manufacturer’s official support site.
- Search for the model number on the manufacturer’s website to find specific driver downloads.
- Use third-party tools like CPU-Z if you need a detailed breakdown of chipset and memory timings.
- Check the original purchase receipt or digital order history for the full system specification.
- Look for stickers on the back of the case; these often contain the exact machine model, which links to the board specifications.
Third-Party Software Alternatives
If the native Windows tools feel too limited, several lightweight software utilities can provide a deeper dive into your system’s architecture. These tools are particularly useful if you need to know the specific chipset, socket type, or current BIOS version.
CPU-Z is the industry standard for this task. It is a small, free utility that scans your hardware and presents the information in a clean, tabbed interface. Simply download the portable version, run it, and click on the “Mainboard” tab.
You will see the manufacturer, model, chipset, and even the current BIOS version installed. This is incredibly helpful when you are planning an upgrade and need to ensure your current board supports a newer processor via a simple firmware update.
Understanding Board Form Factors
While identifying the model is crucial, knowing the form factor is just as important if you plan to move your components to a new case. The form factor dictates the physical size and layout of the mounting holes, which determines whether the board will fit in a specific chassis.
| Form Factor | Typical Use Case | Size (Approx) |
|---|---|---|
| ATX | Standard Desktop | 12 x 9.6 inches |
| Micro-ATX | Compact Towers | 9.6 x 9.6 inches |
| Mini-ITX | Small Form Factor (SFF) | 6.7 x 6.7 inches |
Standardizing your knowledge of these sizes will save you hours of frustration when building or upgrading. Always check your case’s manual to ensure it supports the size of the board you have identified.
Frequently Asked Questions
Will BIOS always show my motherboard model?
Most modern BIOS and UEFI interfaces display the motherboard model clearly on the main information screen. However, on some pre-built office machines from large manufacturers, the BIOS might only show the computer model number rather than the specific motherboard model, as these parts are often proprietary.
Can I find my motherboard model without opening the computer?
Yes, you can easily identify your hardware using software tools like System Information or the Command Prompt in Windows. These methods query the system’s internal data, allowing you to see the exact manufacturer and product name without ever needing to touch a screwdriver or open your chassis.
What if the software returns a generic manufacturer name?
If you see a generic name or “To be filled by OEM,” it means your computer was likely built by a company like HP or Dell. In these cases, the best approach is to search the manufacturer’s support site using your PC’s serial number or service tag for accurate specs.
Is it safe to open my computer case to check the model?
It is perfectly safe to open your case as long as you power down the system and unplug the power cable first. Avoid touching the internal components while the machine is plugged in, and try to touch a metal part of the case to discharge any static electricity.
Conclusion
Finding out what my motherboard is does not have to be a complicated task. By utilizing simple built-in Windows features like the System Information tool or the Command Prompt, you can gather the technical details needed for upgrades or repairs in just a few minutes. If those digital methods fall short, a quick look inside your system or a search for your service tag on the manufacturer’s website will provide the clarity you need.
Remember to keep your BIOS updated once you identify your hardware, as this often unlocks support for newer components and improves overall stability. If you run into any trouble or have specific questions about your hardware, feel free to reach out or check the official support pages for your board manufacturer.