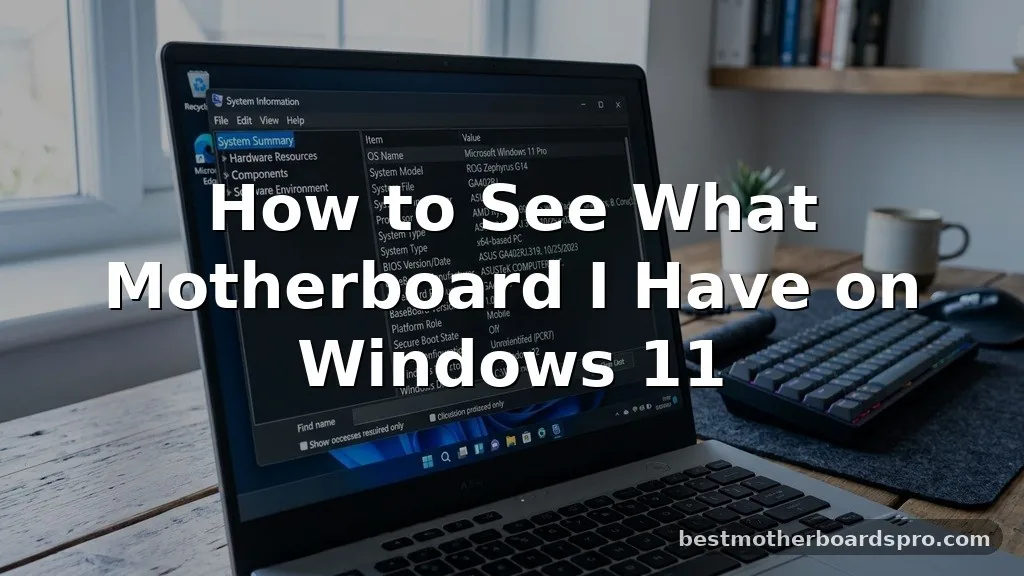
Finding the specific hardware components inside your computer often feels like a daunting task, especially when you need to upgrade your RAM or troubleshoot driver issues. Fortunately, Windows 11 provides several built-in tools that make it incredibly simple to identify your hardware without needing to open the physical case. Whether you are a casual user or a tech enthusiast, knowing how to see what motherboard I have on Windows 11 is a fundamental skill that helps you maintain your system’s performance and ensure compatibility for future hardware upgrades.
Using System Information for Quick Identification
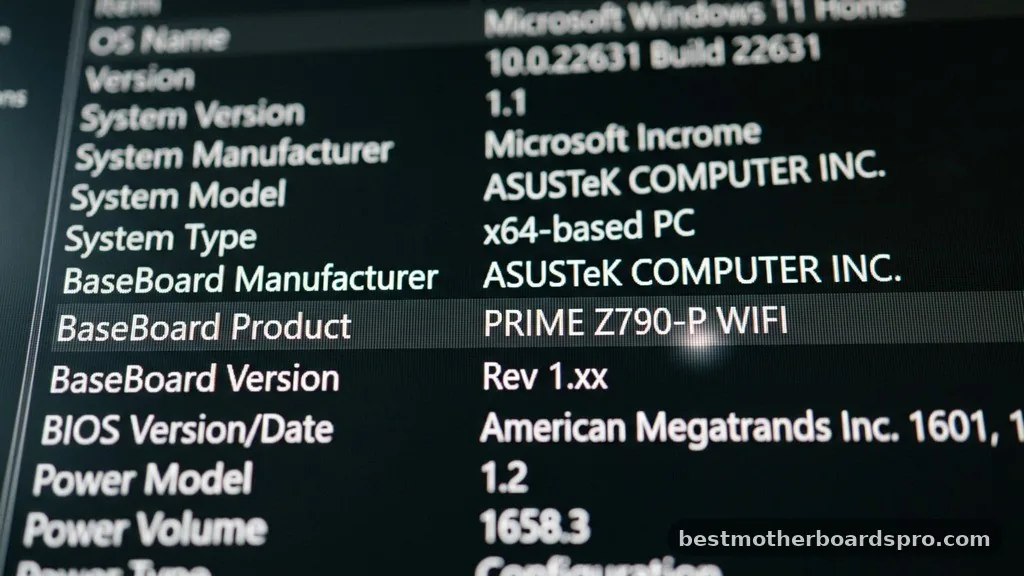
The System Information utility is arguably the most straightforward way to view your motherboard details without installing extra software. It pulls data directly from your hardware, presenting it in a clean, readable interface.
To access this, press the Windows key, type “System Information,” and hit Enter. Once the window opens, look for the “System Summary” section in the left pane. In the right pane, locate the “BaseBoard Manufacturer” and “BaseBoard Product” rows.
These two lines provide the manufacturer’s name and the specific model number of your board. If you see “Not Available,” it usually means the manufacturer didn’t program the DMI information, though this is rare on modern pre-built systems.
Checking Hardware via Command Prompt
For those who prefer a more direct approach, the Command Prompt (or Windows Terminal) offers a rapid way to extract your motherboard model. This method is excellent if you are comfortable with text-based interfaces and want to skip the graphical menus.
Open the Start menu, type “cmd” or “Terminal,” and launch the application. Once the window appears, type the following command and press Enter:
wmic baseboard get product,Manufacturer,version,serialnumber
The system will return a table showing the manufacturer, the product name, and the serial number. This command is a powerful way to find your motherboard model because it bypasses the need to dig through layers of menus. It is also useful if you are trying to verify your hardware version during a troubleshooting session.
Leveraging PowerShell for Advanced Data
PowerShell provides an even more robust way to query your hardware. It uses the same underlying WMI (Windows Management Instrumentation) technology as the Command Prompt but offers more flexibility for power users.
To use this, right-click the Start button and select “Terminal (Admin)” or “PowerShell.” Once the window is open, copy and paste this command:
Get-CimInstance Win32_BaseBoard | Select-Object Manufacturer, Product, SerialNumber
This command returns a clean, formatted output identifying your board’s key characteristics. Using PowerShell is particularly effective when you need to automate hardware reporting or when you are managing multiple machines and need to check what motherboard I have on Windows 11 across a network.
Inspecting Motherboard Details in BIOS or UEFI
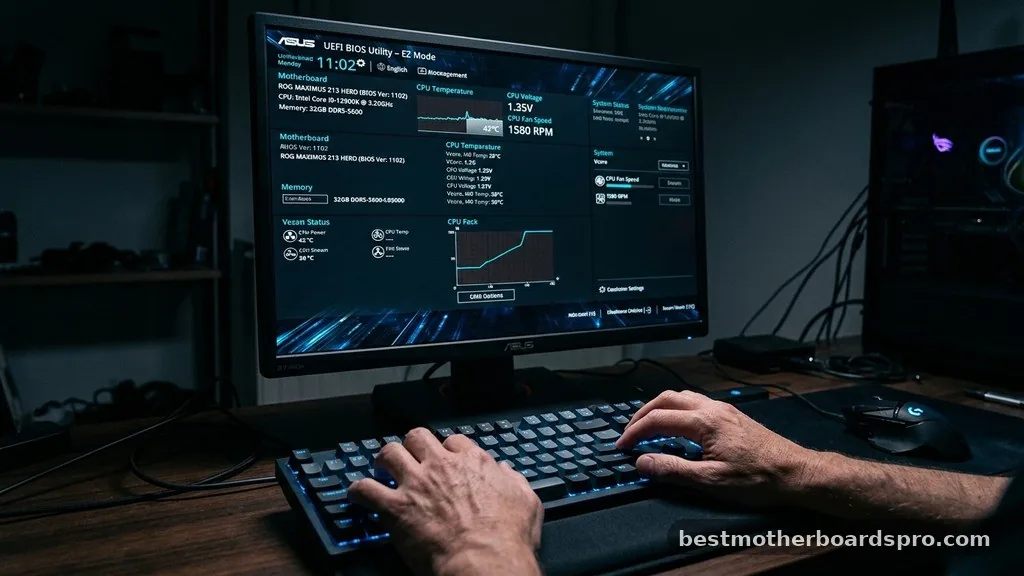
If your operating system isn’t booting correctly, or if you simply want to see the hardware information before Windows even loads, the BIOS or UEFI interface is your best resource. This environment is completely independent of the OS.
To enter the BIOS or UEFI, restart your computer and immediately press the designated key—usually F2, F12, Del, or Esc—as the machine begins to power on. Once inside the main menu, look for a tab labeled “System Information” or “Main.”
The motherboard model and firmware version are typically listed there. This is the most reliable way to find your hardware details because the motherboard reports this information directly to its own firmware.
Comparing Methods for Hardware Identification
Choosing the right tool depends on your technical comfort level and your current situation. The table below compares the primary methods for viewing your motherboard information.
| Method | Ease of Use | Best For |
|---|---|---|
| System Information | Very Easy | General users who prefer a GUI. |
| Command Prompt | Moderate | Quick checks without using a mouse. |
| PowerShell | Advanced | Power users and batch reporting. |
| BIOS/UEFI | Advanced | When the OS won’t load or boot. |
Third-Party Tools for Detailed Diagnostics
Sometimes, Windows built-in tools might not provide the level of detail you need, such as specific chipset revisions or socket types. In these cases, third-party software can offer a much deeper dive into your hardware.
- CPU-Z: A classic, lightweight utility that displays highly detailed information about your CPU, motherboard, and memory.
- HWiNFO: An professional-grade diagnostic tool that tracks sensor data and provides comprehensive hardware logs.
- Speccy: A user-friendly interface that gives a snapshot of every component inside your computer at a glance.
- AIDA64: A comprehensive suite used by IT professionals for stress testing and detailed hardware benchmarking.
When using these tools, always download them directly from the official developer’s website to ensure you aren’t picking up unnecessary bloatware or malware. Most of these applications are free for personal use and offer a significantly more granular view of your motherboard model than the standard Windows tools.
Physical Inspection of the Board
If software methods fail or if you are working with a motherboard that has no power, you must perform a physical inspection. This is the most accurate way to identify a board, as it relies on the actual markings printed on the PCB (Printed Circuit Board).
Open your computer case and look for the model name printed directly on the surface of the motherboard. Manufacturers typically print the brand and model number in large, bold text near the CPU socket or between the PCIe slots.
You may need a flashlight to see it clearly, especially if there are large heatsinks or GPU cards obstructing your view. If you are building or repairing a PC, this is the definitive way to confirm your hardware identity.
Addressing Common Hurdles and Gaps
A frequent challenge users face is seeing “To be filled by O.E.M.” in their system reports. This happens when the manufacturer fails to program the DMI information during the assembly process. If you encounter this, don’t panic.
It doesn’t mean your hardware is faulty; it simply means the information is missing from the software layer. In this case, you must rely on the physical label on the board or check the original purchase receipt or invoice from the computer manufacturer.
Another gap often occurs with custom-built PCs where the motherboard might be a specific revision. Software tools often show the base model, but if you need to know the exact revision for a BIOS update, you should check the manufacturer’s website using the serial number found via the command line methods mentioned earlier. Matching the serial number to the manufacturer’s database is the only way to ensure you are downloading the correct drivers or firmware updates for your specific board.
Frequently Asked Questions
Does the BIOS provide more information than Windows tools?
Yes, the BIOS often provides more granular details, such as the exact firmware version and specific hardware revision numbers. Since the BIOS is the low-level software that initializes the hardware, it has direct access to the board’s identity, which can sometimes be more accurate than the OS reporting.
Can I see my motherboard model without opening the PC?
Absolutely. You can use the System Information app, Command Prompt, or PowerShell to retrieve this data. These tools query the motherboard’s DMI firmware, providing you with the exact model and manufacturer name directly on your screen without ever needing to touch the physical hardware or open the case.
Is it possible to find the motherboard model on a Mac?
On a Mac, the process is different because Apple uses proprietary logic boards rather than standard motherboards. You can find this information by clicking the Apple menu, selecting “About This Mac,” and viewing the System Report under the hardware section, though it will display as a model identifier rather than a standard PC board name.
What if my motherboard model isn’t showing up?
If the model isn’t appearing in Windows, try using a third-party tool like CPU-Z. If that also fails, it is likely that the manufacturer did not flash the identification data into the BIOS. In this scenario, you will need to open the case and look for the model number printed on the board.
Conclusion
Identifying your motherboard is a vital step for any PC owner looking to upgrade or maintain their system. Whether you rely on the built-in simplicity of the System Information app or the power of command-line queries, finding the answer is quick and requires no specialized technical training. By mastering how to see what motherboard I have on Windows 11, you gain total control over your hardware drivers and compatibility.
Remember that if software methods ever prove insufficient, a quick physical inspection of the board inside your case will always provide the definitive answer. Keep these tools in your digital toolkit to stay ahead of any hardware-related tasks. If you have any specific questions about your hardware, feel free to dive deeper into the manufacturer’s support pages using the model number you have discovered.